Reclaiming Clay from Home
Reclaiming clay is one of the many beauties of pottery. It allows us to give our failed pots new life in just a few simple steps and limits waste in the studio through incorporating slop, trim, and even our throwing water, back in to workable, soft clay. Below are a few different options for reclaiming, all of which will get you on your way to creating successful reclaiming habits in your home studio.
If you’re focusing on reclaiming your slop (the chunks that come off while throwing and the bits that end up in your bucket/on your hands), trim, clay that is too hard or dry, and throwing water read through the steps below. These are simple guidelines for you to follow, but the first thing to remember is that reclaiming clay takes patience. It isn’t an exact science and will take some trial and error to get it right. You want to check in often as it’s a fine line between too wet and too dry.
Step 1: Should I reclaim? The first step is assessing what stage your clay is at and if it is still workable. If you have a piece that slumped on the wheel, got too wet, or is just not to your liking… chances are you can let it sit out in the open air for a little while to dry out slightly. Once it’s a bit drier you can wedge it back in to a workable condition and skip the steps below.
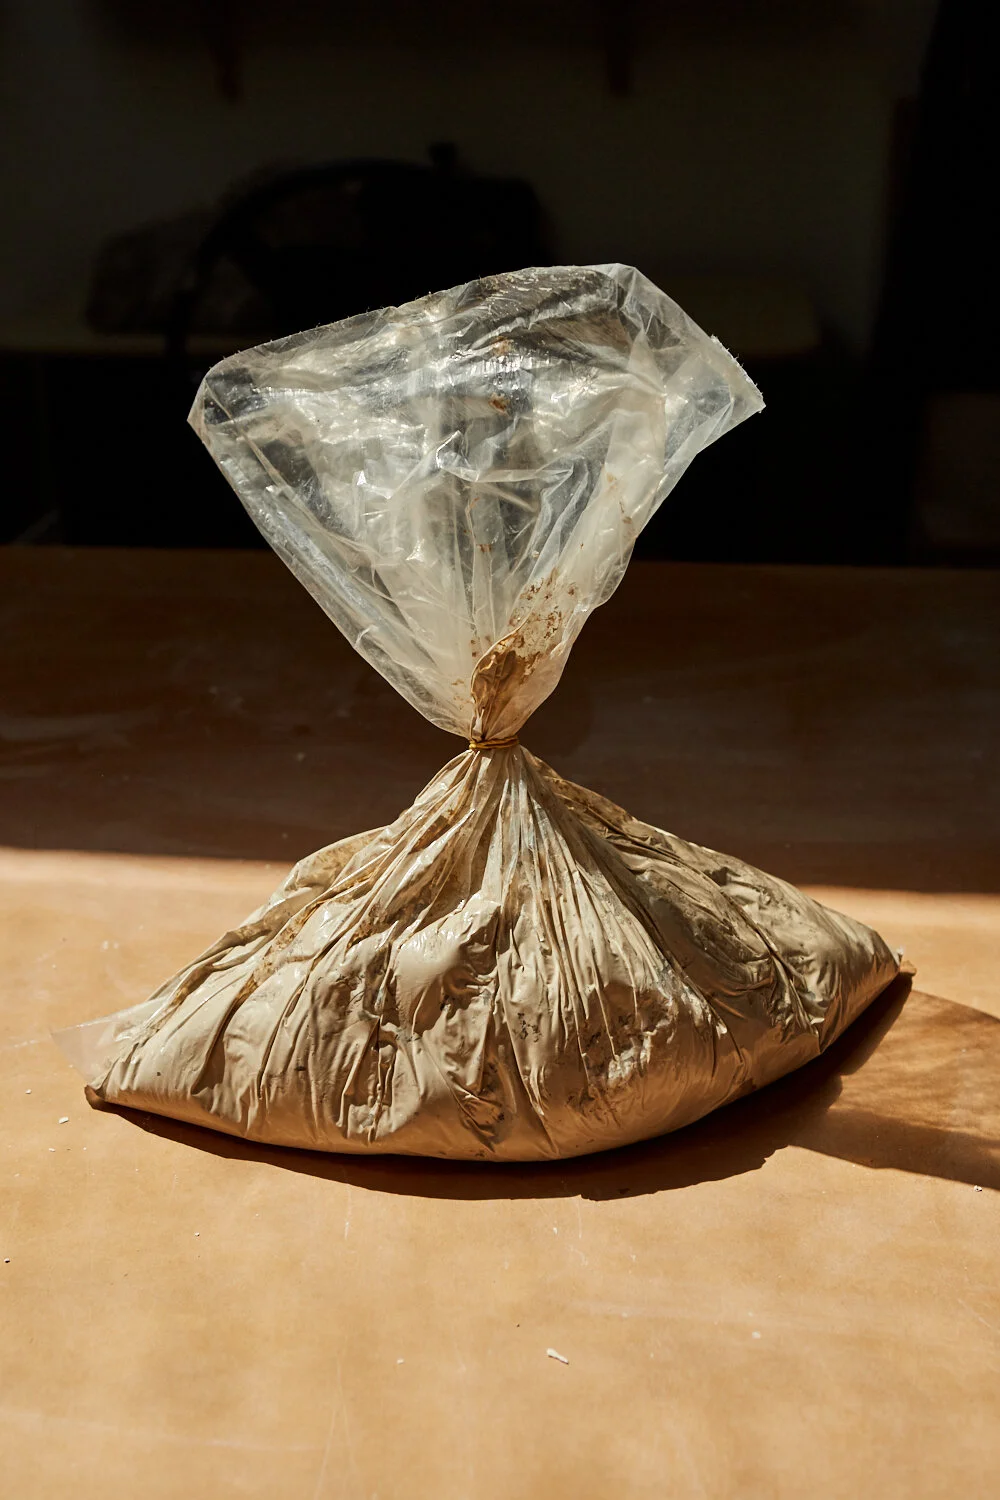
Step 2: Assess the water content of your reclaim. If you’ve been collecting your excess clay in a bag, you’re already off to a good start. Assess the water content of the bag to determine if you need to add or remove liquid. If the bag is too wet, you can add some dried out trim to absorb some of the moisture. If it’s too dry, add some throwing water. Start with a little bit at at a time and mix well, you don’t want to add too much water and end up with a bag of dripping wet clay.


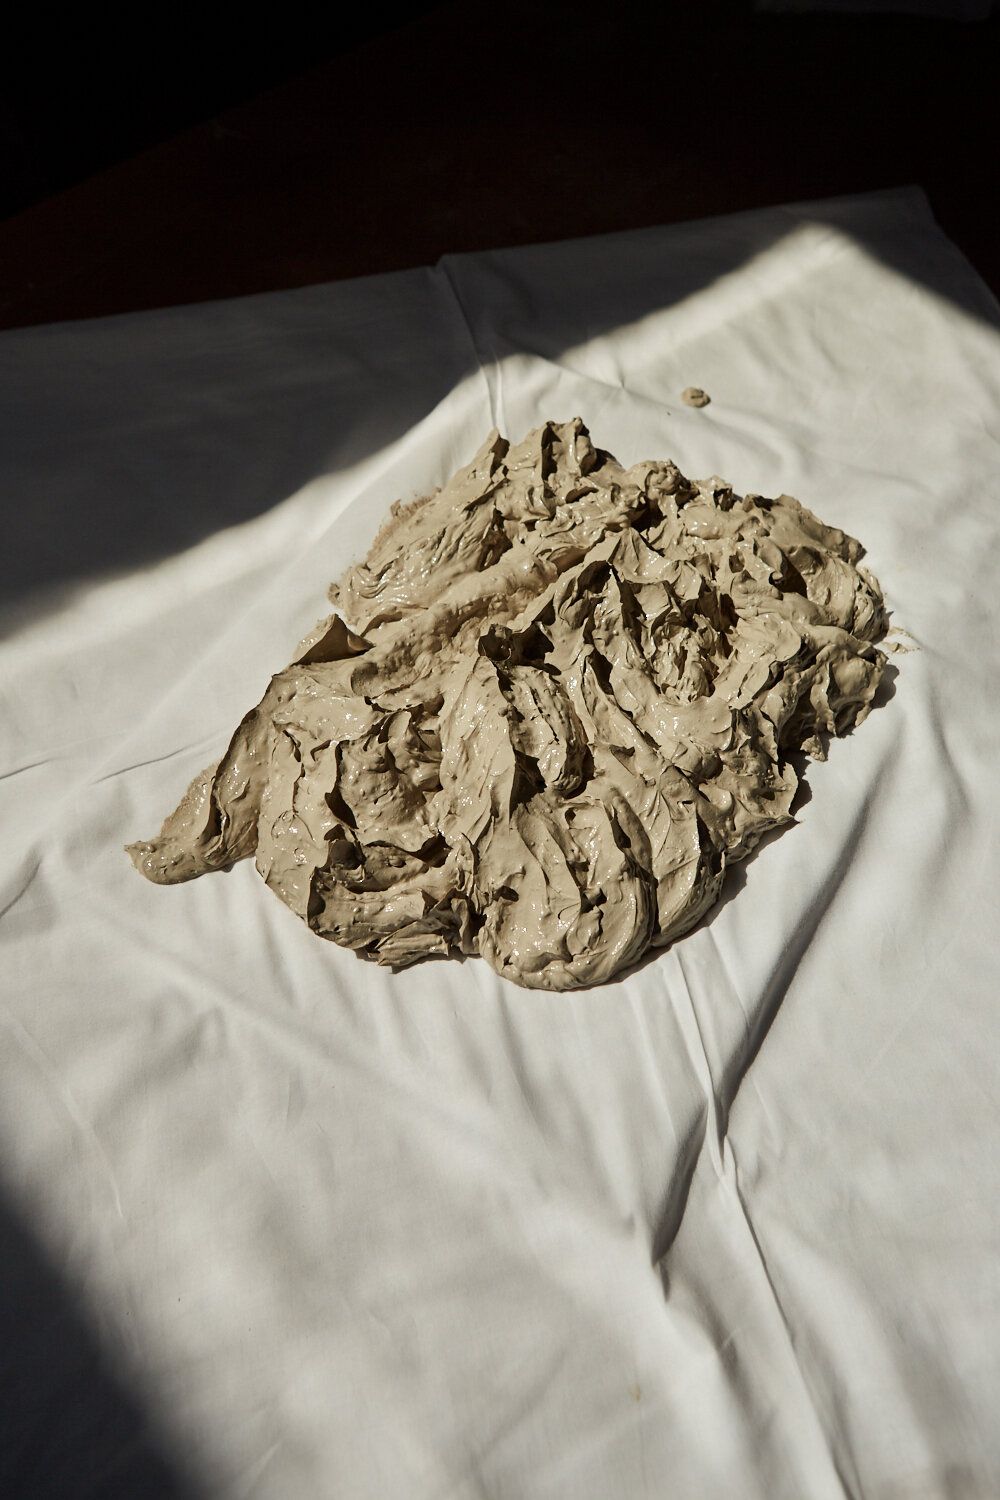
Step 4: Mix it up. Mix the clay thoroughly with your hand after each addition and assess the state of the clay. Break up any large chunks so they don’t create hard spots. Your clay should be soft and sticky, but not so wet that it drips off your hands. If you pick it up, it should be resemblant of a very very thick icing.
If you add too much water, fold the edges of the bag down and let it sit open in the sun so some of the moisture can evaporate. You can also do this if the contents are just too wet to begin with.
Once you’ve got your clay well mixed, tie off the bag and let it sit for about 24 hours. This allows the dry to mix with the wet for a more even consistency throughout.
Step 5: Dry it out. Once your clay is well incorporated and has had a day to intermingle, you’re ready to dry it out. Chances are you don’t have a plaster slab, but don’t fret! There is a workaround. If you don’t have a smooth, absorbent surface, old bed sheets, canvas, or even t-shirts can be placed on your surface (wooden or otherwise). Be sure to use at least a double layer of fabric. The fabric helps prevent rogue bits from becoming incorporated in your clay and helps keeps it in place. It isn’t 100% necessary but may be helpful depending on what kind of surface you’re using.
We used a triple layer of fabric and placed it on a wooden ware board to dry. Depending on the wetness of your clay, the weather outside, and the environment in your studio it may take a day or several to dry out. Keep an eye on it and flip it often. Rotating the drier outside edges with the more wet inside. This helps the clay dry evenly and prevents the edges from becoming too hard. You can tie the fabric off or leave it open for air to access and assist in drying. Be mindful of your environment and your surroundings, clay can dry out very fast given the right circumstances!

Step 6: Wedge it up. Once your clay has dried enough to be gathered up, and does not stick to your finger it’s ready to be wedged in to soft, malleable, workable clay again. If you touch your reclaim, and it comes off on your hands it is still too wet. If you touch it and leave an indent with no or very little residual on your hands, its ready to be wedged. It’s better to wedge a little more on the wet side than dry. If it’s too dry it will be too hard to work with. If you have some fresh clay use that as a guide, the consistency should be similar after wedging.
Be sure to wedge enough, then a little more to make sure the clay is well incorporated and there are no air bubbles left behind. Once wedged place it back in the bag for a day or two to cure. Then you’re ready to throw again!
What to do if your clay is dried out:

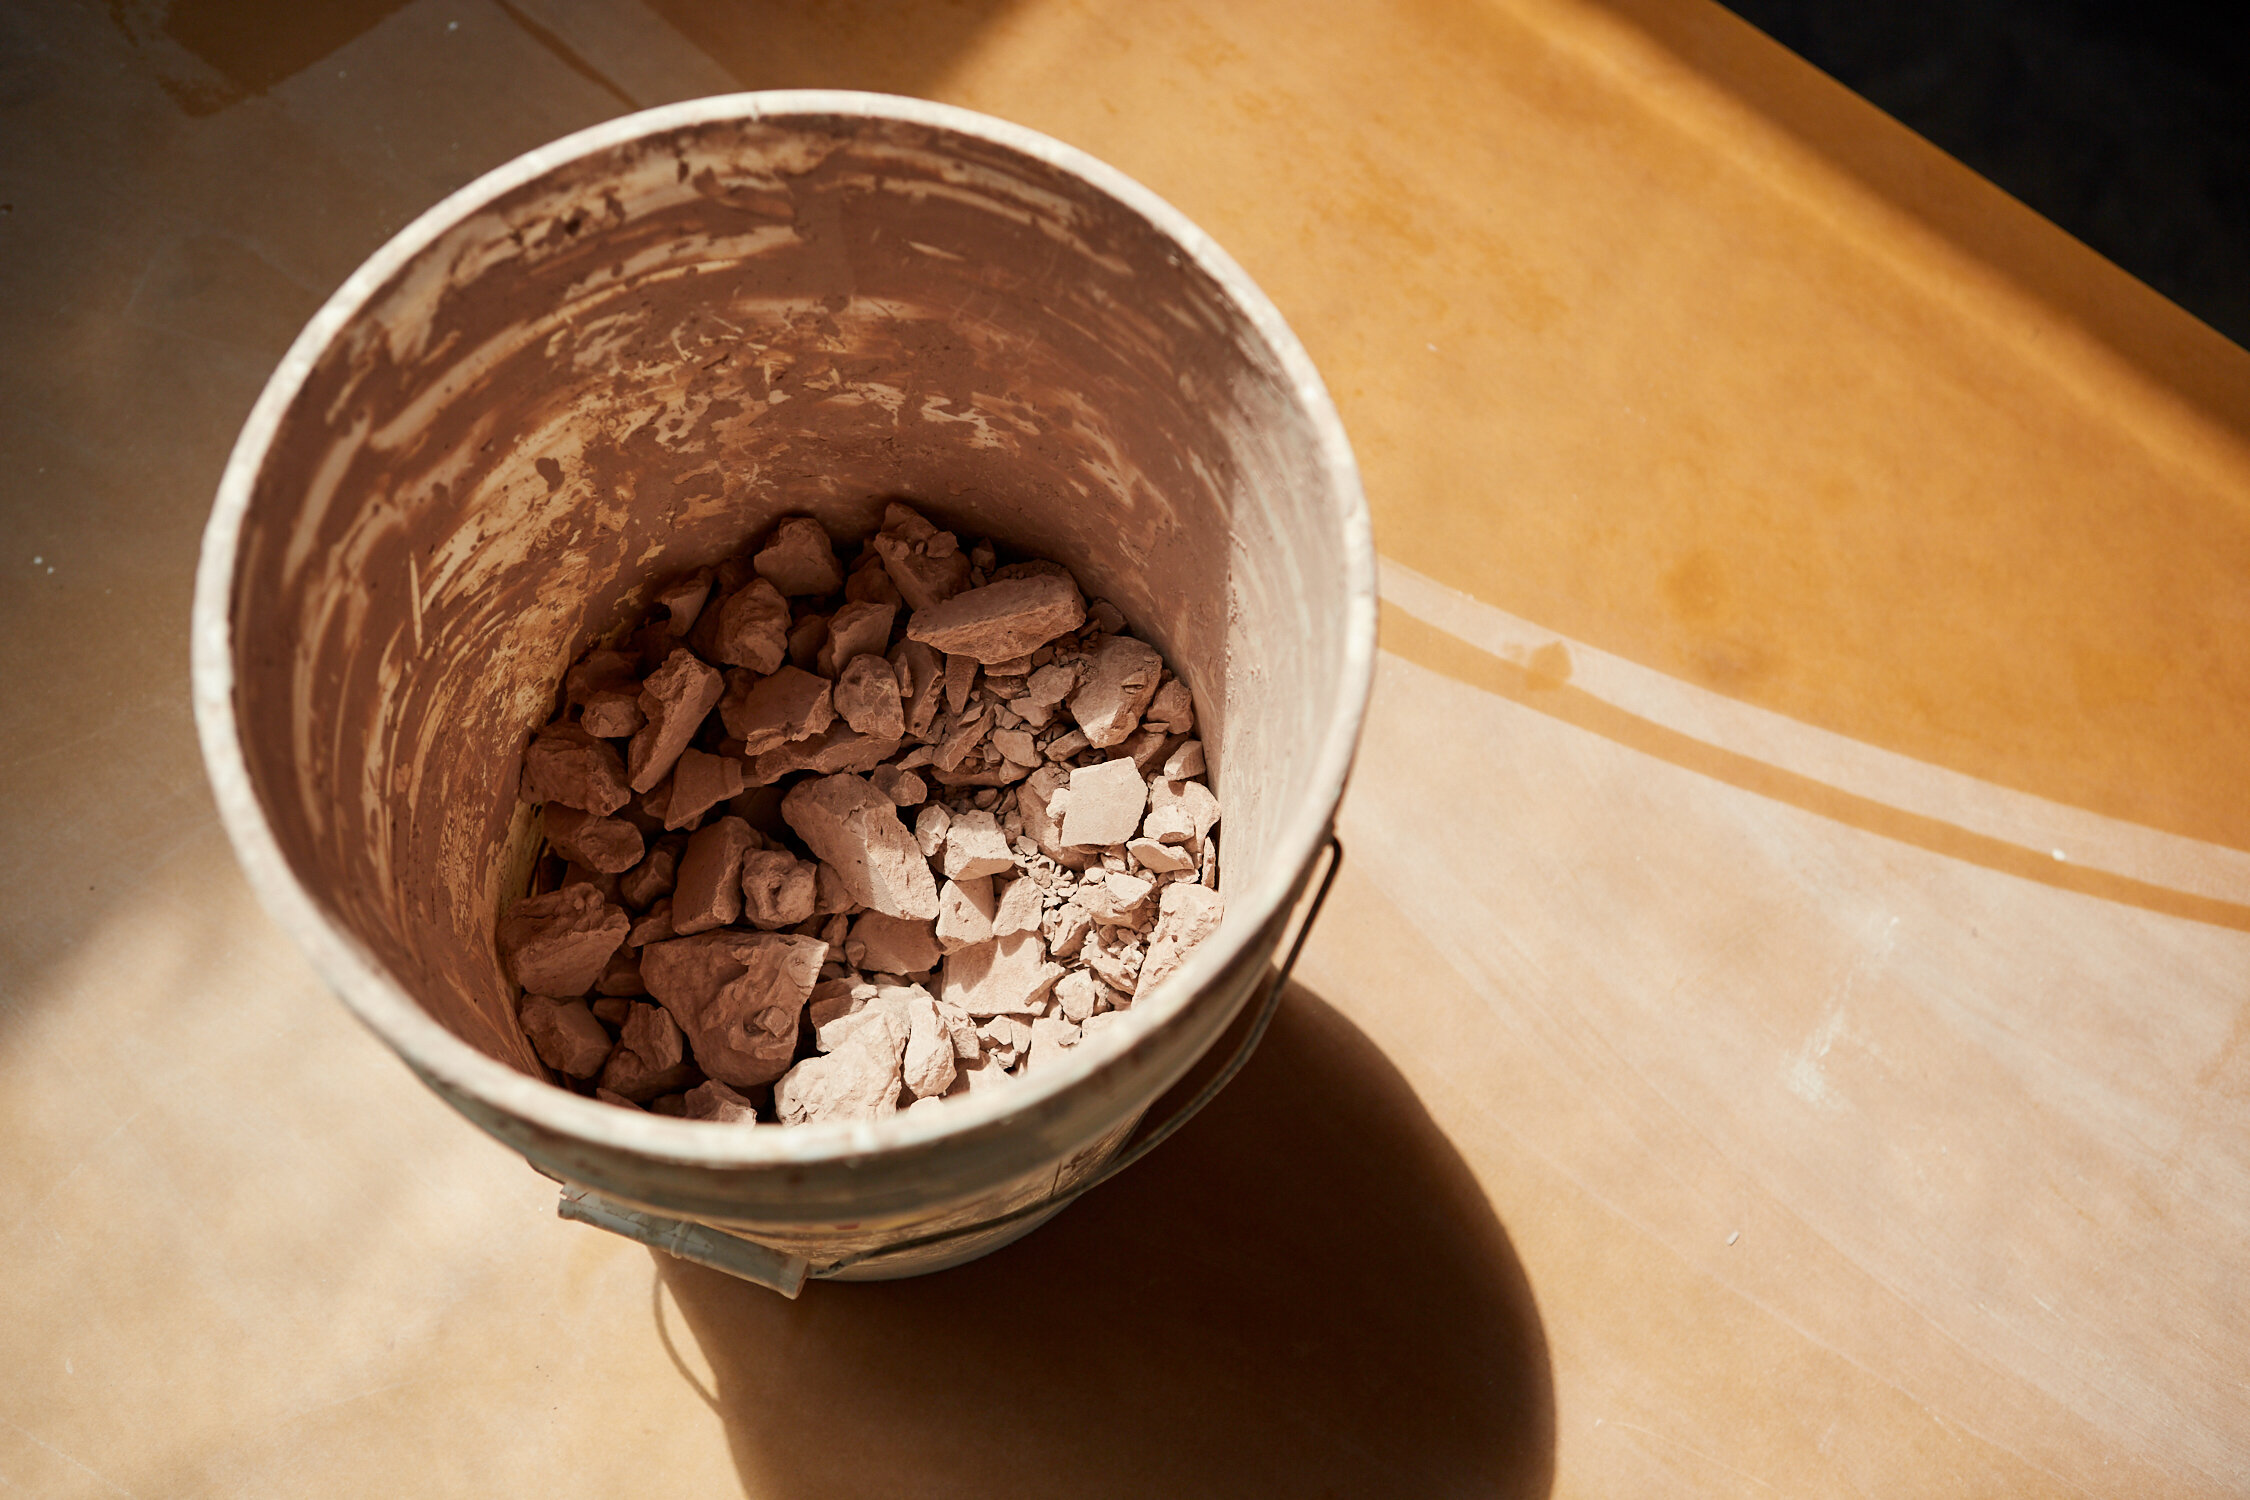
If you have clay that is too hard to work with or pieces that are dry that you don’t want to keep, dry the clay out completely to the bone dry state. You can do this by breaking the clay up in to small chunks and placing it on a board or surface uncovered. If you can place it in the sun it will dry out much faster.
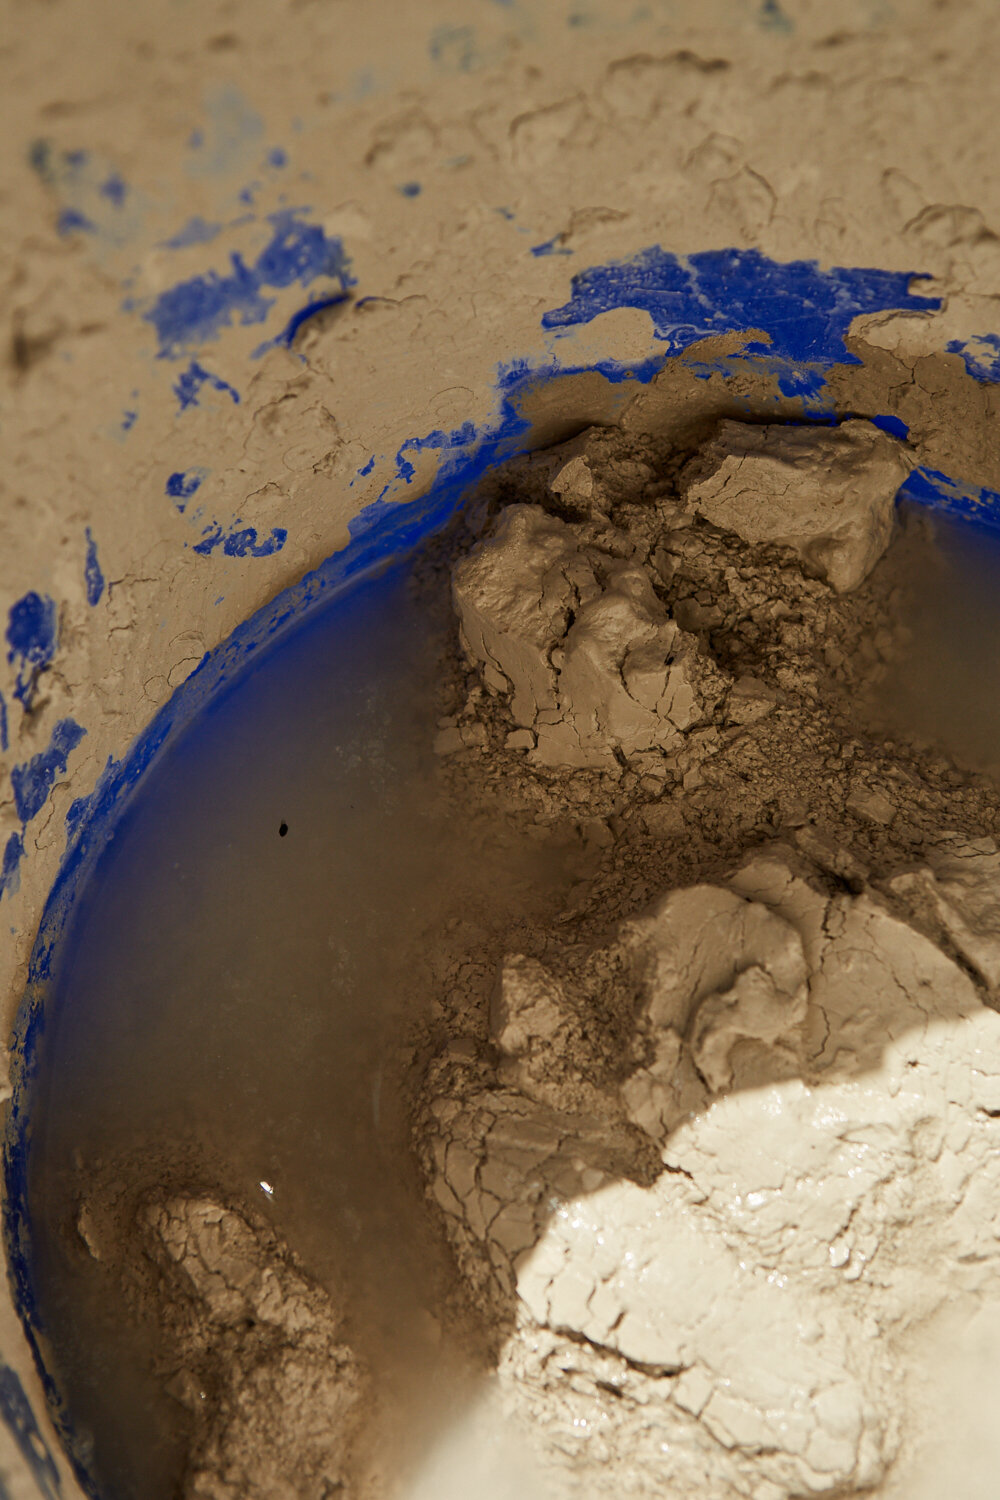
Once your clay bits are completely dried out, you can place them in a bucket, bowl, or bag. Any of the three will work and can be determined by the quantity of clay your working with and what you have on hand. Once you’ve placed your dried clay in the bucket add enough water to cover the surface of the clay. The drier the clay, the quicker it will slake down and absorb water. Let the clay sit overnight for maximum absorption.
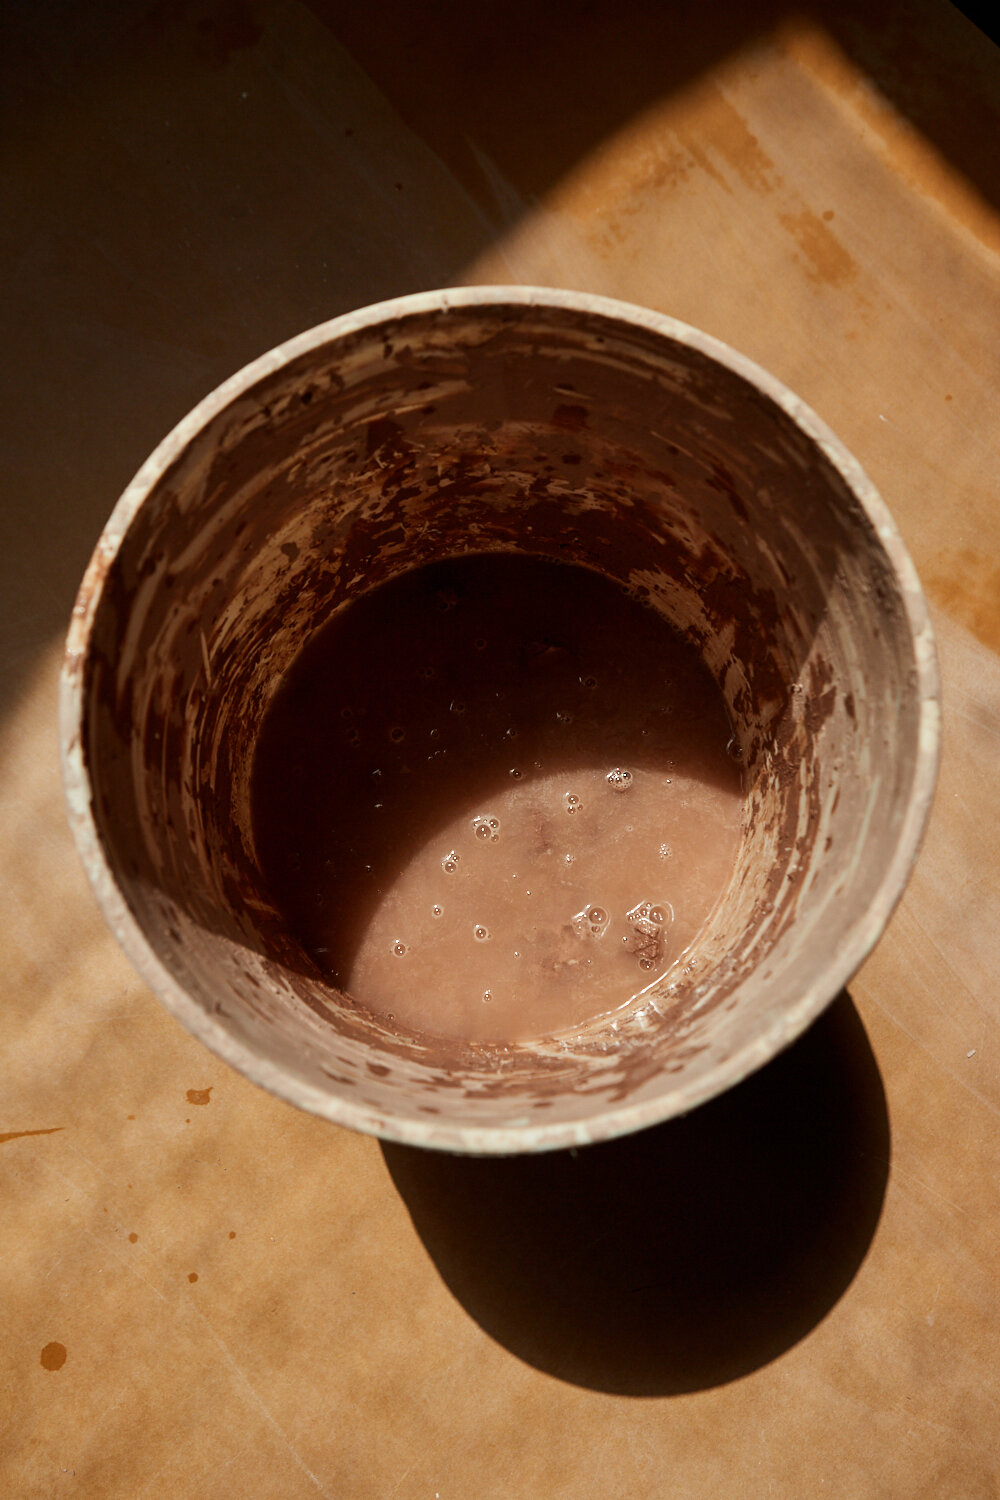
Once the clay has slaked down, it’s time to mix it up. Get your hand in there and feel for dry spots, chunks, and debris ( maybe a rogue shammie? ). Once you’ve gotten it mixed, keep mixing. You can use an emersion blender or a paint mixer attached to a drill for high speed mixing. This helps break up chunks and get all of the particles of the clay well incorporated, but is not completely necessary if you don’t have those on hand. You can also continue mixing with your hands or a spoon.
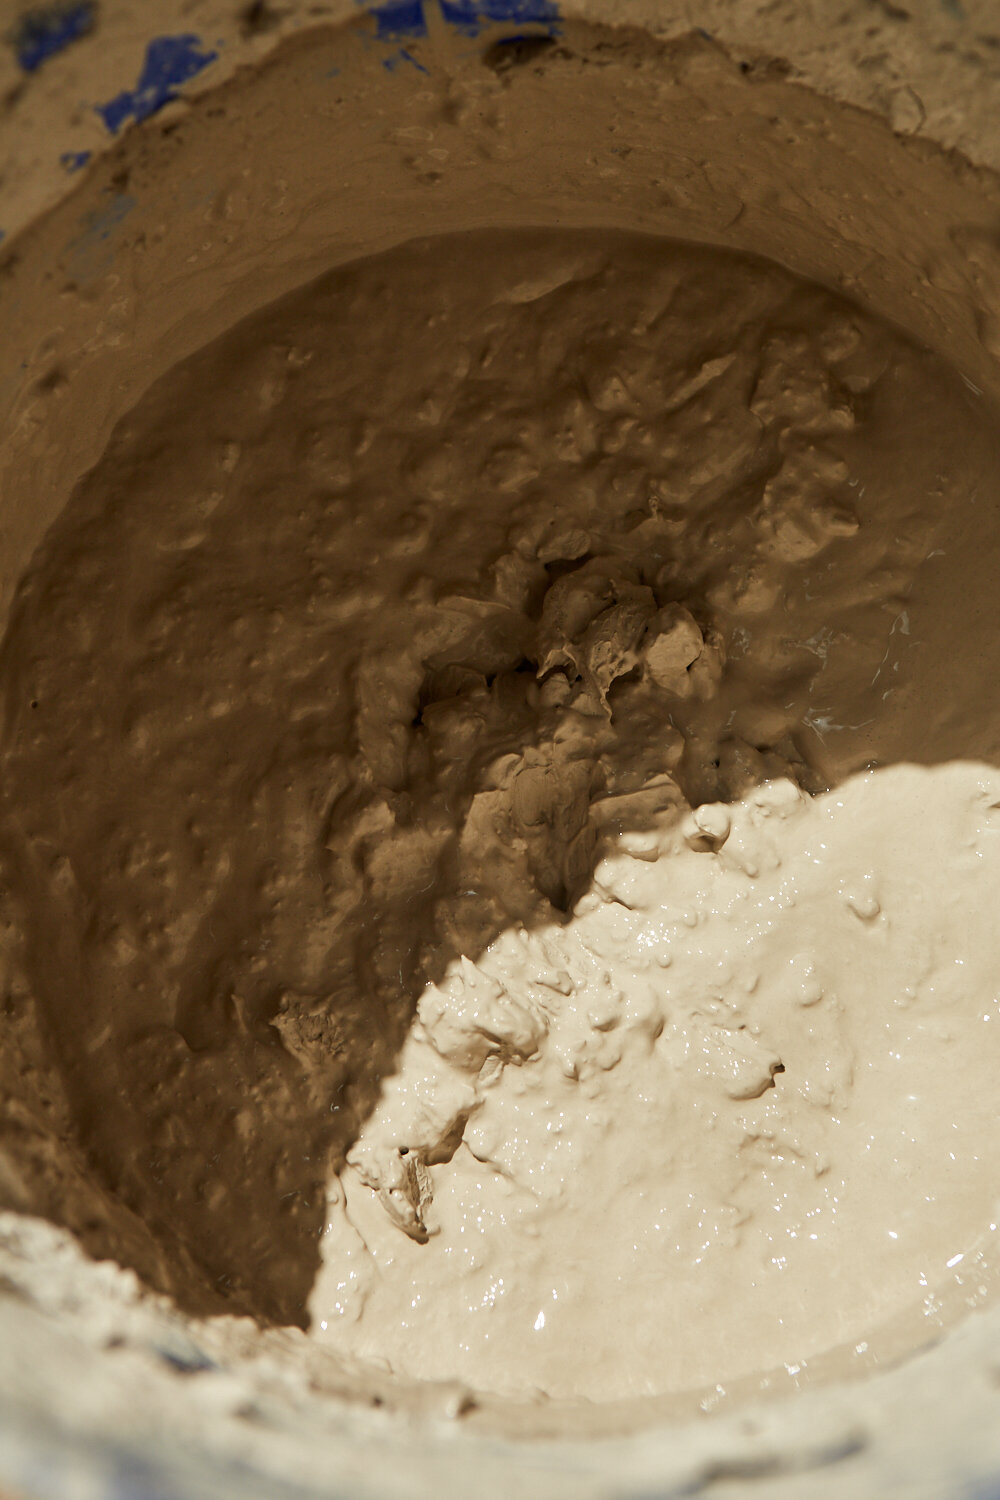

After mixing, the clay should be smooth like a very thick milkshake. You’re now ready to continue with Steps 5 & 6, drying out your clay on your wooden surface or plaster slab and wedging the final product!
Remember to check in often, be patient, and mix it up well! If you have any questions feel free to reach out, we’re happy to help. Happy reclaiming!!