How To: Slabs & Slip
A good slab is the start of many handbuilding projects, here we show you the easiest way to make a consistent and quick slab!
What you’ll need:
Clay (We recommend 3 or more lbs. to make a good size slab)
Metal Rib
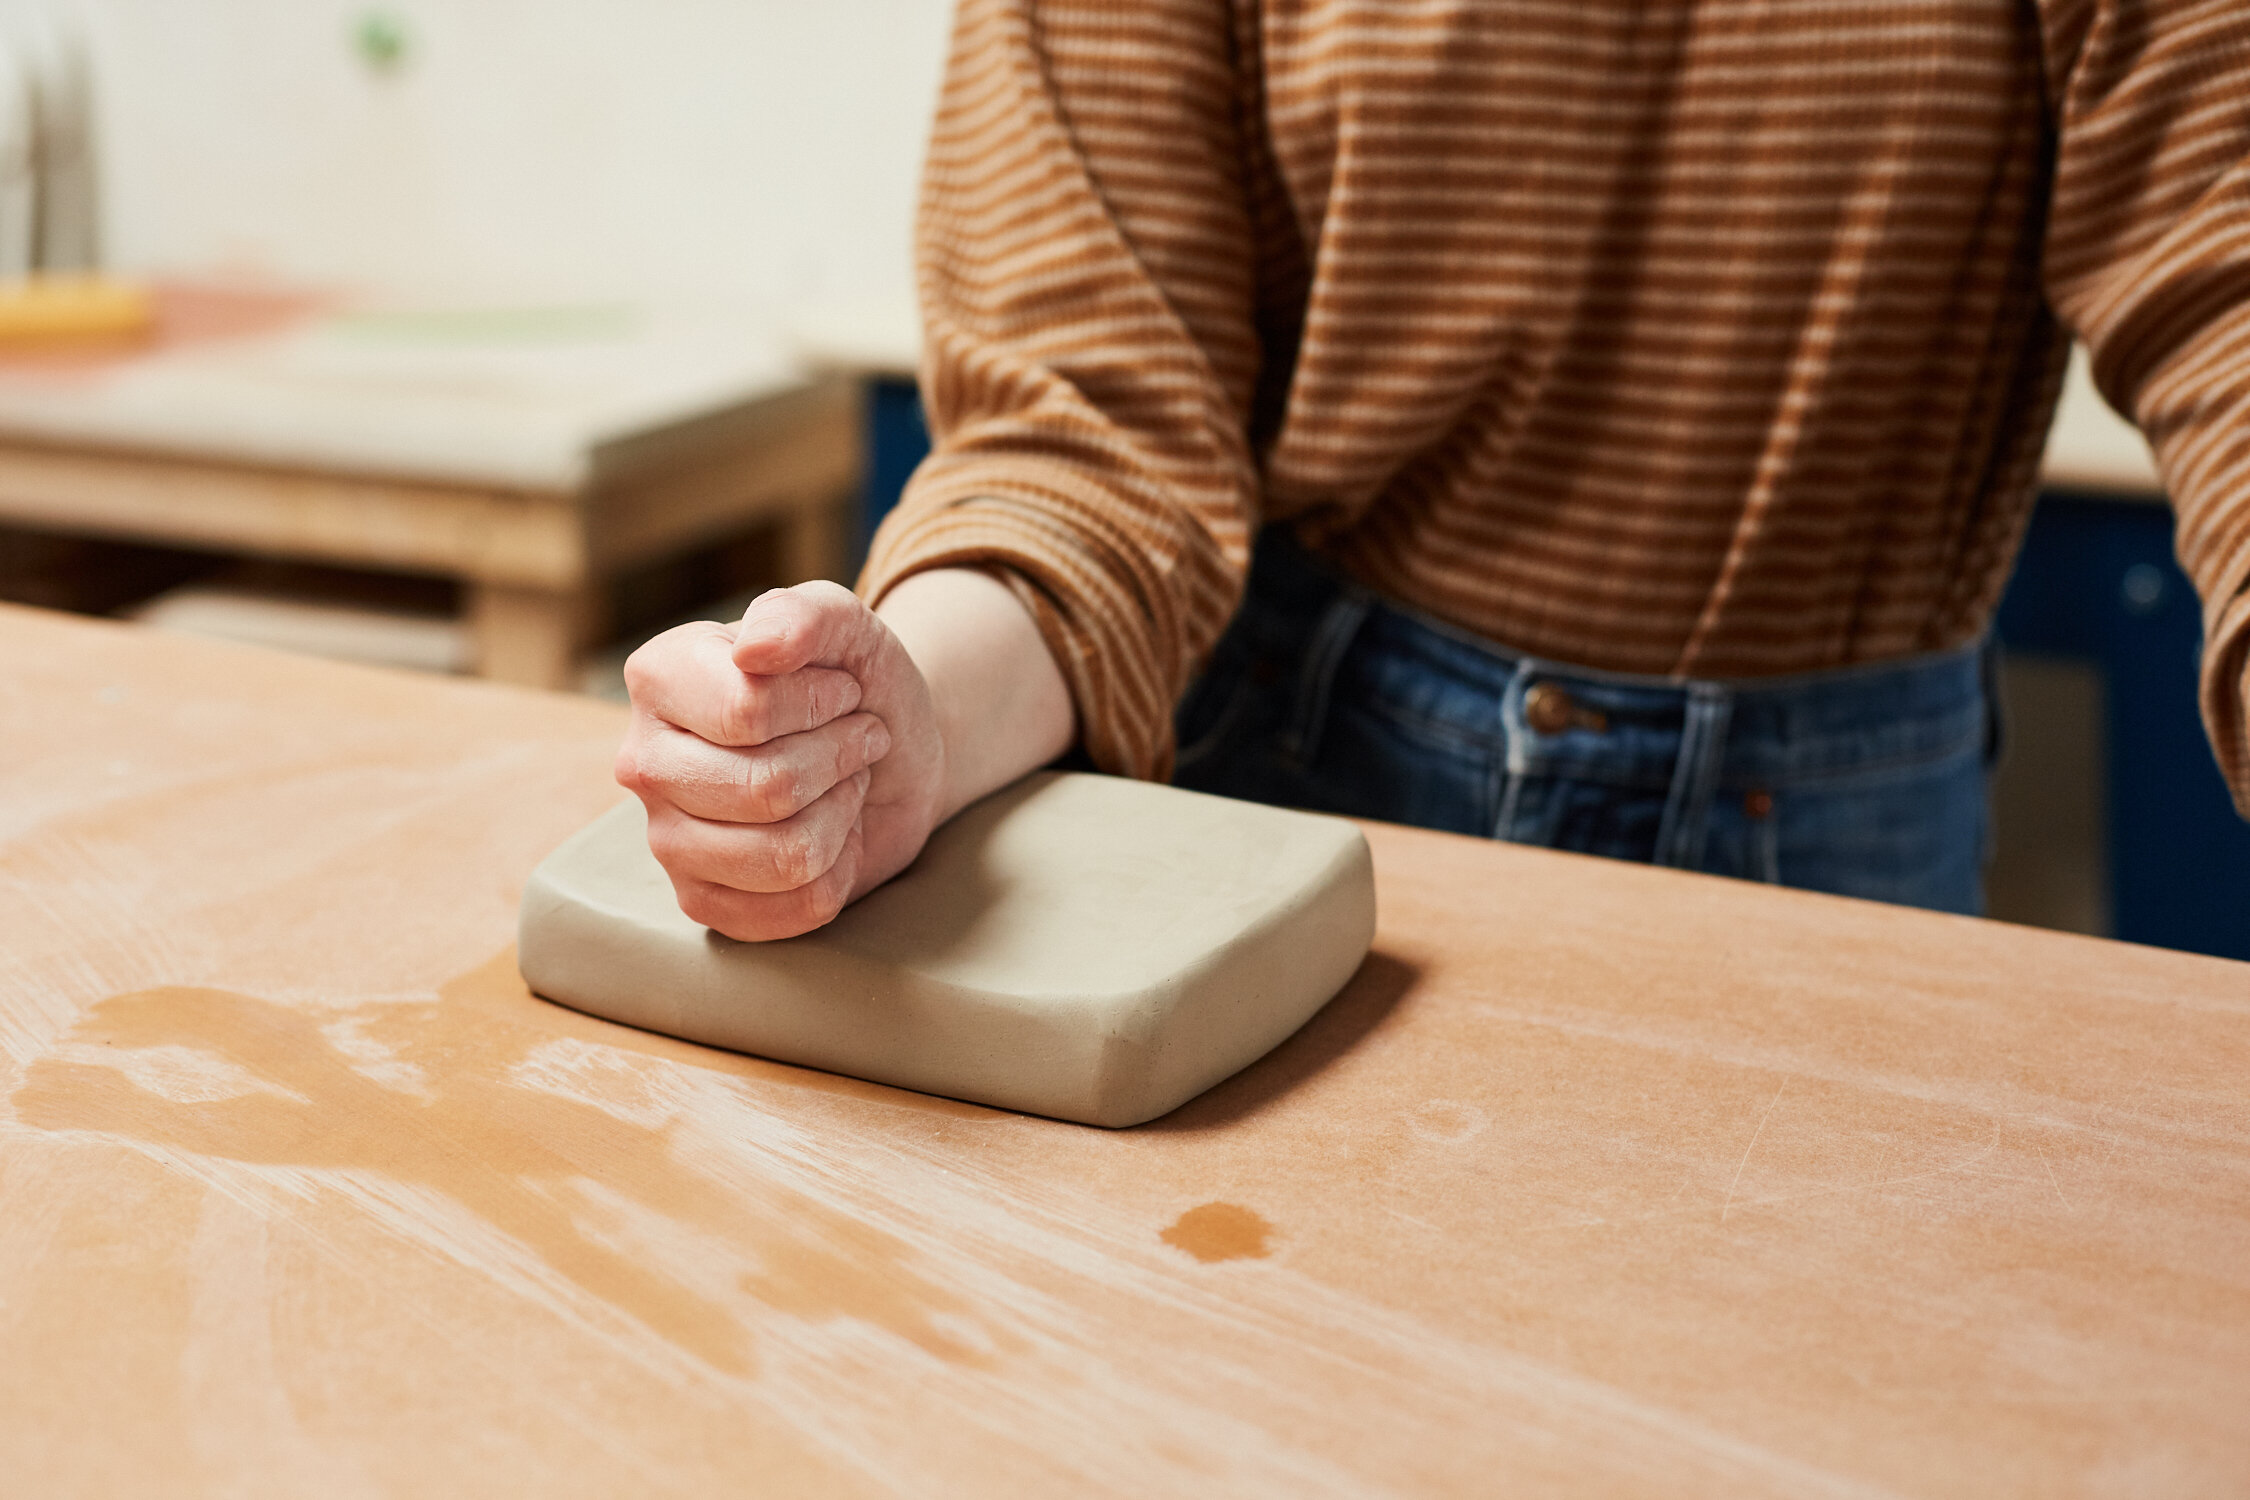
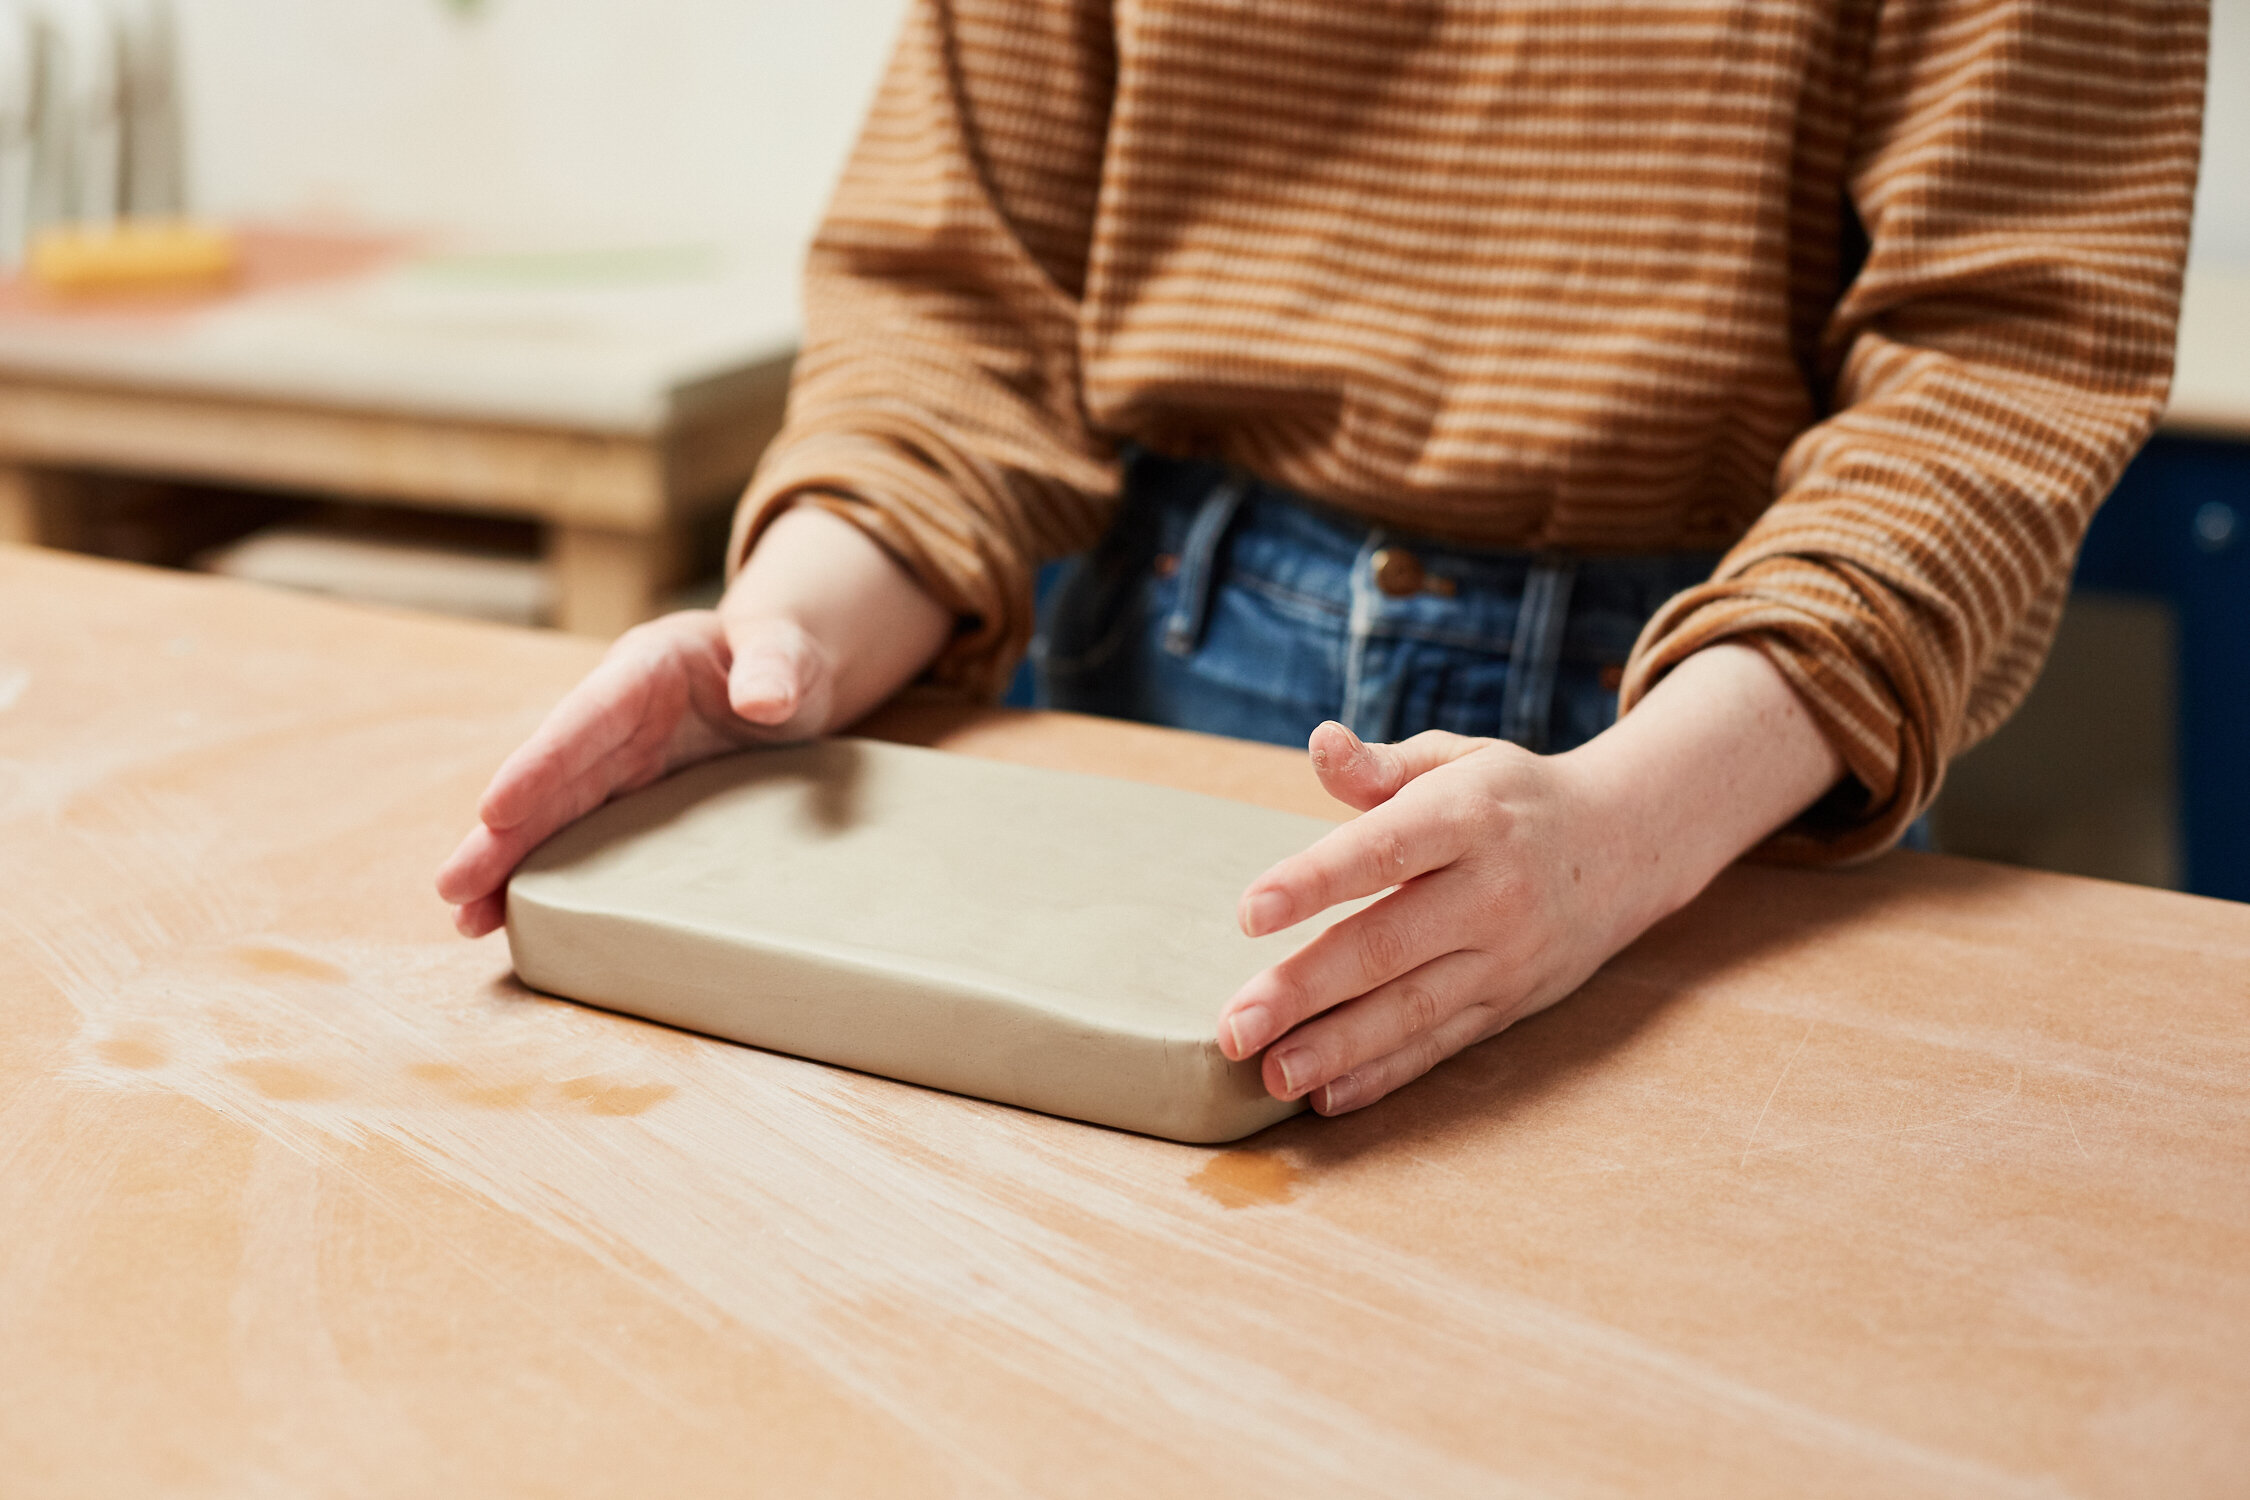
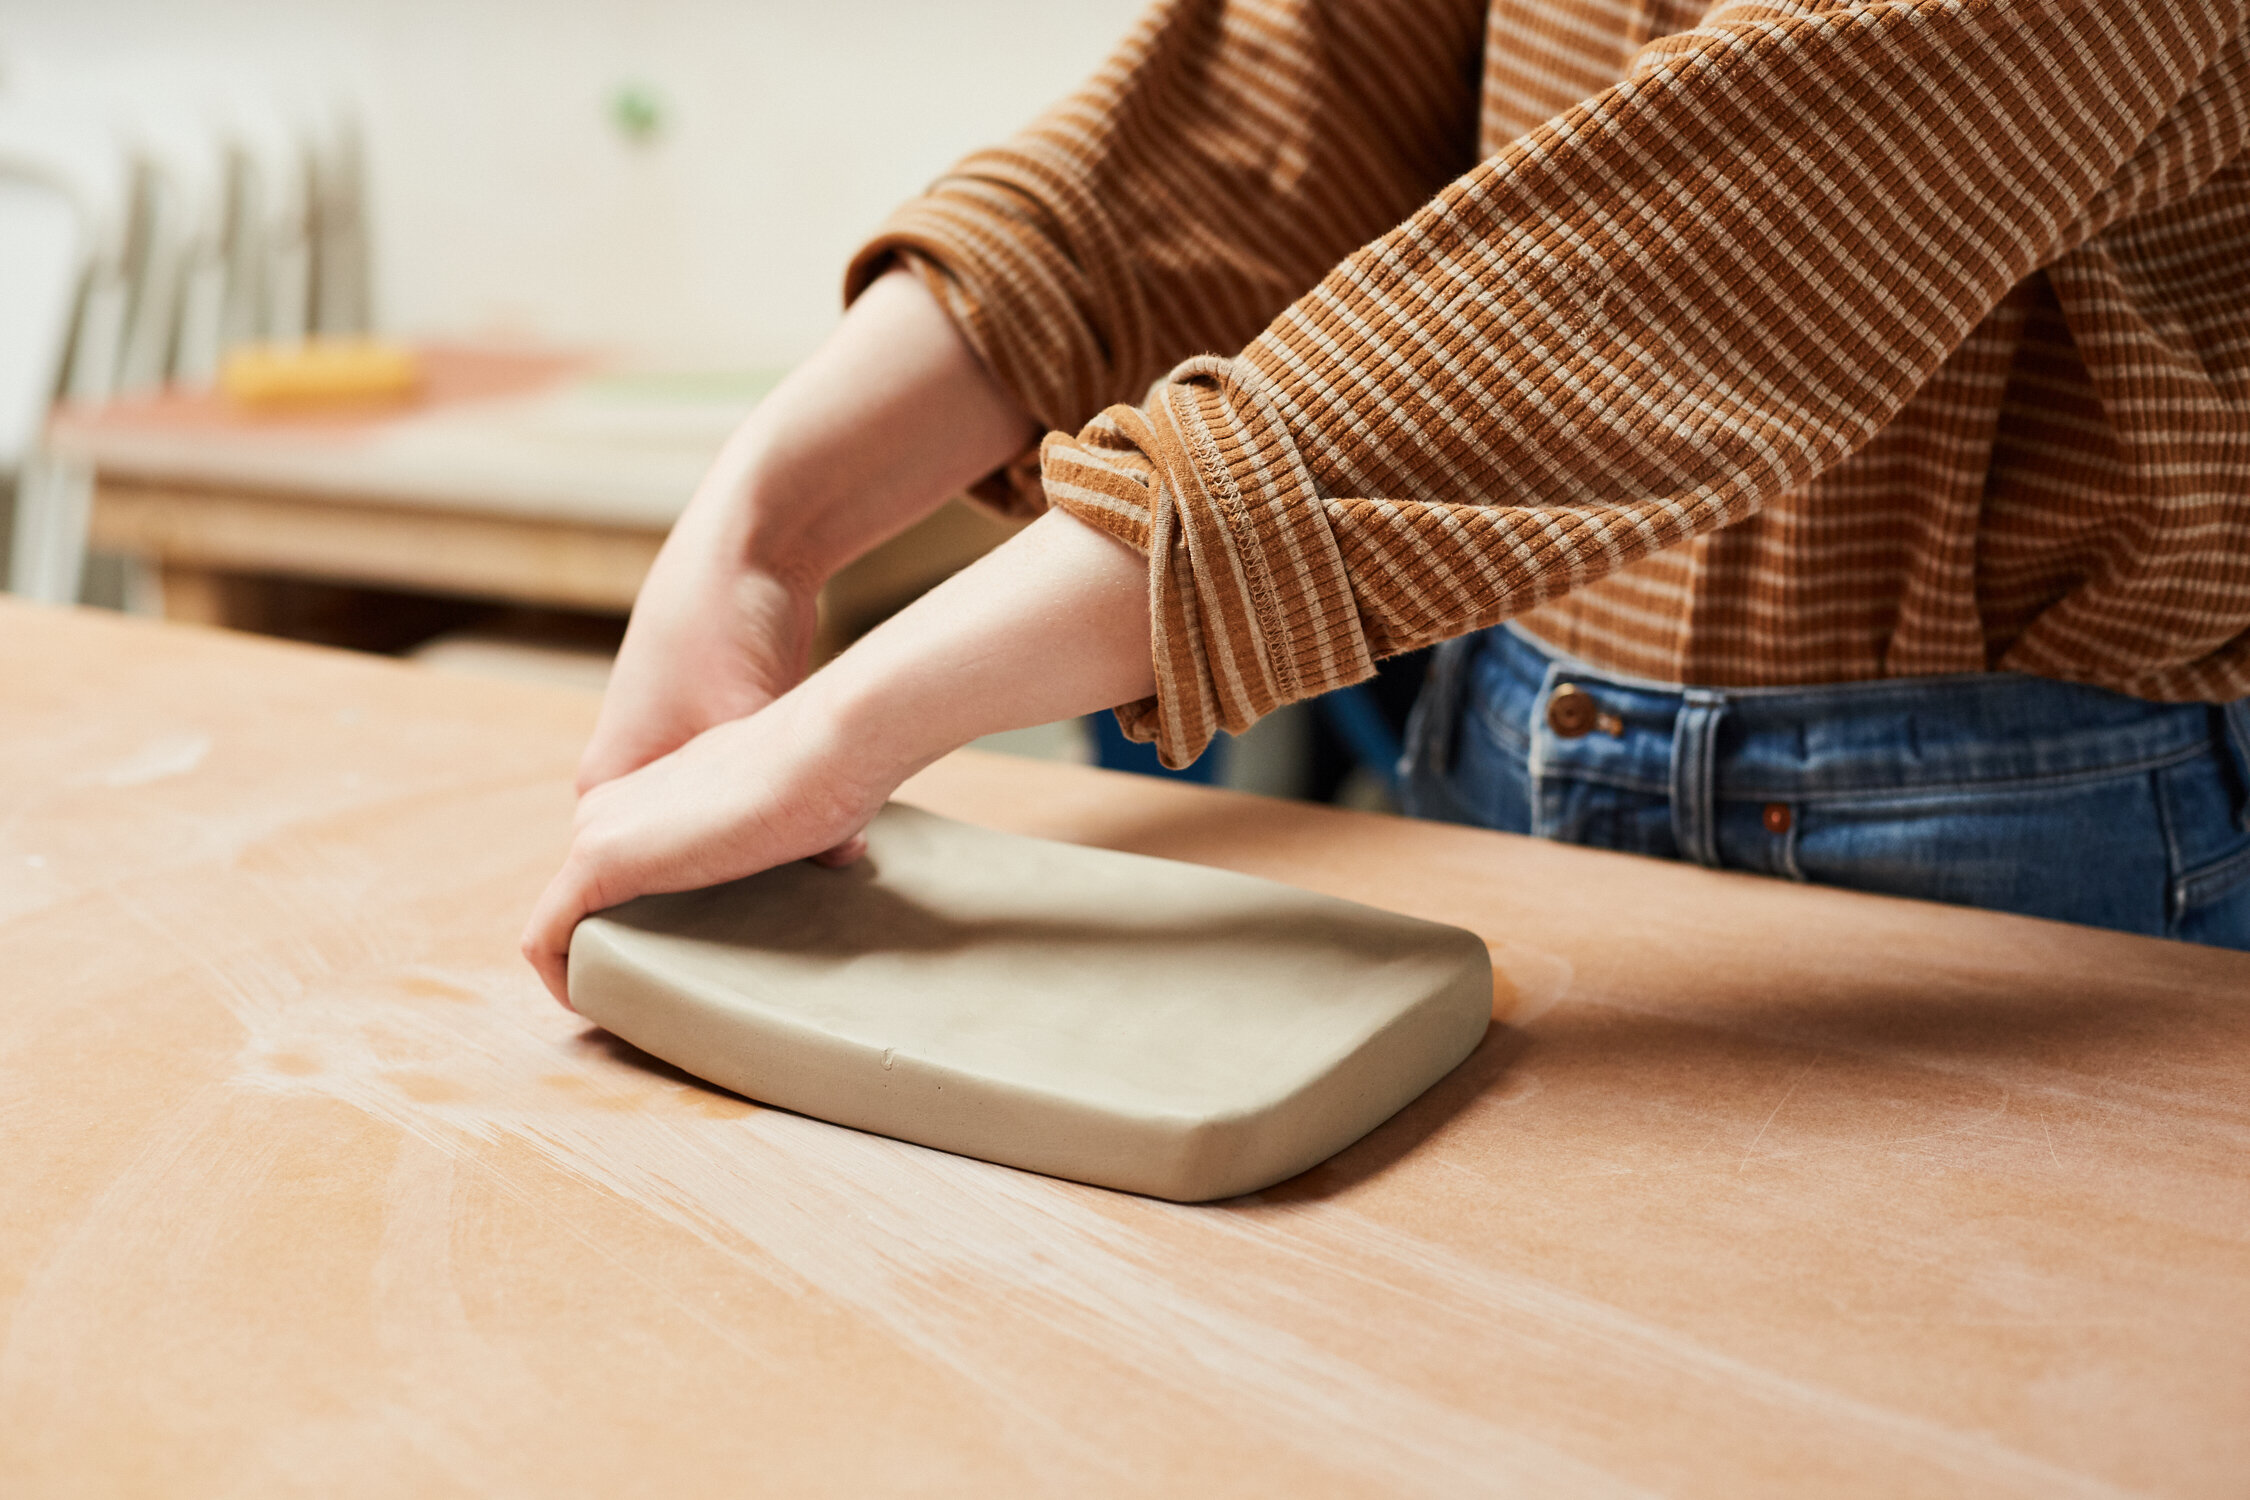
You’ll start with a good amount of clay (3-4lbs.), pound it out in to a rectangle about 1-2 inches thick. Use the flat part of your forearm and hand to gently bang the clay outward towards the edges, slowly thinning it out. If the edges do get thin, pick the slab up and tap the edges on your table to condense the clay. When you do this, flip the clay over and continue thinning on the reverse side. You want to be sure to keep an even thickness throughout, this helps ensure that the slab will be even once thinned. Keep in mind the shape of the clay, if you’re looking for a long thin slab keep the rectangle thin. If you’re looking for a square, try to keep it more square.

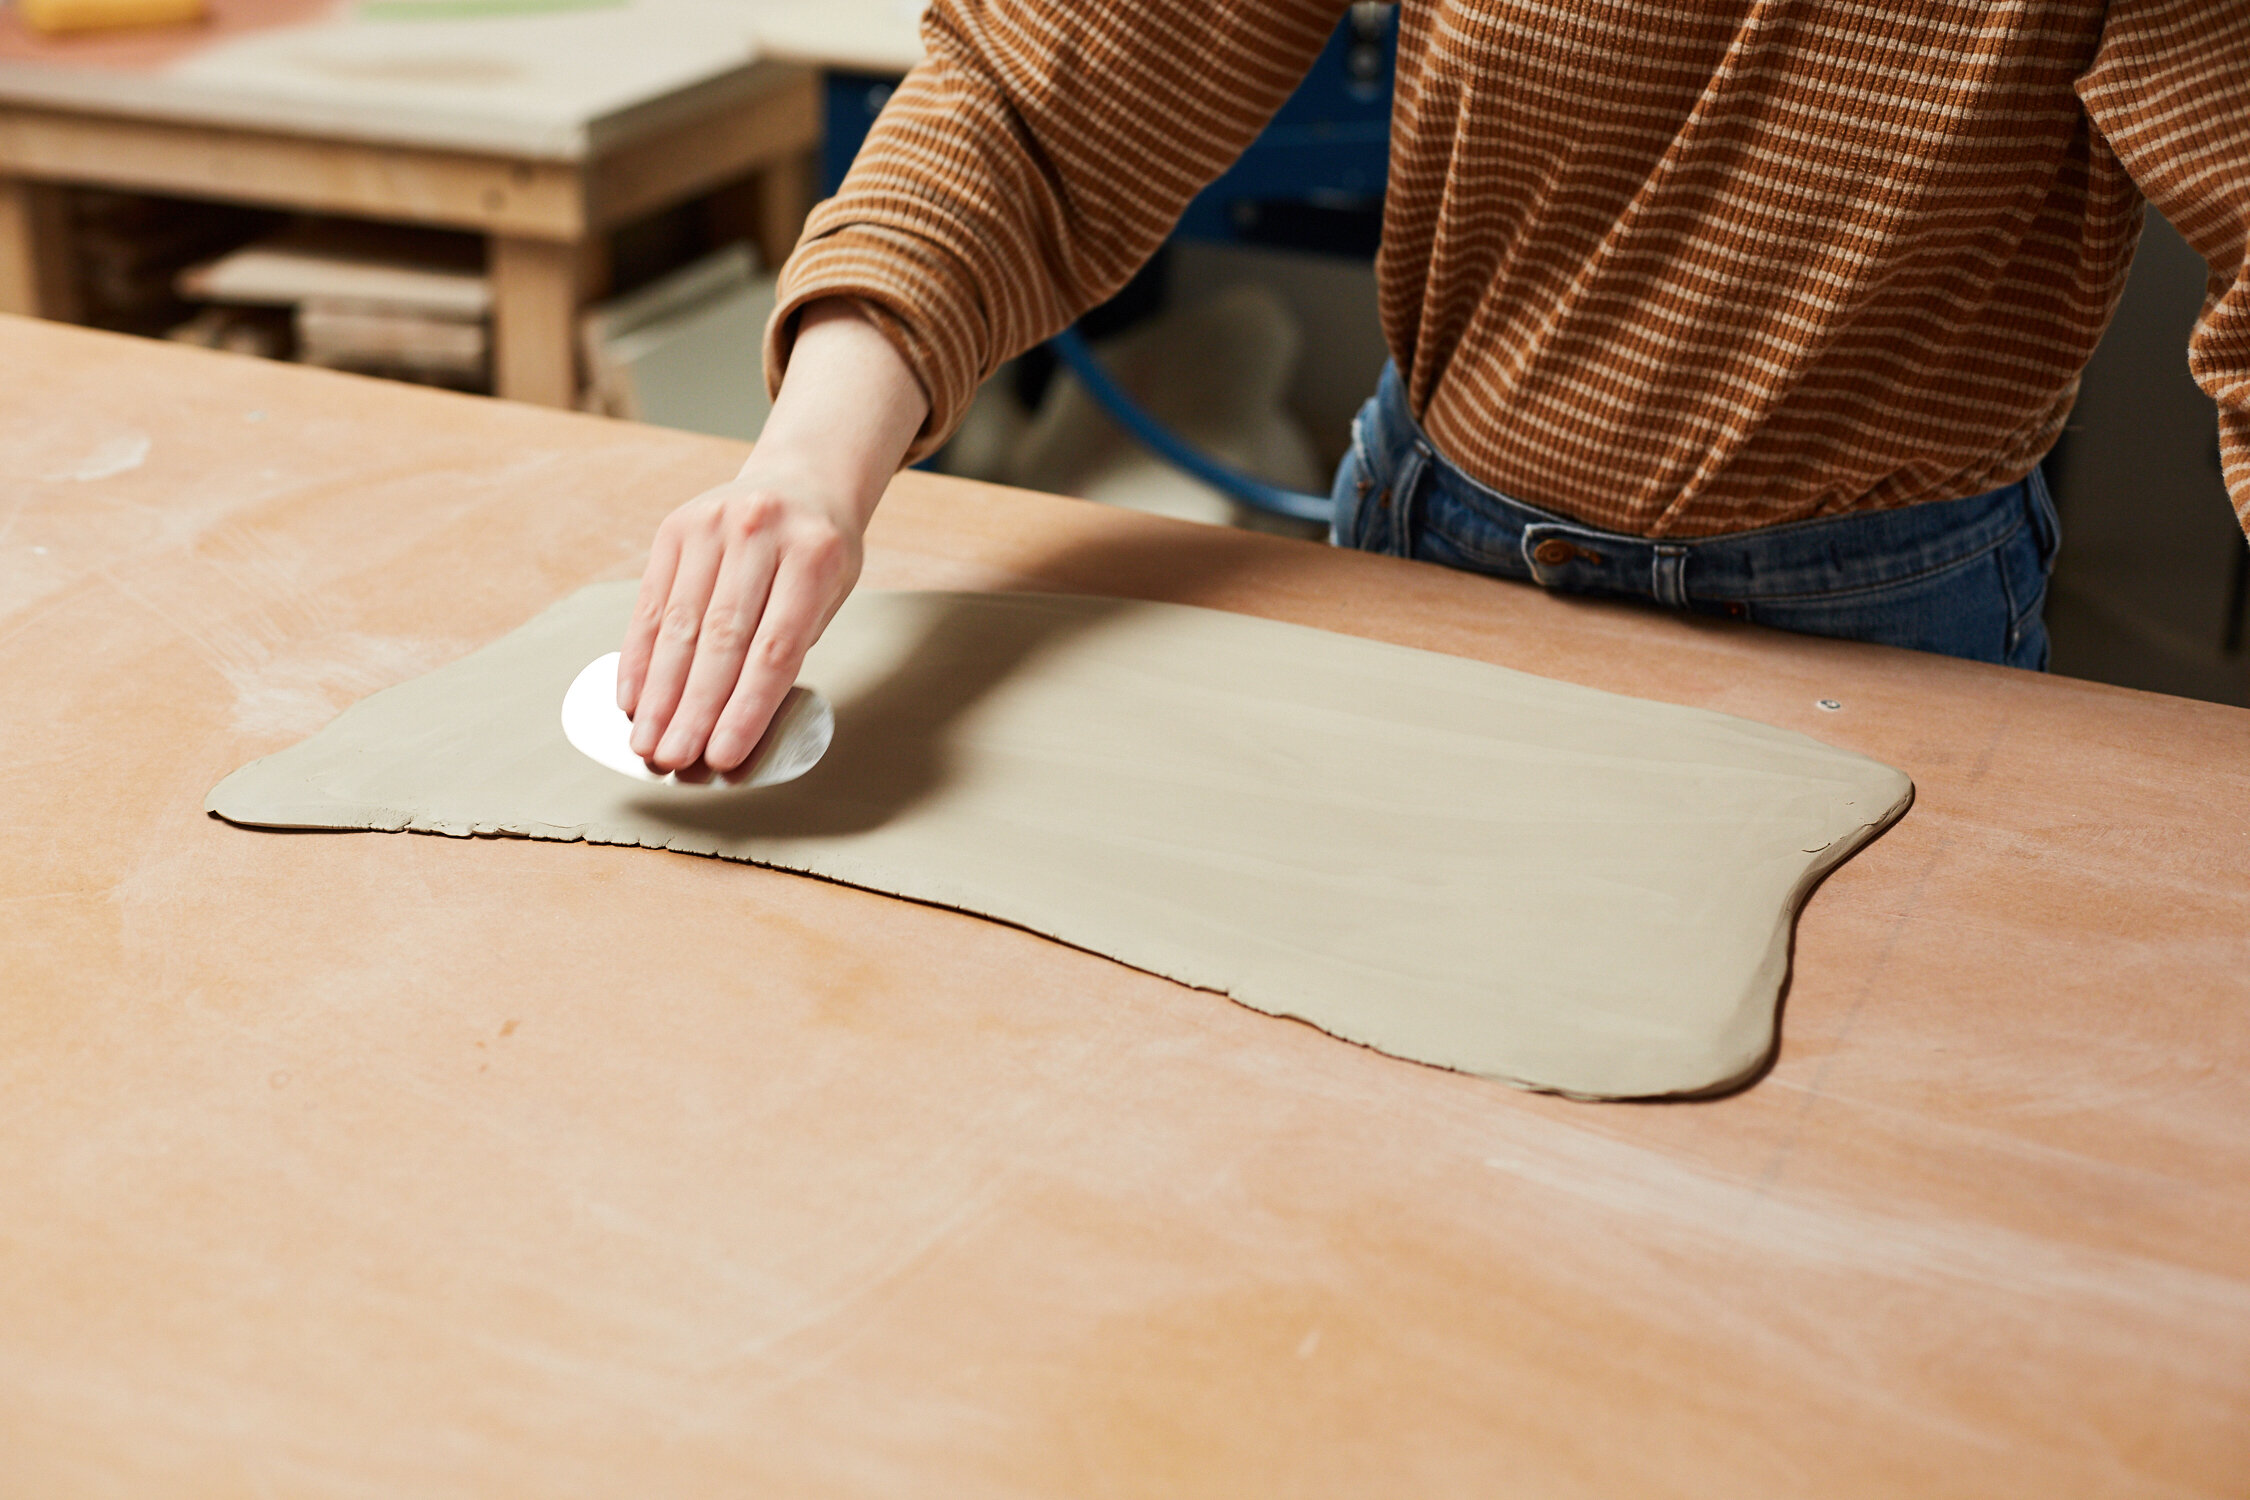
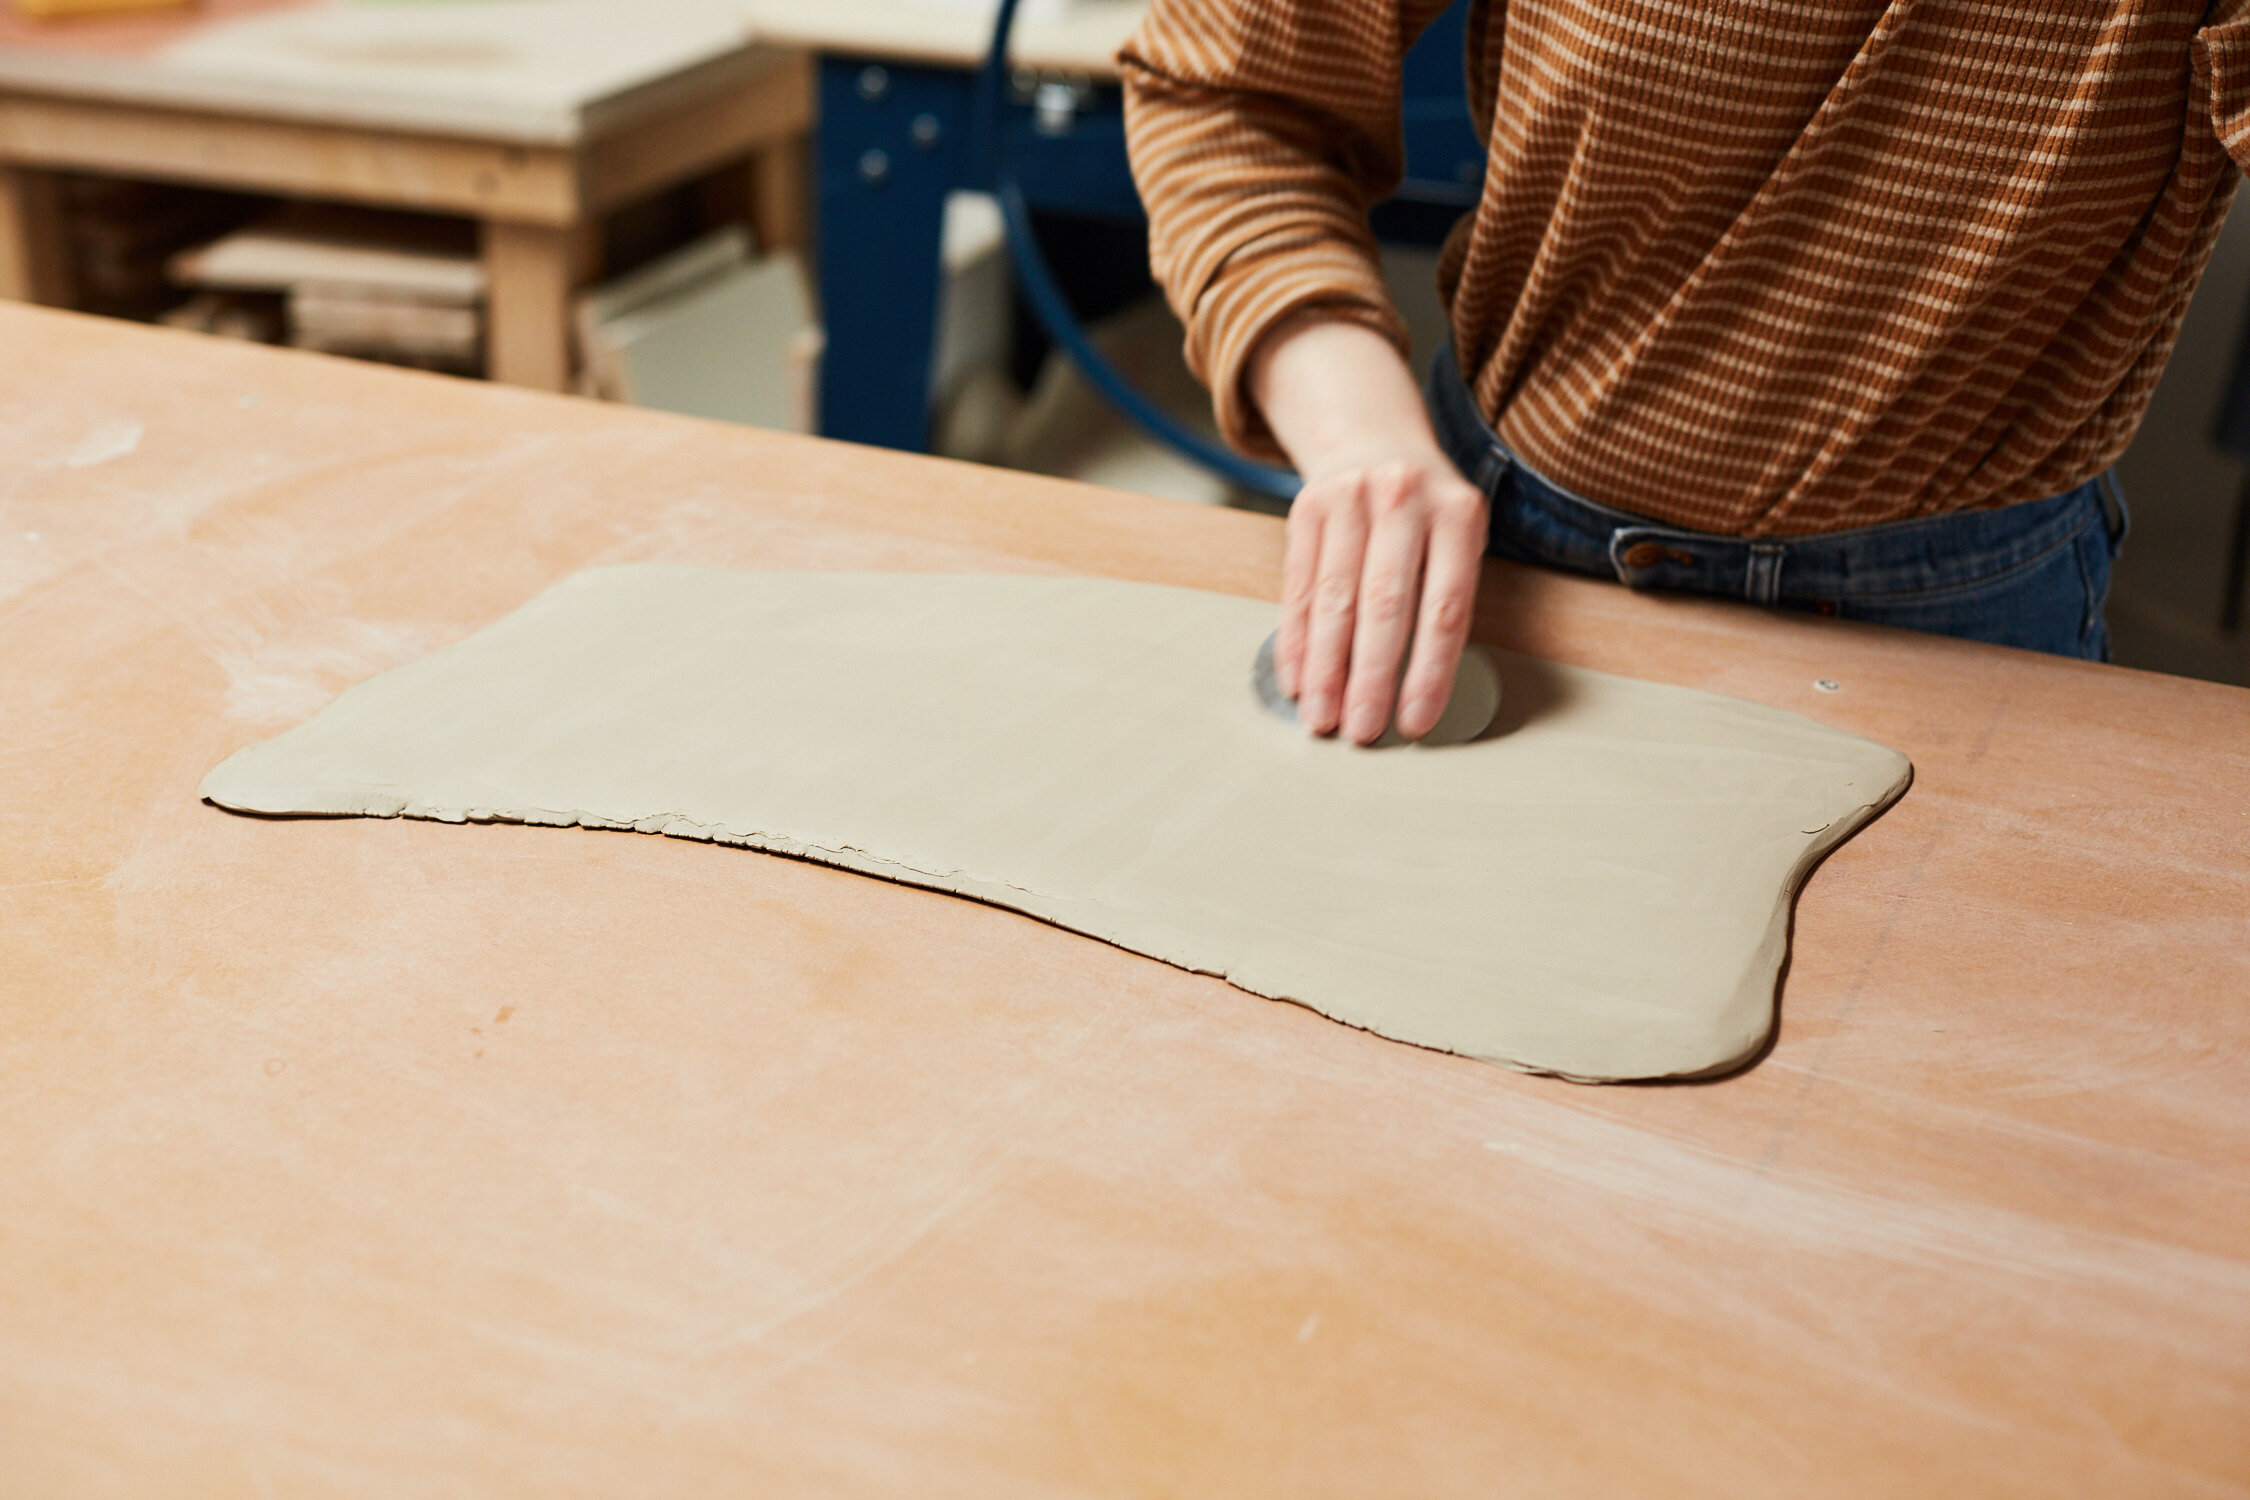
Once you’ve got your clay thinned out to about 1.5 in. of even thickness, make sure the top and bottom are smooth. You want to avoid deep ridges or divots in the surface of the clay as they’ll only be emphasized once you start to thin the slab. You can use a rib to smooth these out. It shouldn’t be necessary to add any water at this point.
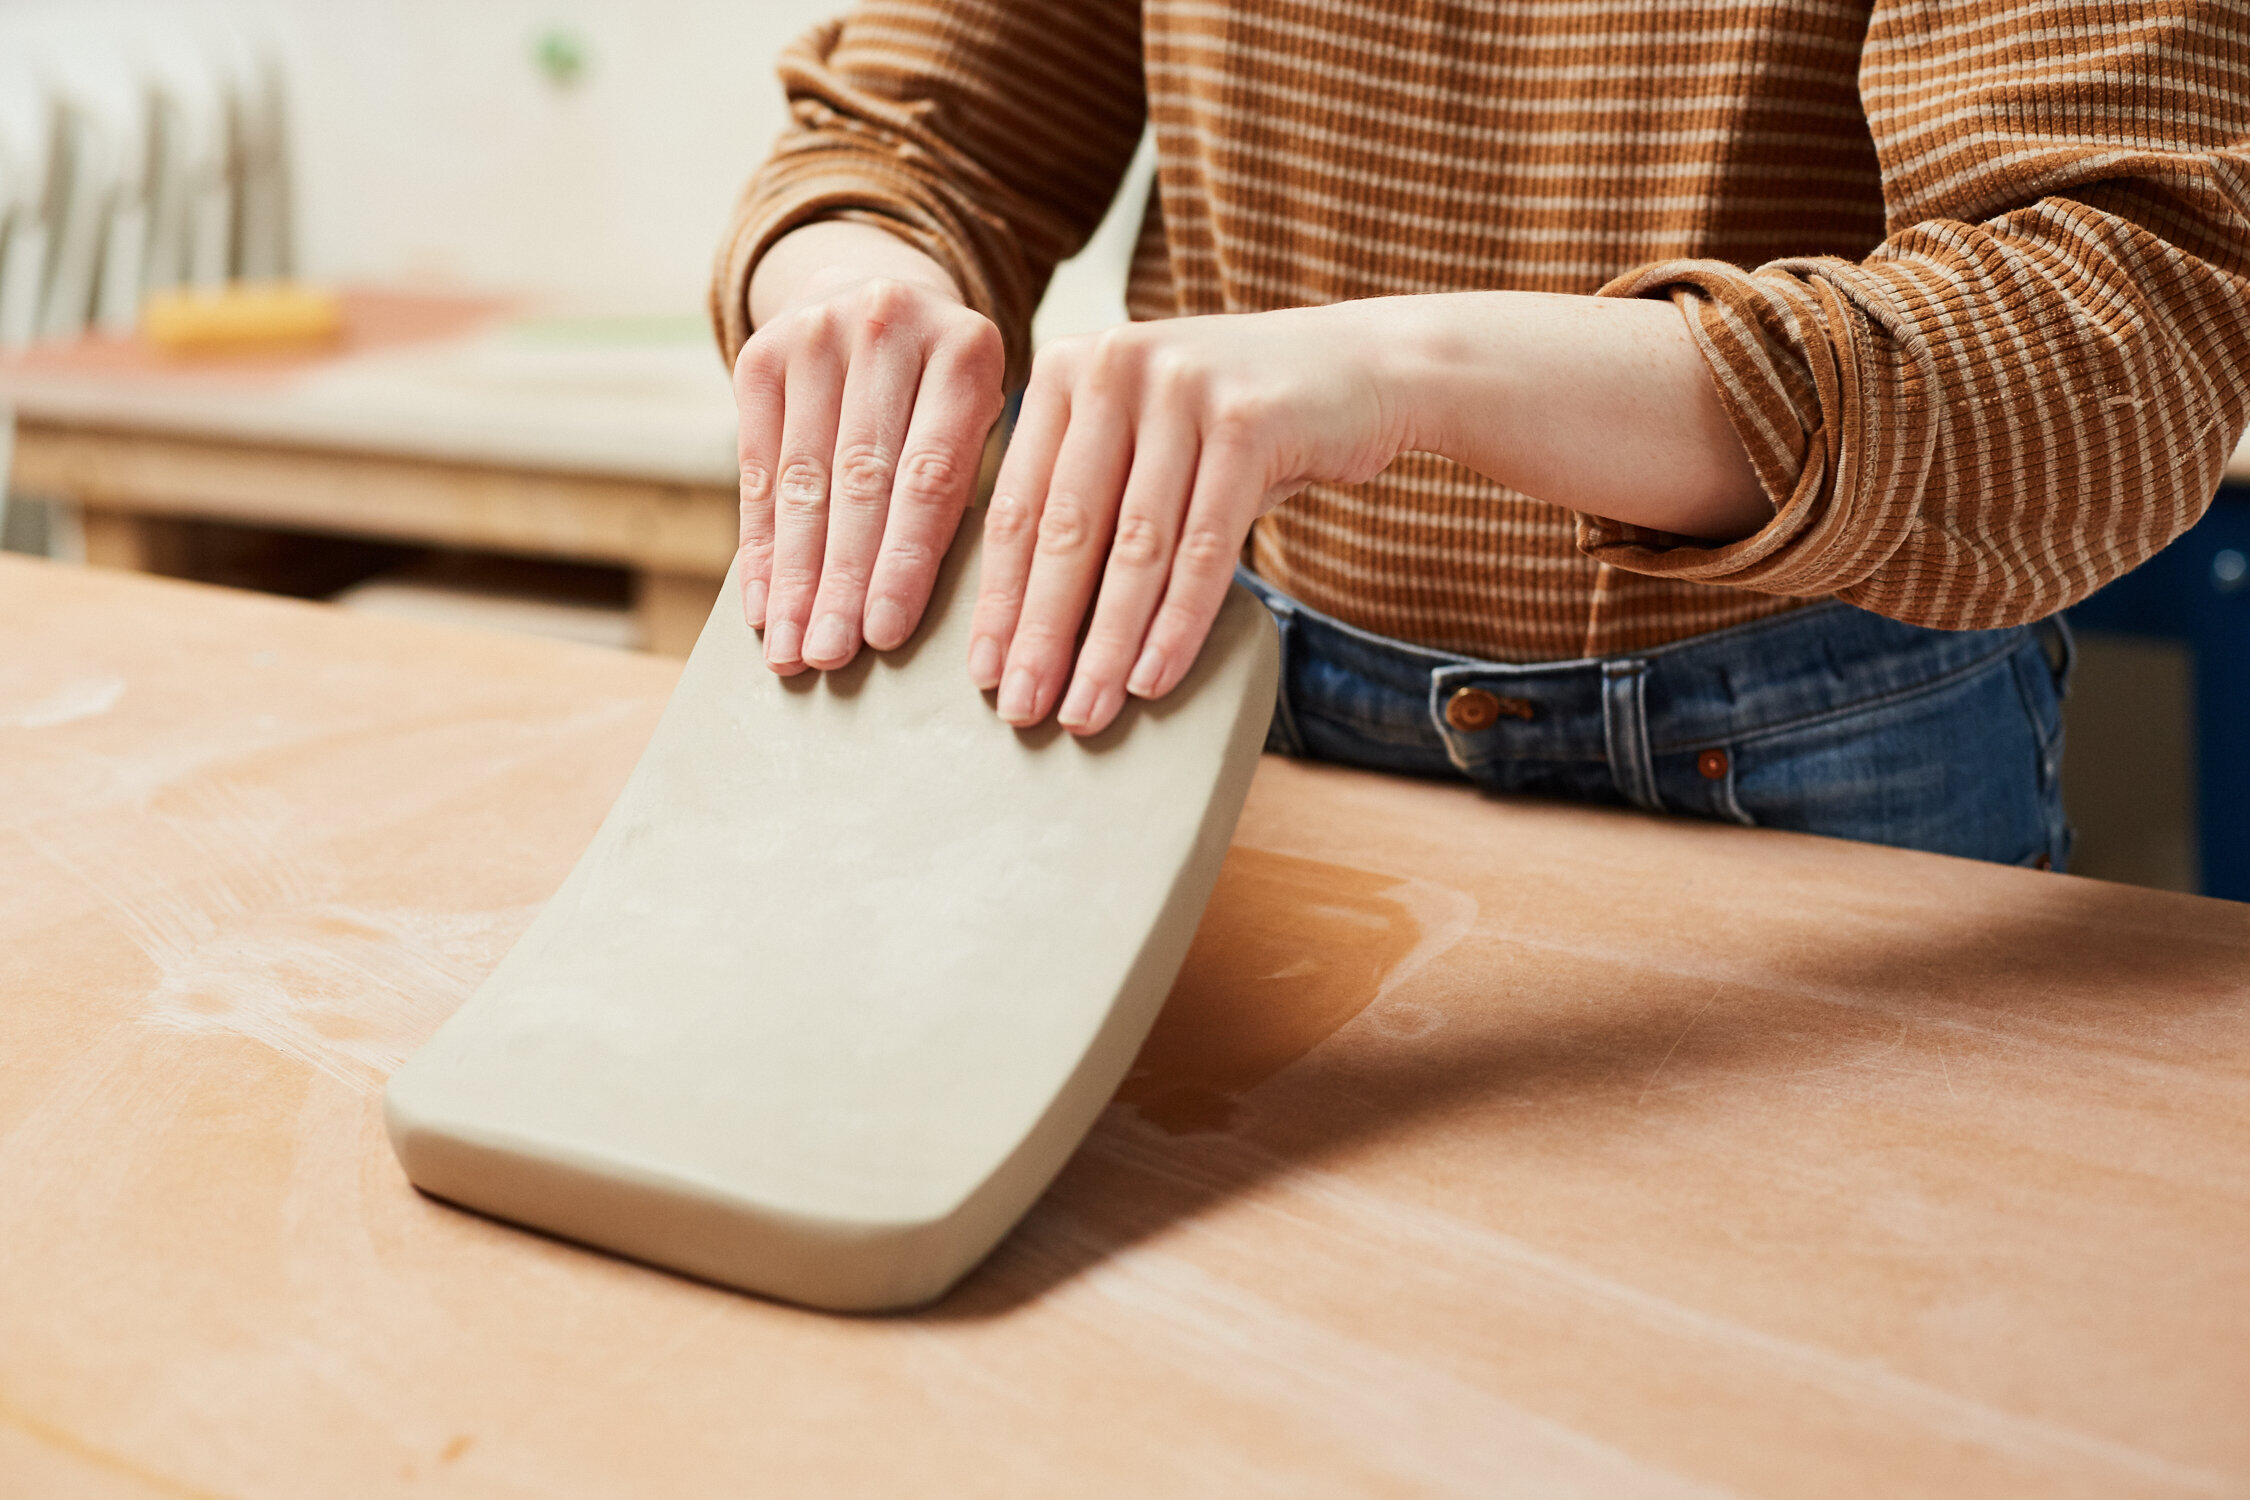
Now, you’re going to use both hands to lift the right side of the clay up completely off the table, gently swing it forward so the left edge is now at the top of the table furthest away from you, and gently flop the clay down pulling your hands towards your body. The bottom is now on top, and the slab has rotated 90 degrees counterclockwise. There shouldn’t be a loud smack when the clay hits the table, but a deep thud. It doesn’t take a lot of force. Continue this motion until your slab is about 1/4-1/2 in. thick, depending on your needs.

Once you’ve got the desired thickness, you need to compress the clay. This helps prevent warping and smooths out any wrinkles that may have formed. Use your metal rib to smooth the surface, making sure to work top to bottom, and left to right. You can work left to right covering the entire surface, then top to bottom doing the same. Flip the slab over and compress the other side with the same motion.
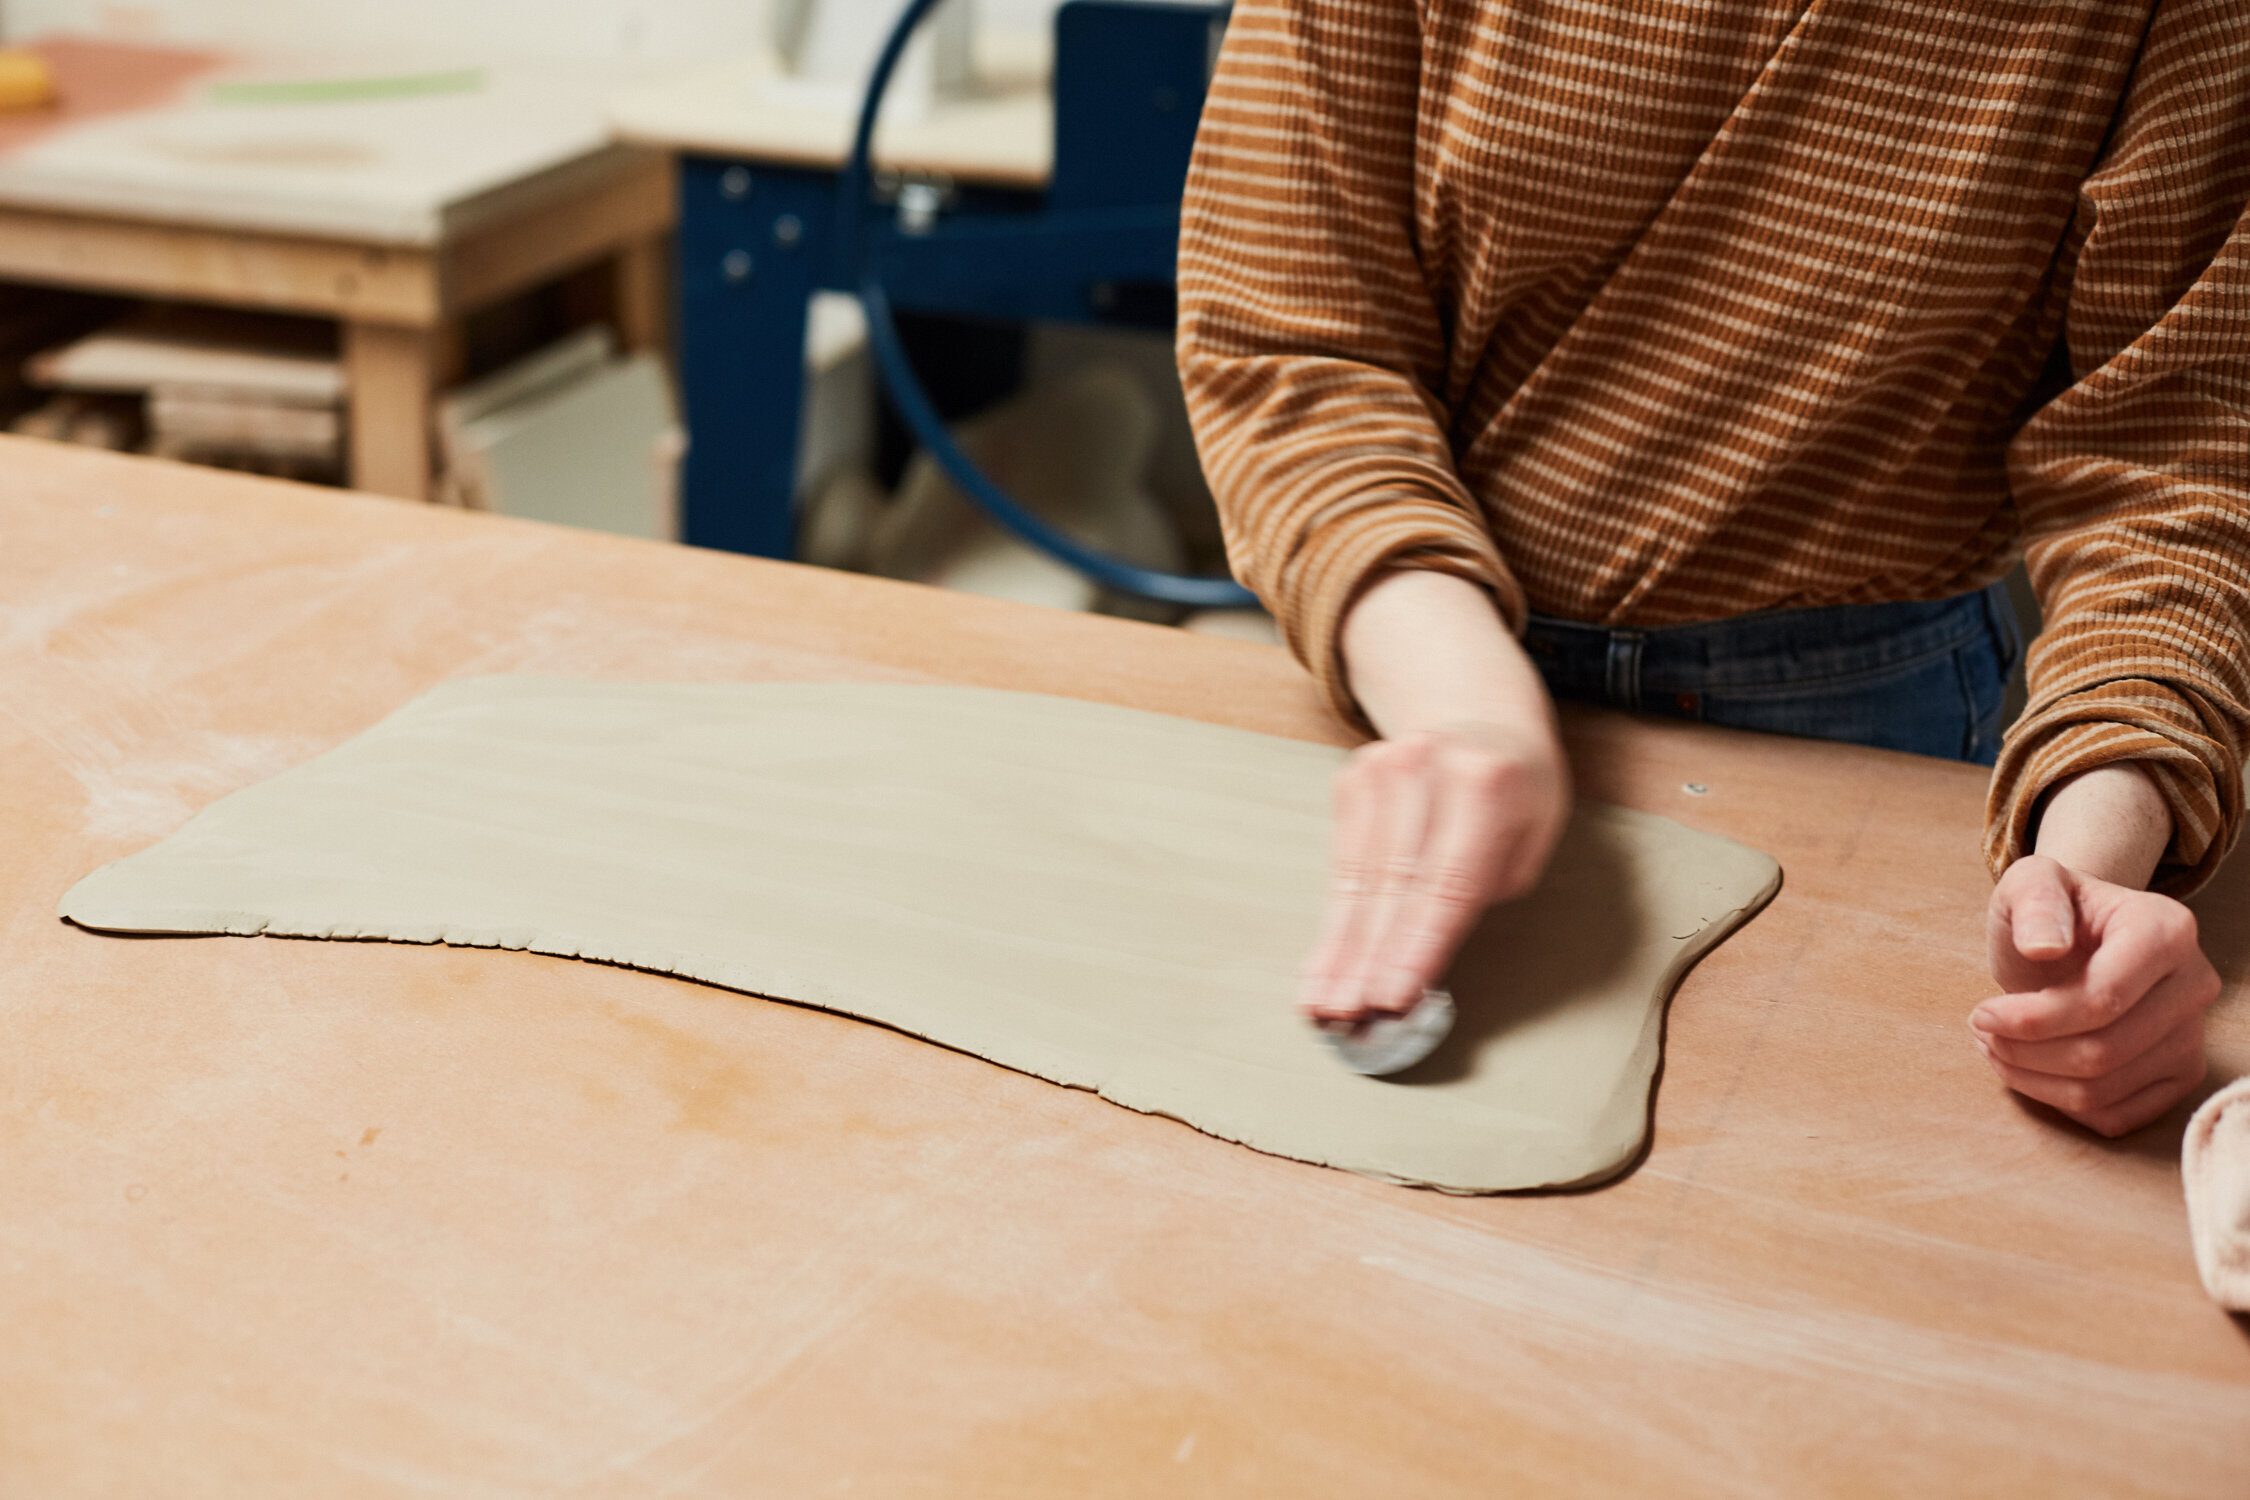
There you have it, a blank slate to make all your handbuilding dreams come true! If you’re planning on slumping your slab on an object like a bowl or plate, you can do so now while it’s wet. If you plan to build some vessels or sculptures let the slab dry a bit to stiffen up.
If you’re handbuilding, you’ll likely need slip to make sure your attachment areas are snug and secure. Slip acts as glue when we want to attach clay to clay.
What you’ll need:
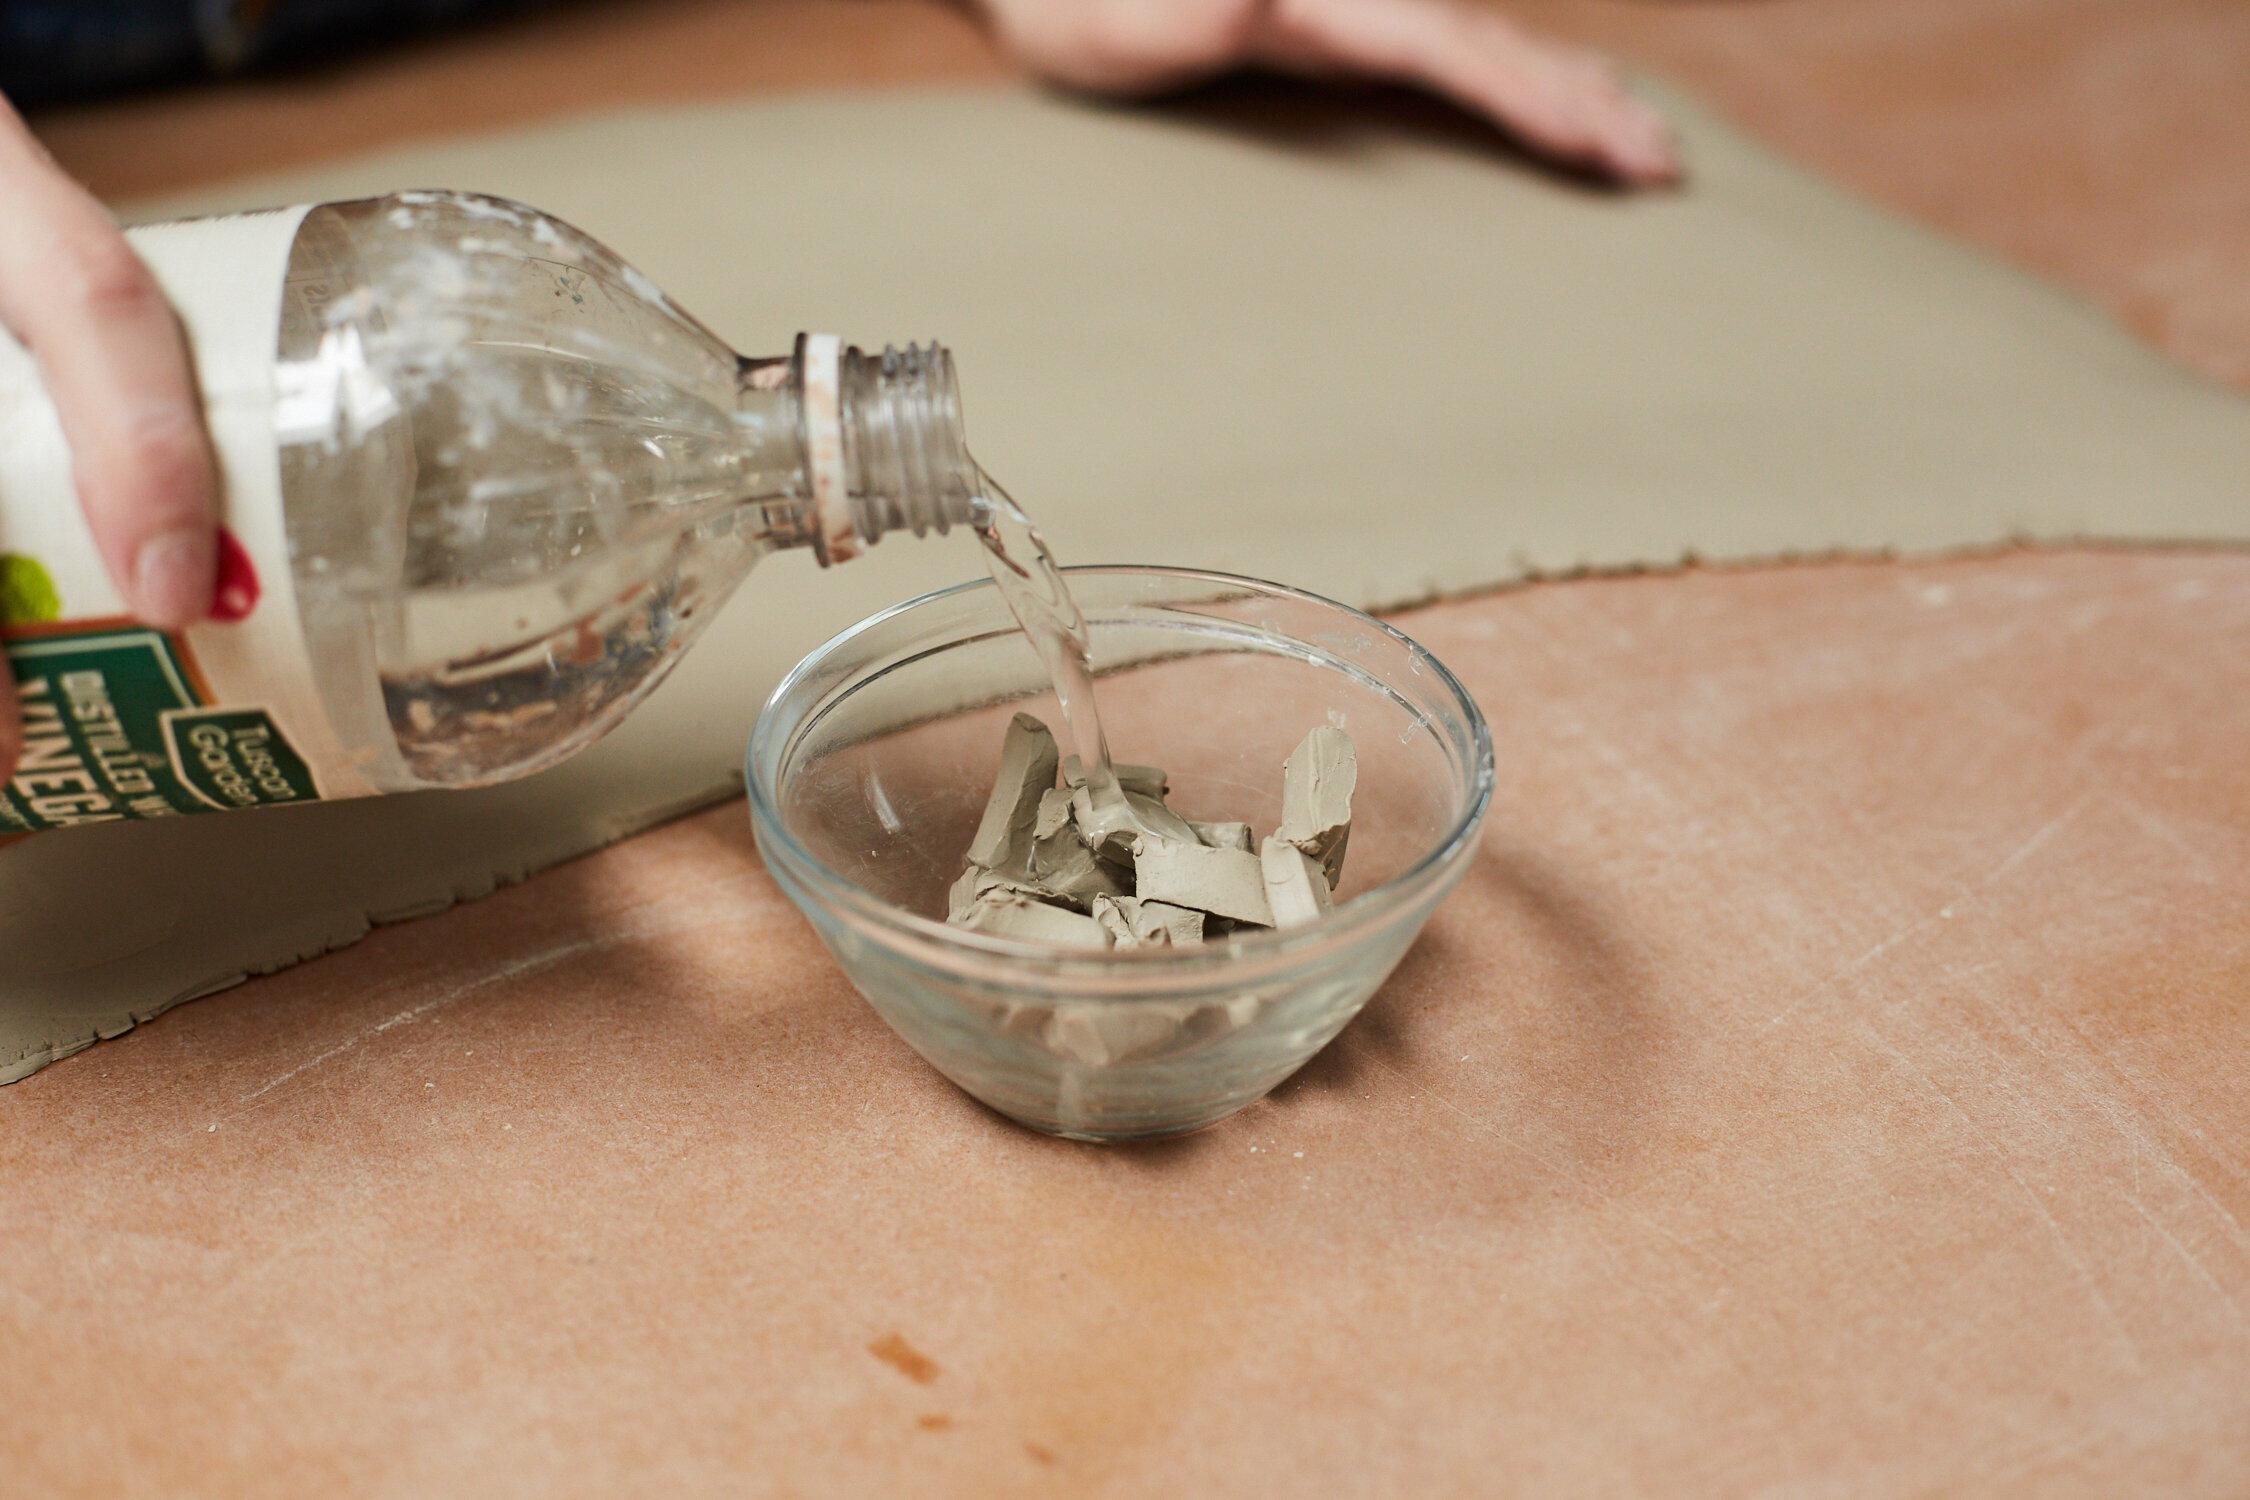
Vinegar
Water
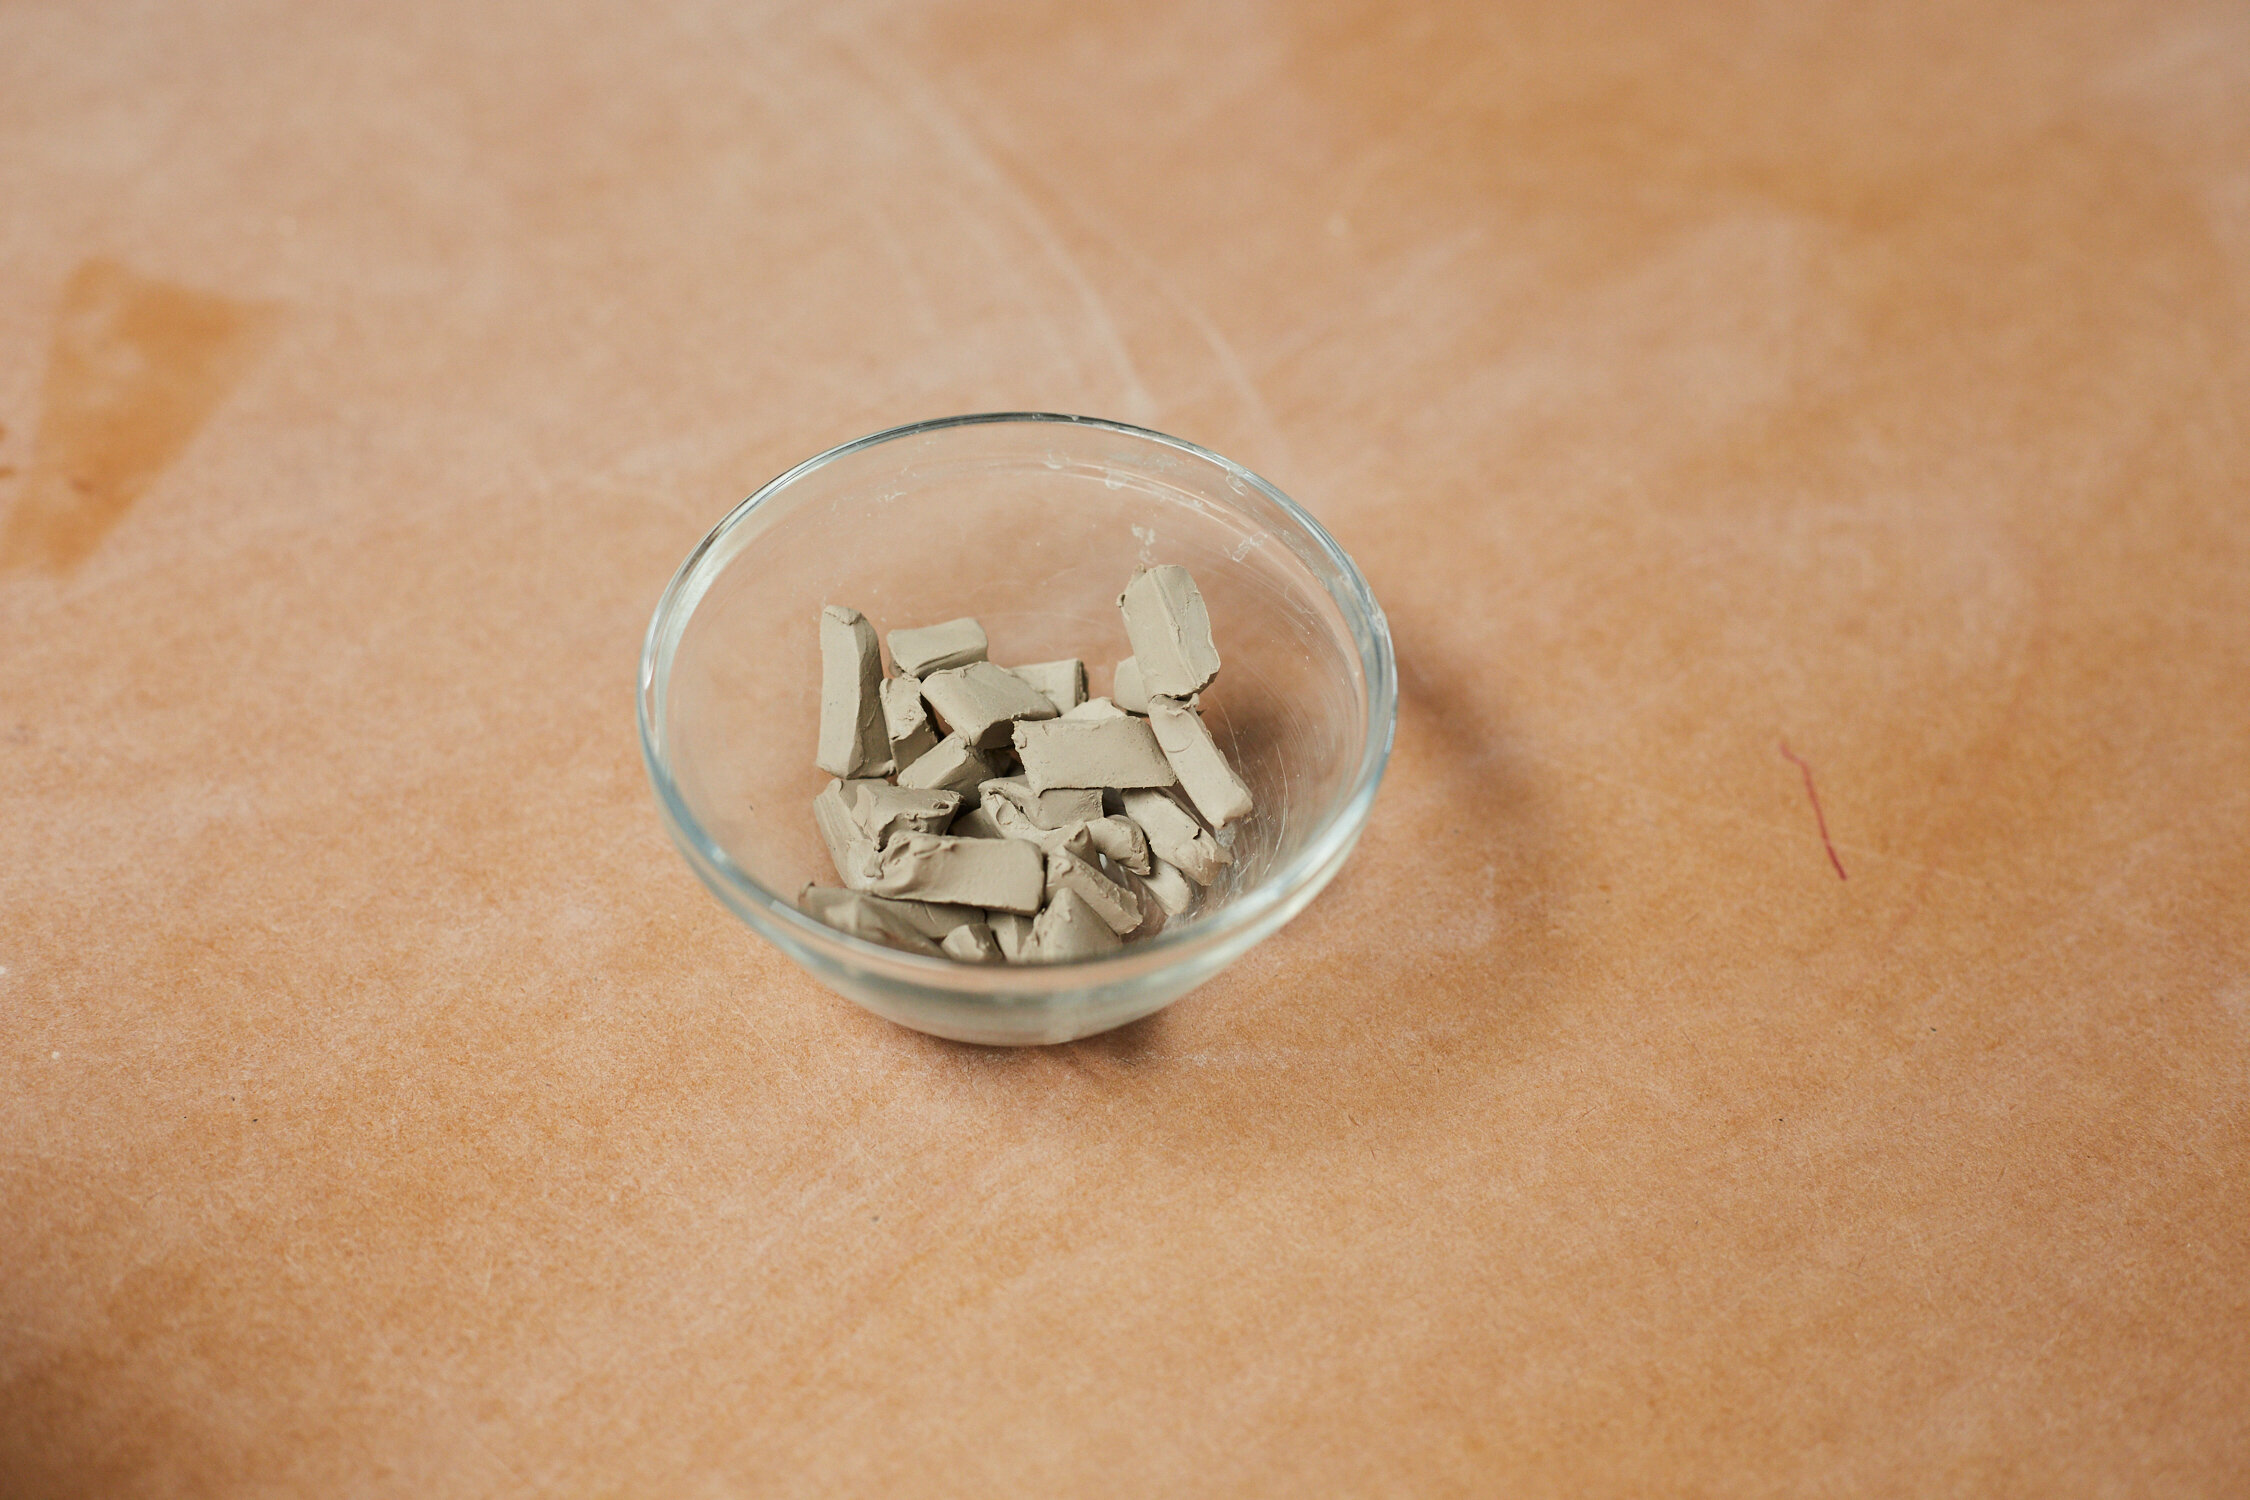
Clay bits
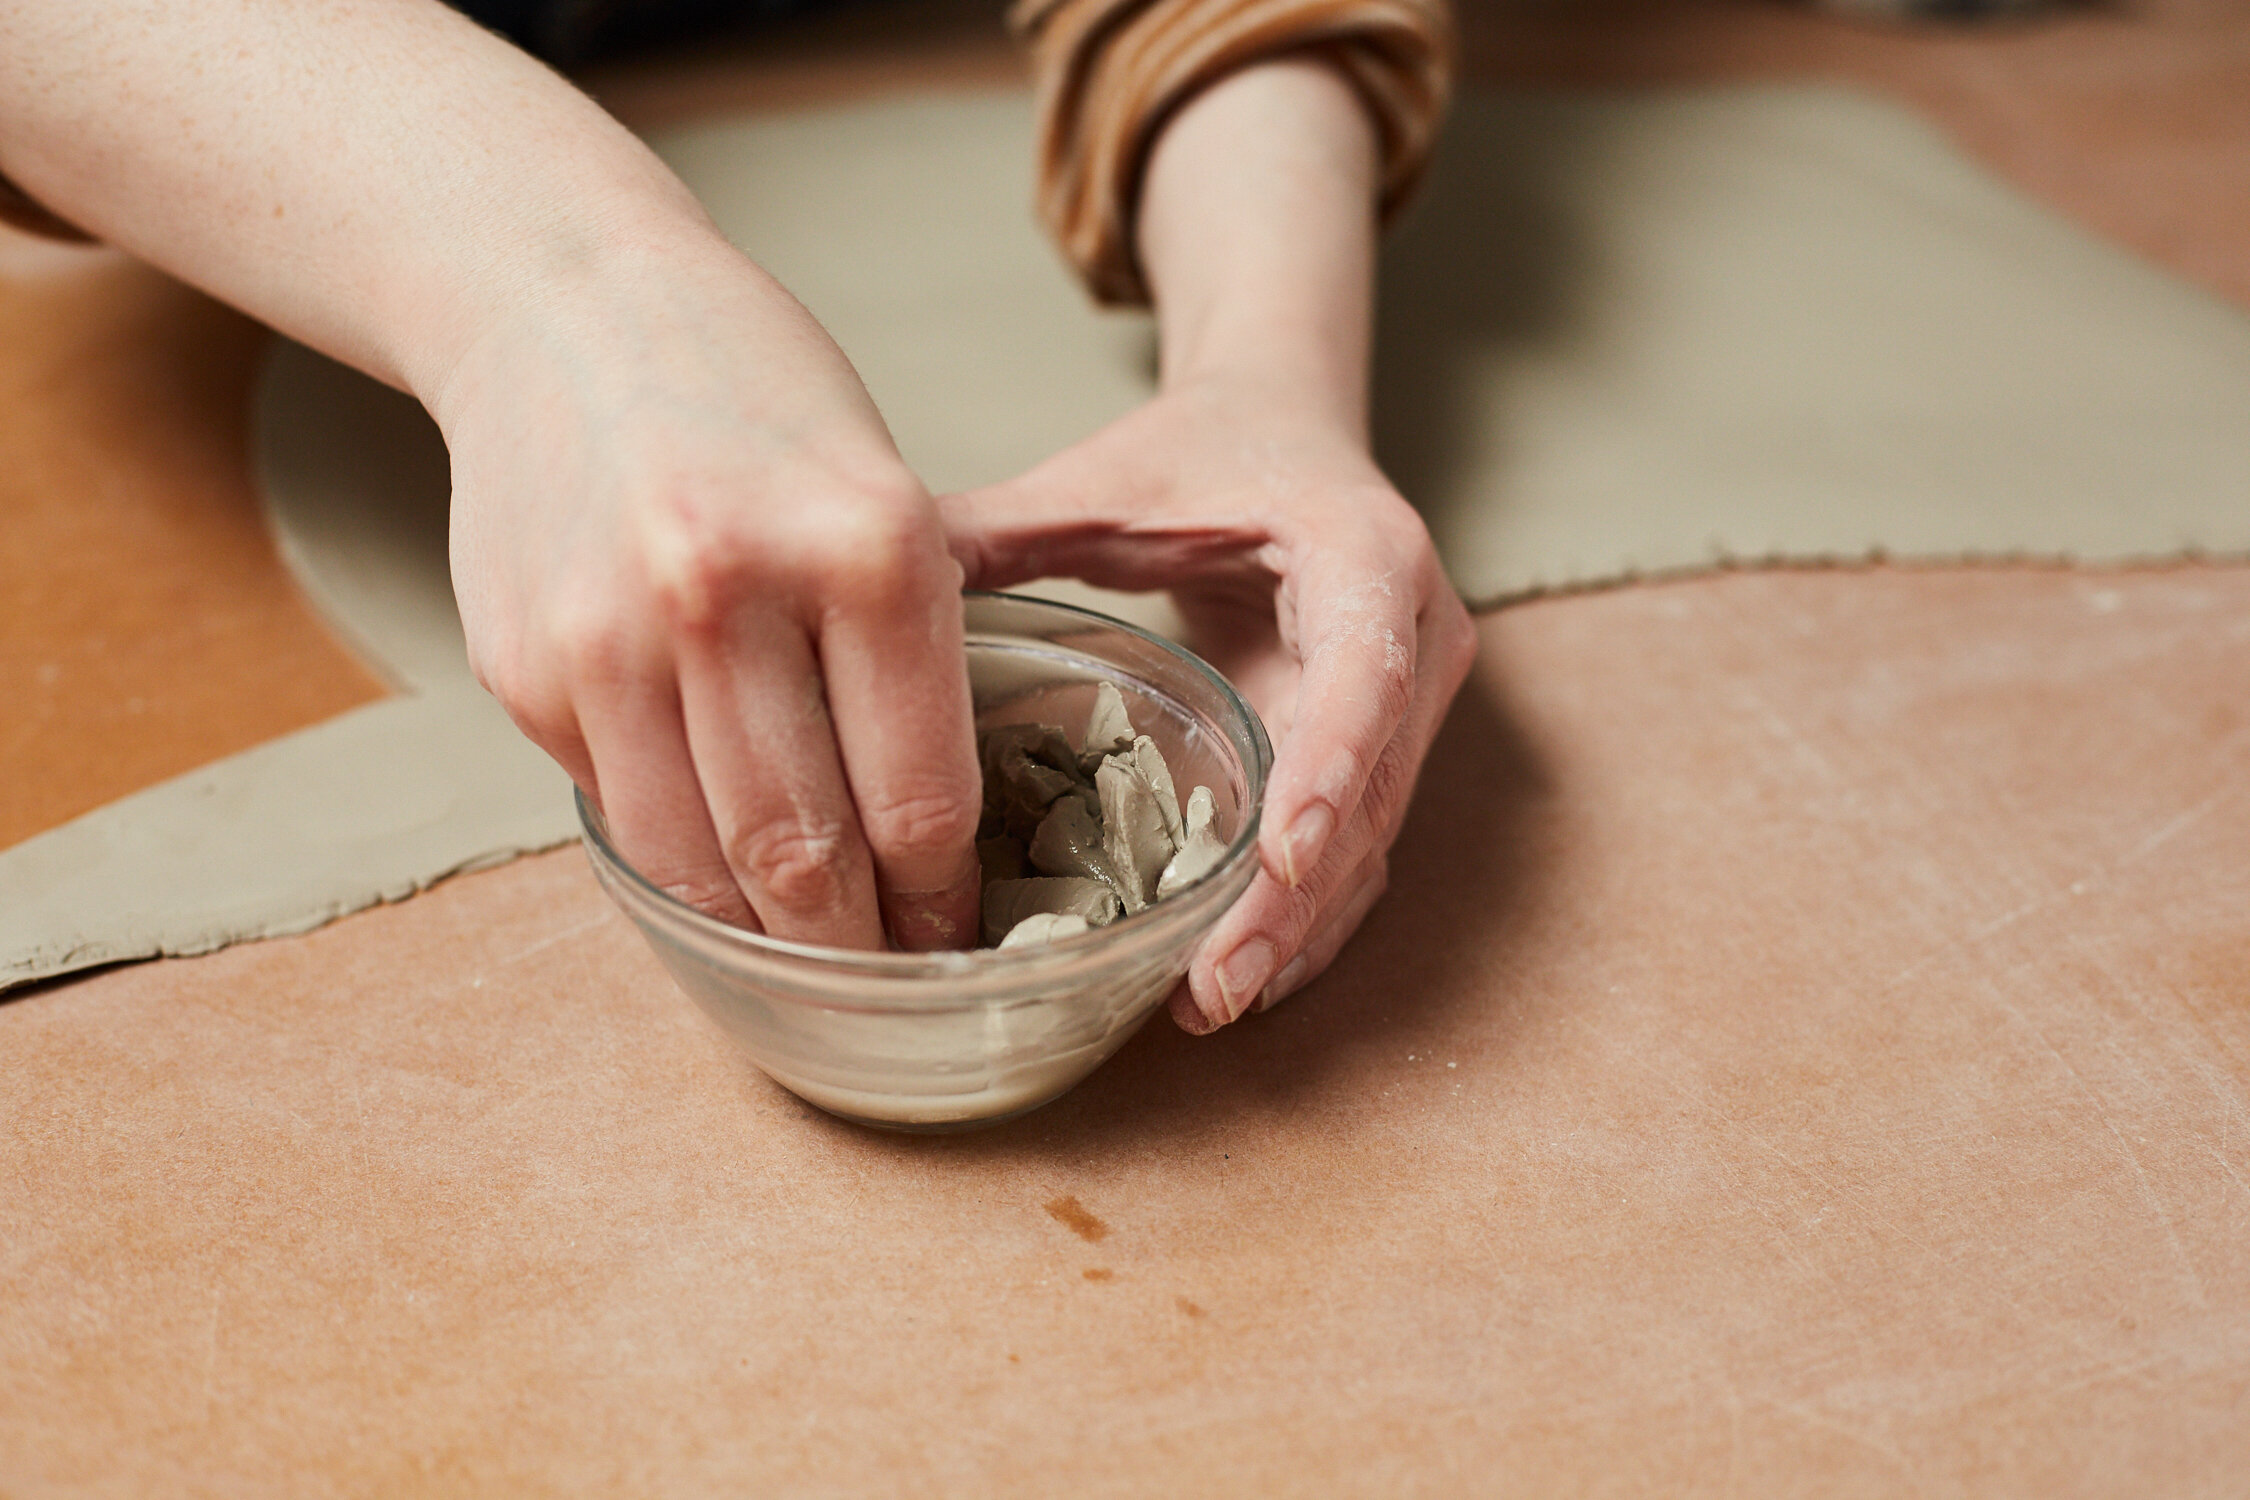
Break up some clay in to small bits and if possible, let them dry out completely. Once dry, place them in a lidded container and add 50/50 water and vinegar. Add enough liquid to just cover the surface. Let sit over night so the clay can absorb the liquid. Once absorbed, give it a stir! If there are any chunks break them up with your fingers or a tool. The consistency should be that of a thick milkshake. The smoother the better. We like to keep ours in a container with a lid so we have it around when we need it. If it’s a little too wet, just let it sit open so some liquid can evaporate.
Why vinegar? Because clay is slightly alkaline, the acidity of vinegar makes it act like a glue.