Raku firing at Camden Clayworks
The ceramics community in Richmond, VA is vast and ever expanding. We’re lucky to be surrounded by so many exceptionally talented potters willing to share their knowledge with us, one of them being David Camden. I first crossed paths with David at the Visual Arts Center when I started taking classes soon after moving to Richmond, VA. He’s patient, kind, and an all around joy to be around. His classes are energetic and filled with insights that could only come from someone who’s been throwing since they were 15 years old.
When David offered to have our Continuing Clay class out for a raku firing, we jumped at the opportunity. Our students threw some pots, focusing on narrow necks and fat bellies, bisque fired them at Hand / Thrown and met at “Camp Camden” one Sunday afternoon for a day of studio tours, glazing, and firing with red hot flames.
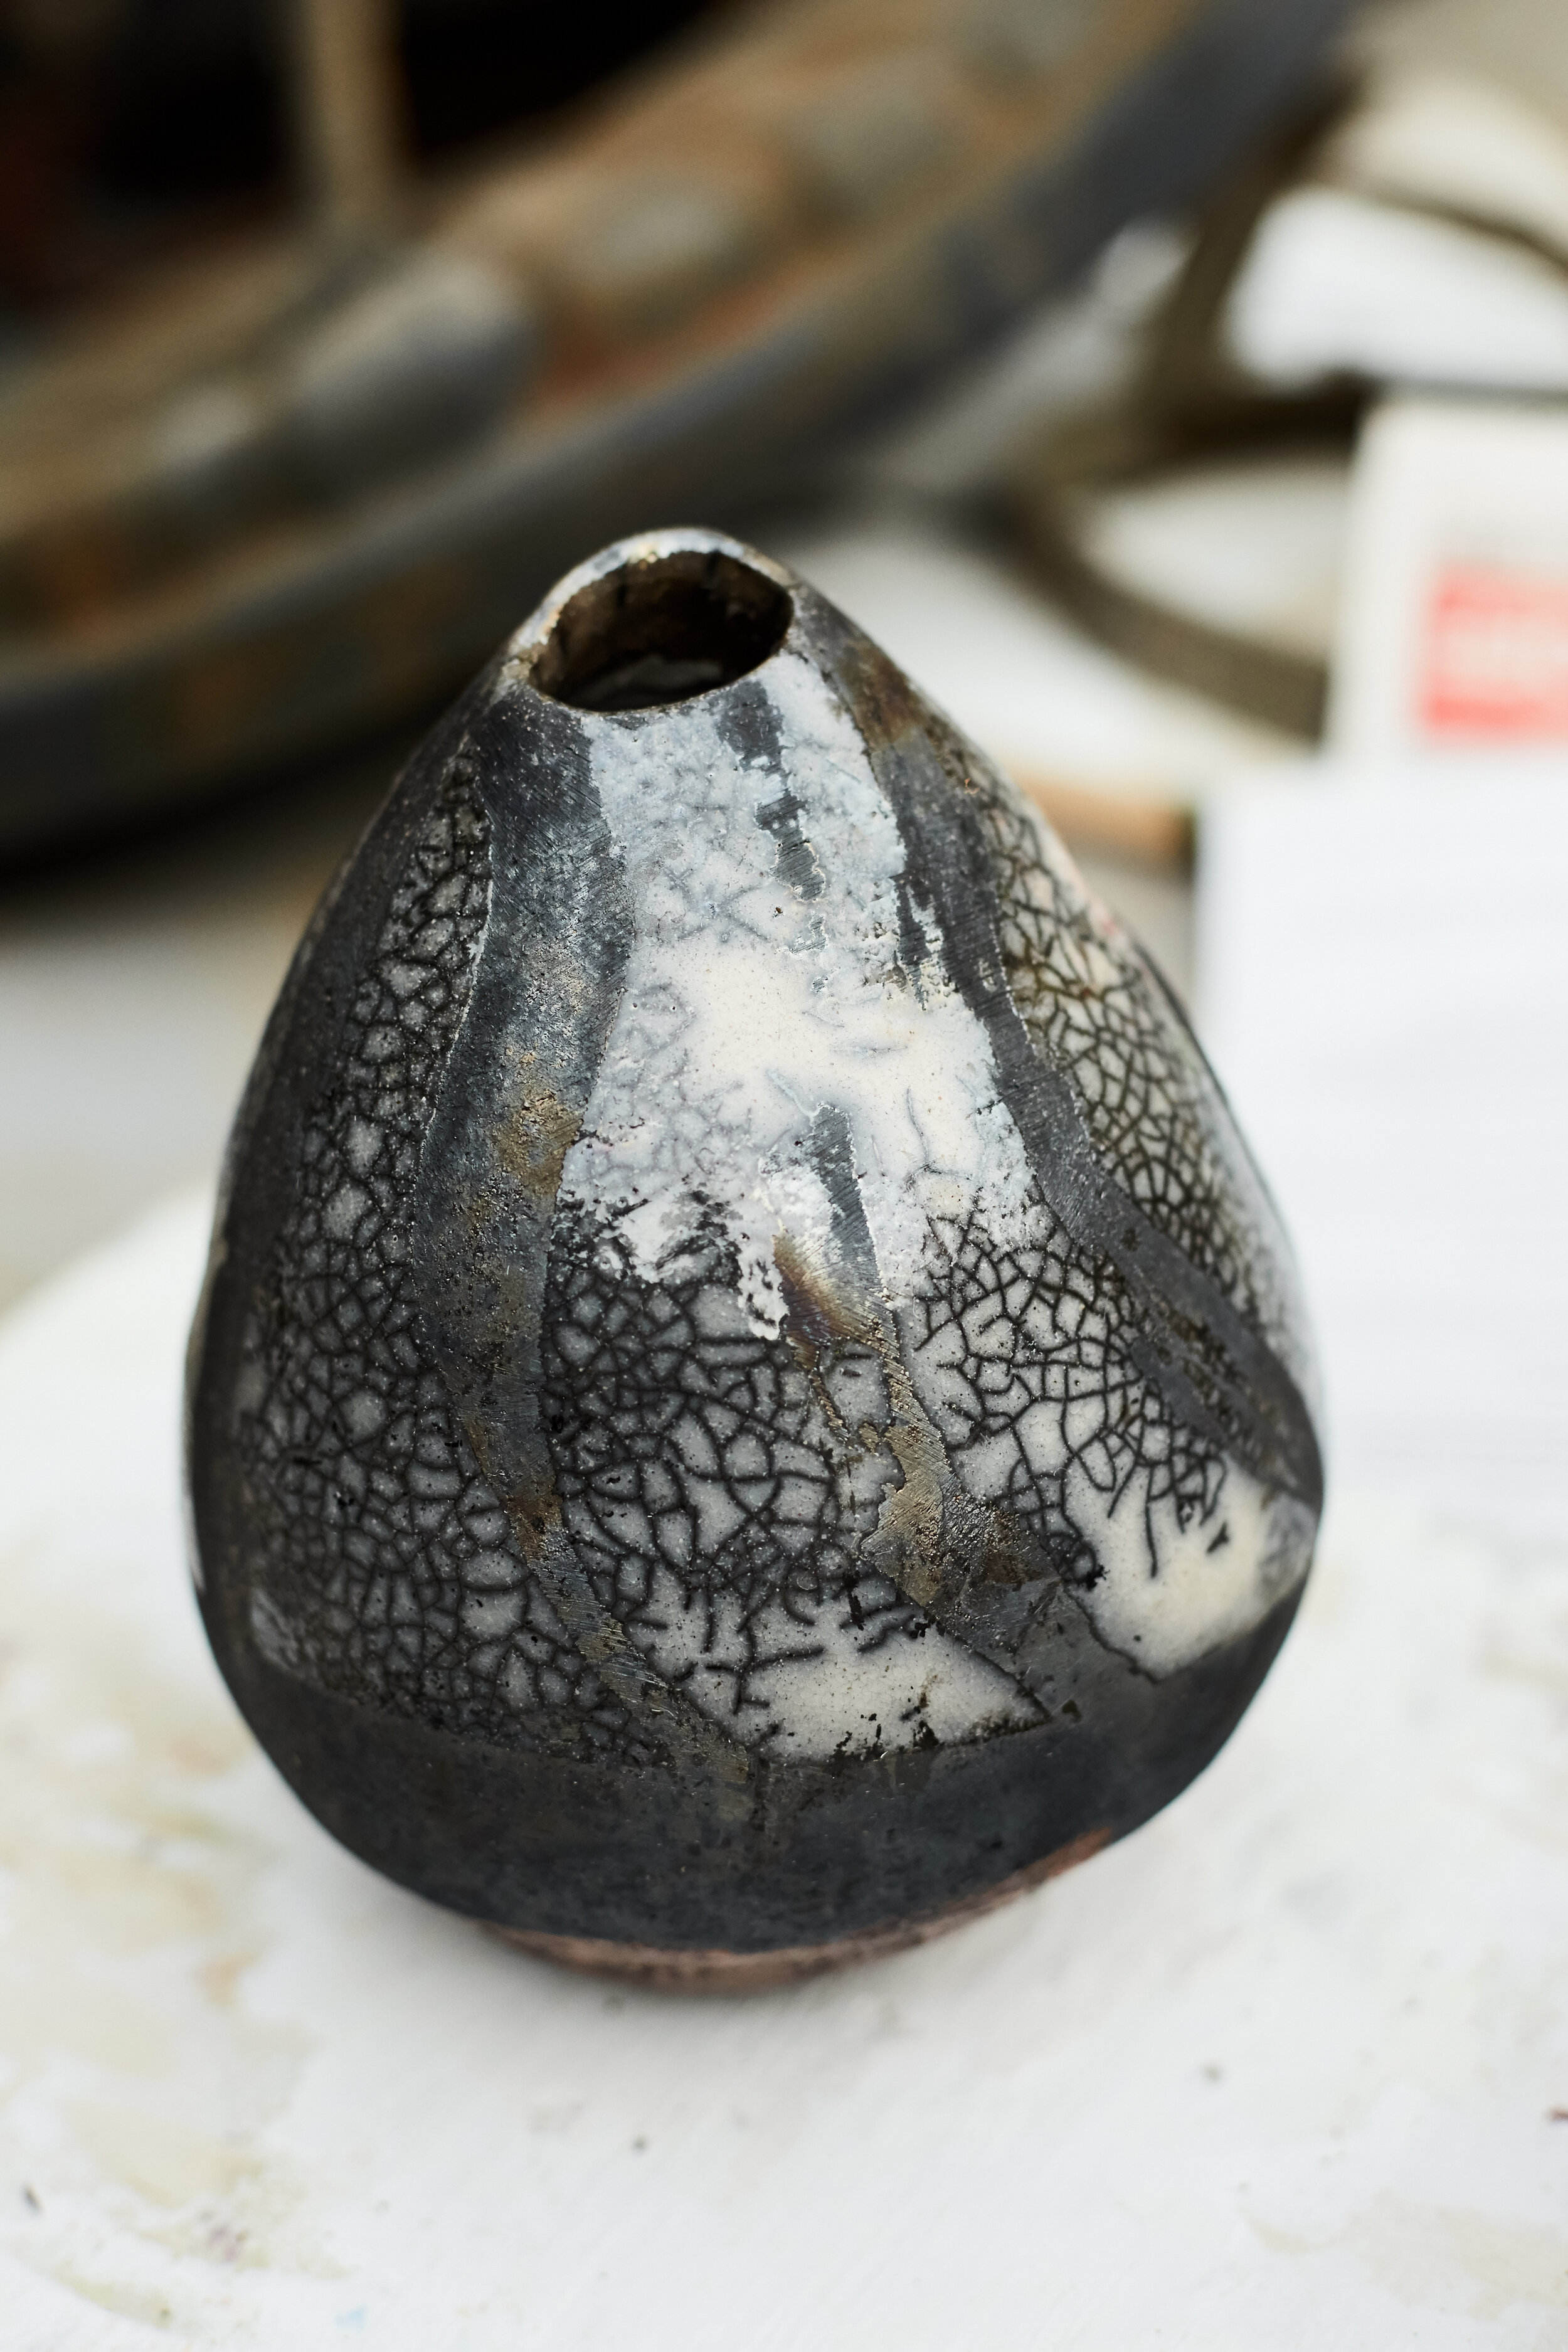
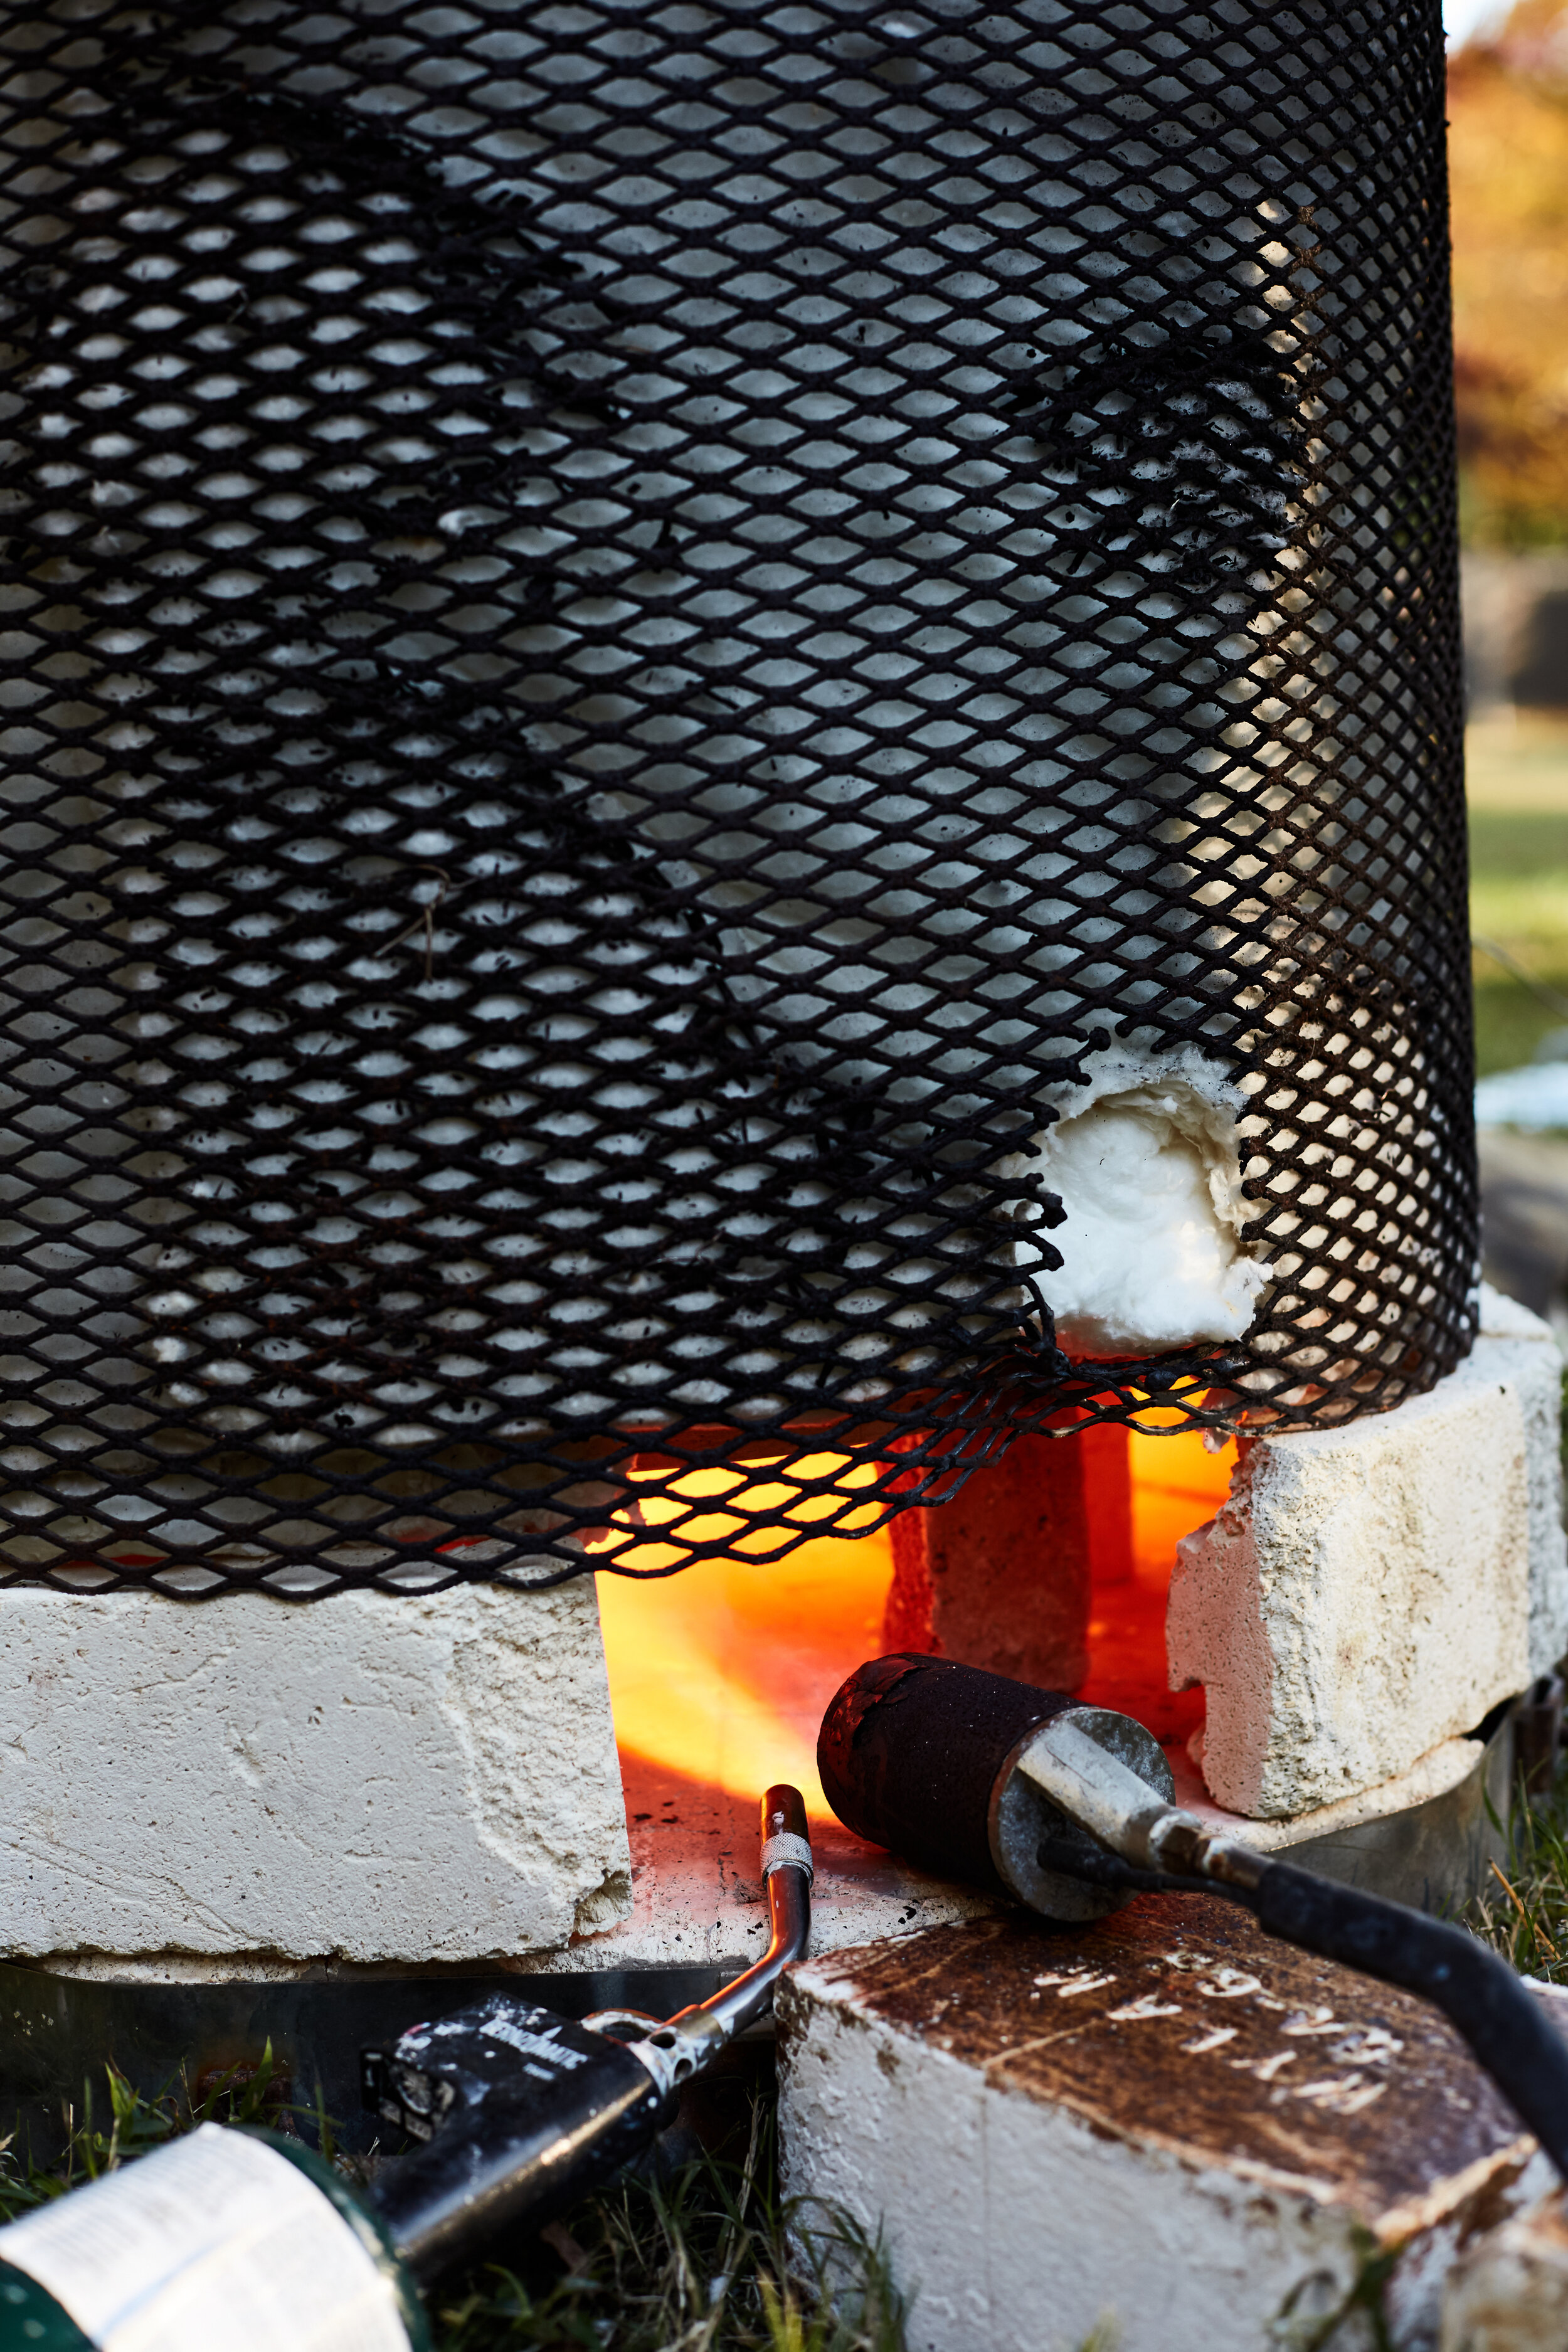
The process itself is magical. We fired the wares outside in Davids fiber kiln, slowly bringing the kiln to temperature ( around 1900 degrees!) before we yanked them out and threw them in to bins full of saw dust and newspaper. He smothered the flames with a lid to deprive the wares of oxygen, creating the initial crackle effect on the surface of the glaze. Moments later, David “burped” the lids to give them some air and create a secondary crackle, this one much smaller than the first. Lastly, he dunked them into a bucket of water for some high-speed cooling.
This was the first raku fire for a lot of us and was an absolute joy to partake in. We hope to offer more experiences just like this in the future to many more students. Keep your eyes peeled for weekend workshops with David at Hand / Thrown, they promise not to disappoint!
Scroll through for a glimpse in to the process of the ancient Japanese technique that is raku firing!
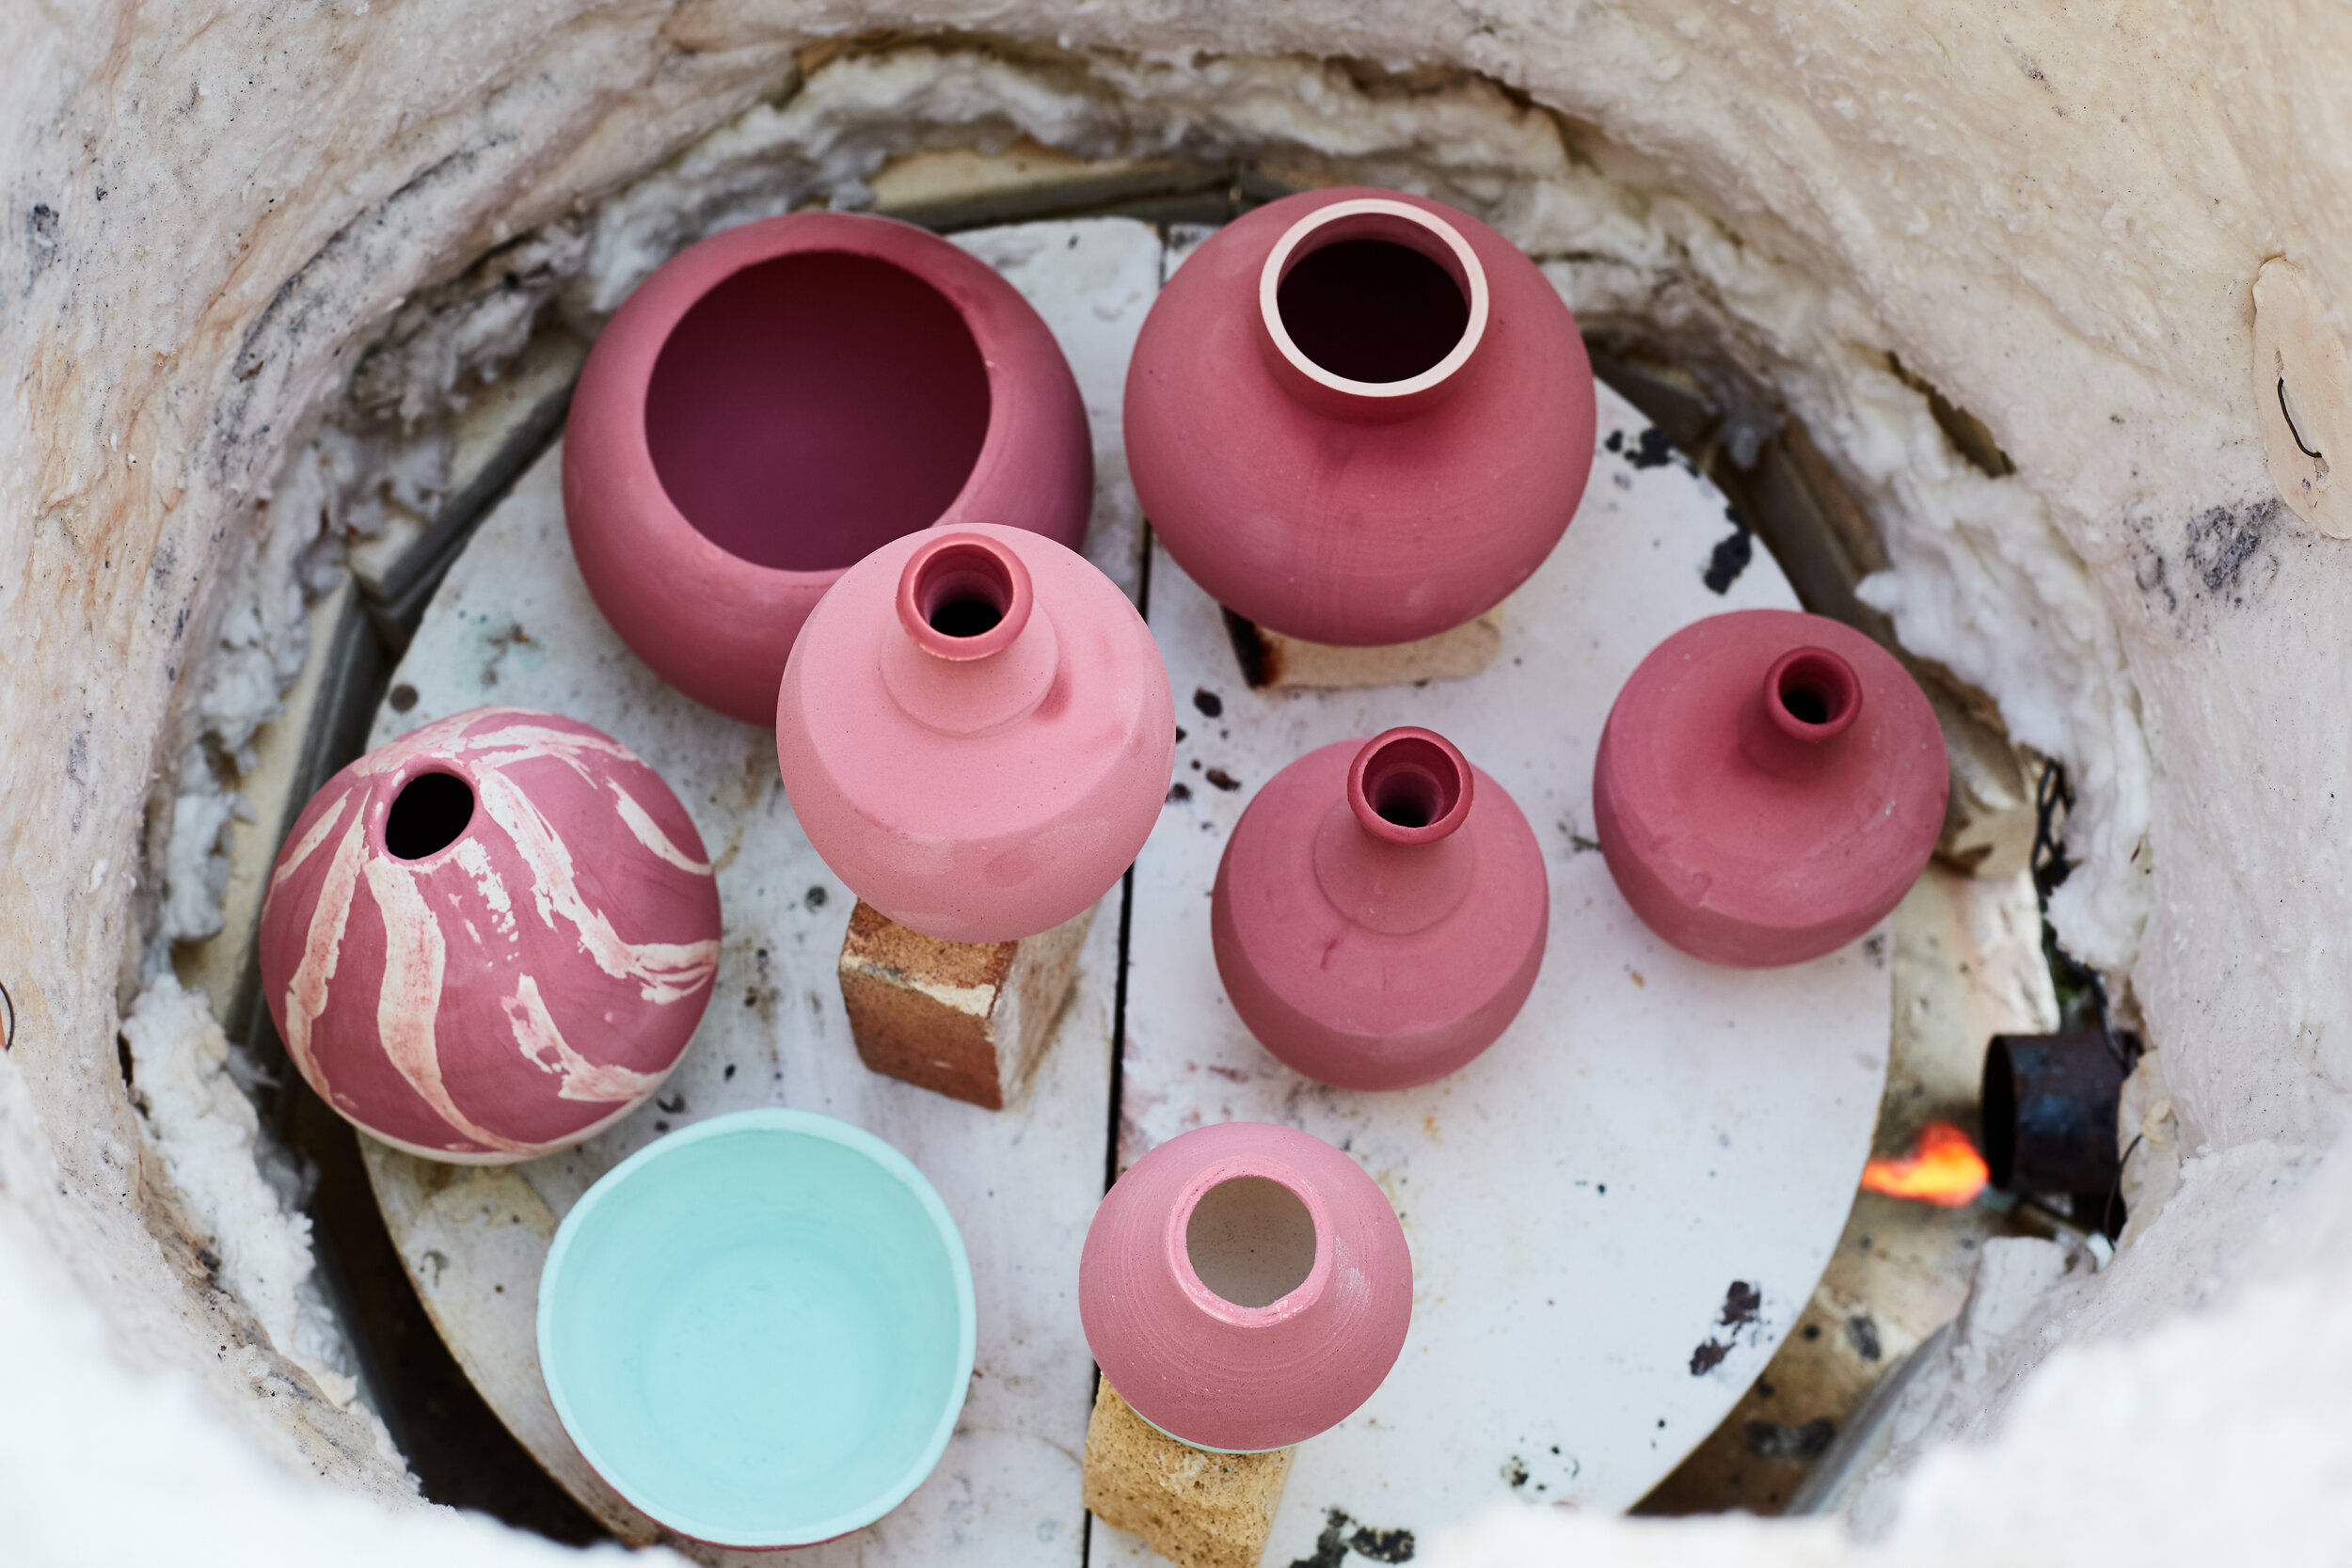
We glazed our wares and loaded them in to the kiln, nestled in and ready to be fired. Once closed, David pumped up the heat in the kiln to reach 1900 degrees!
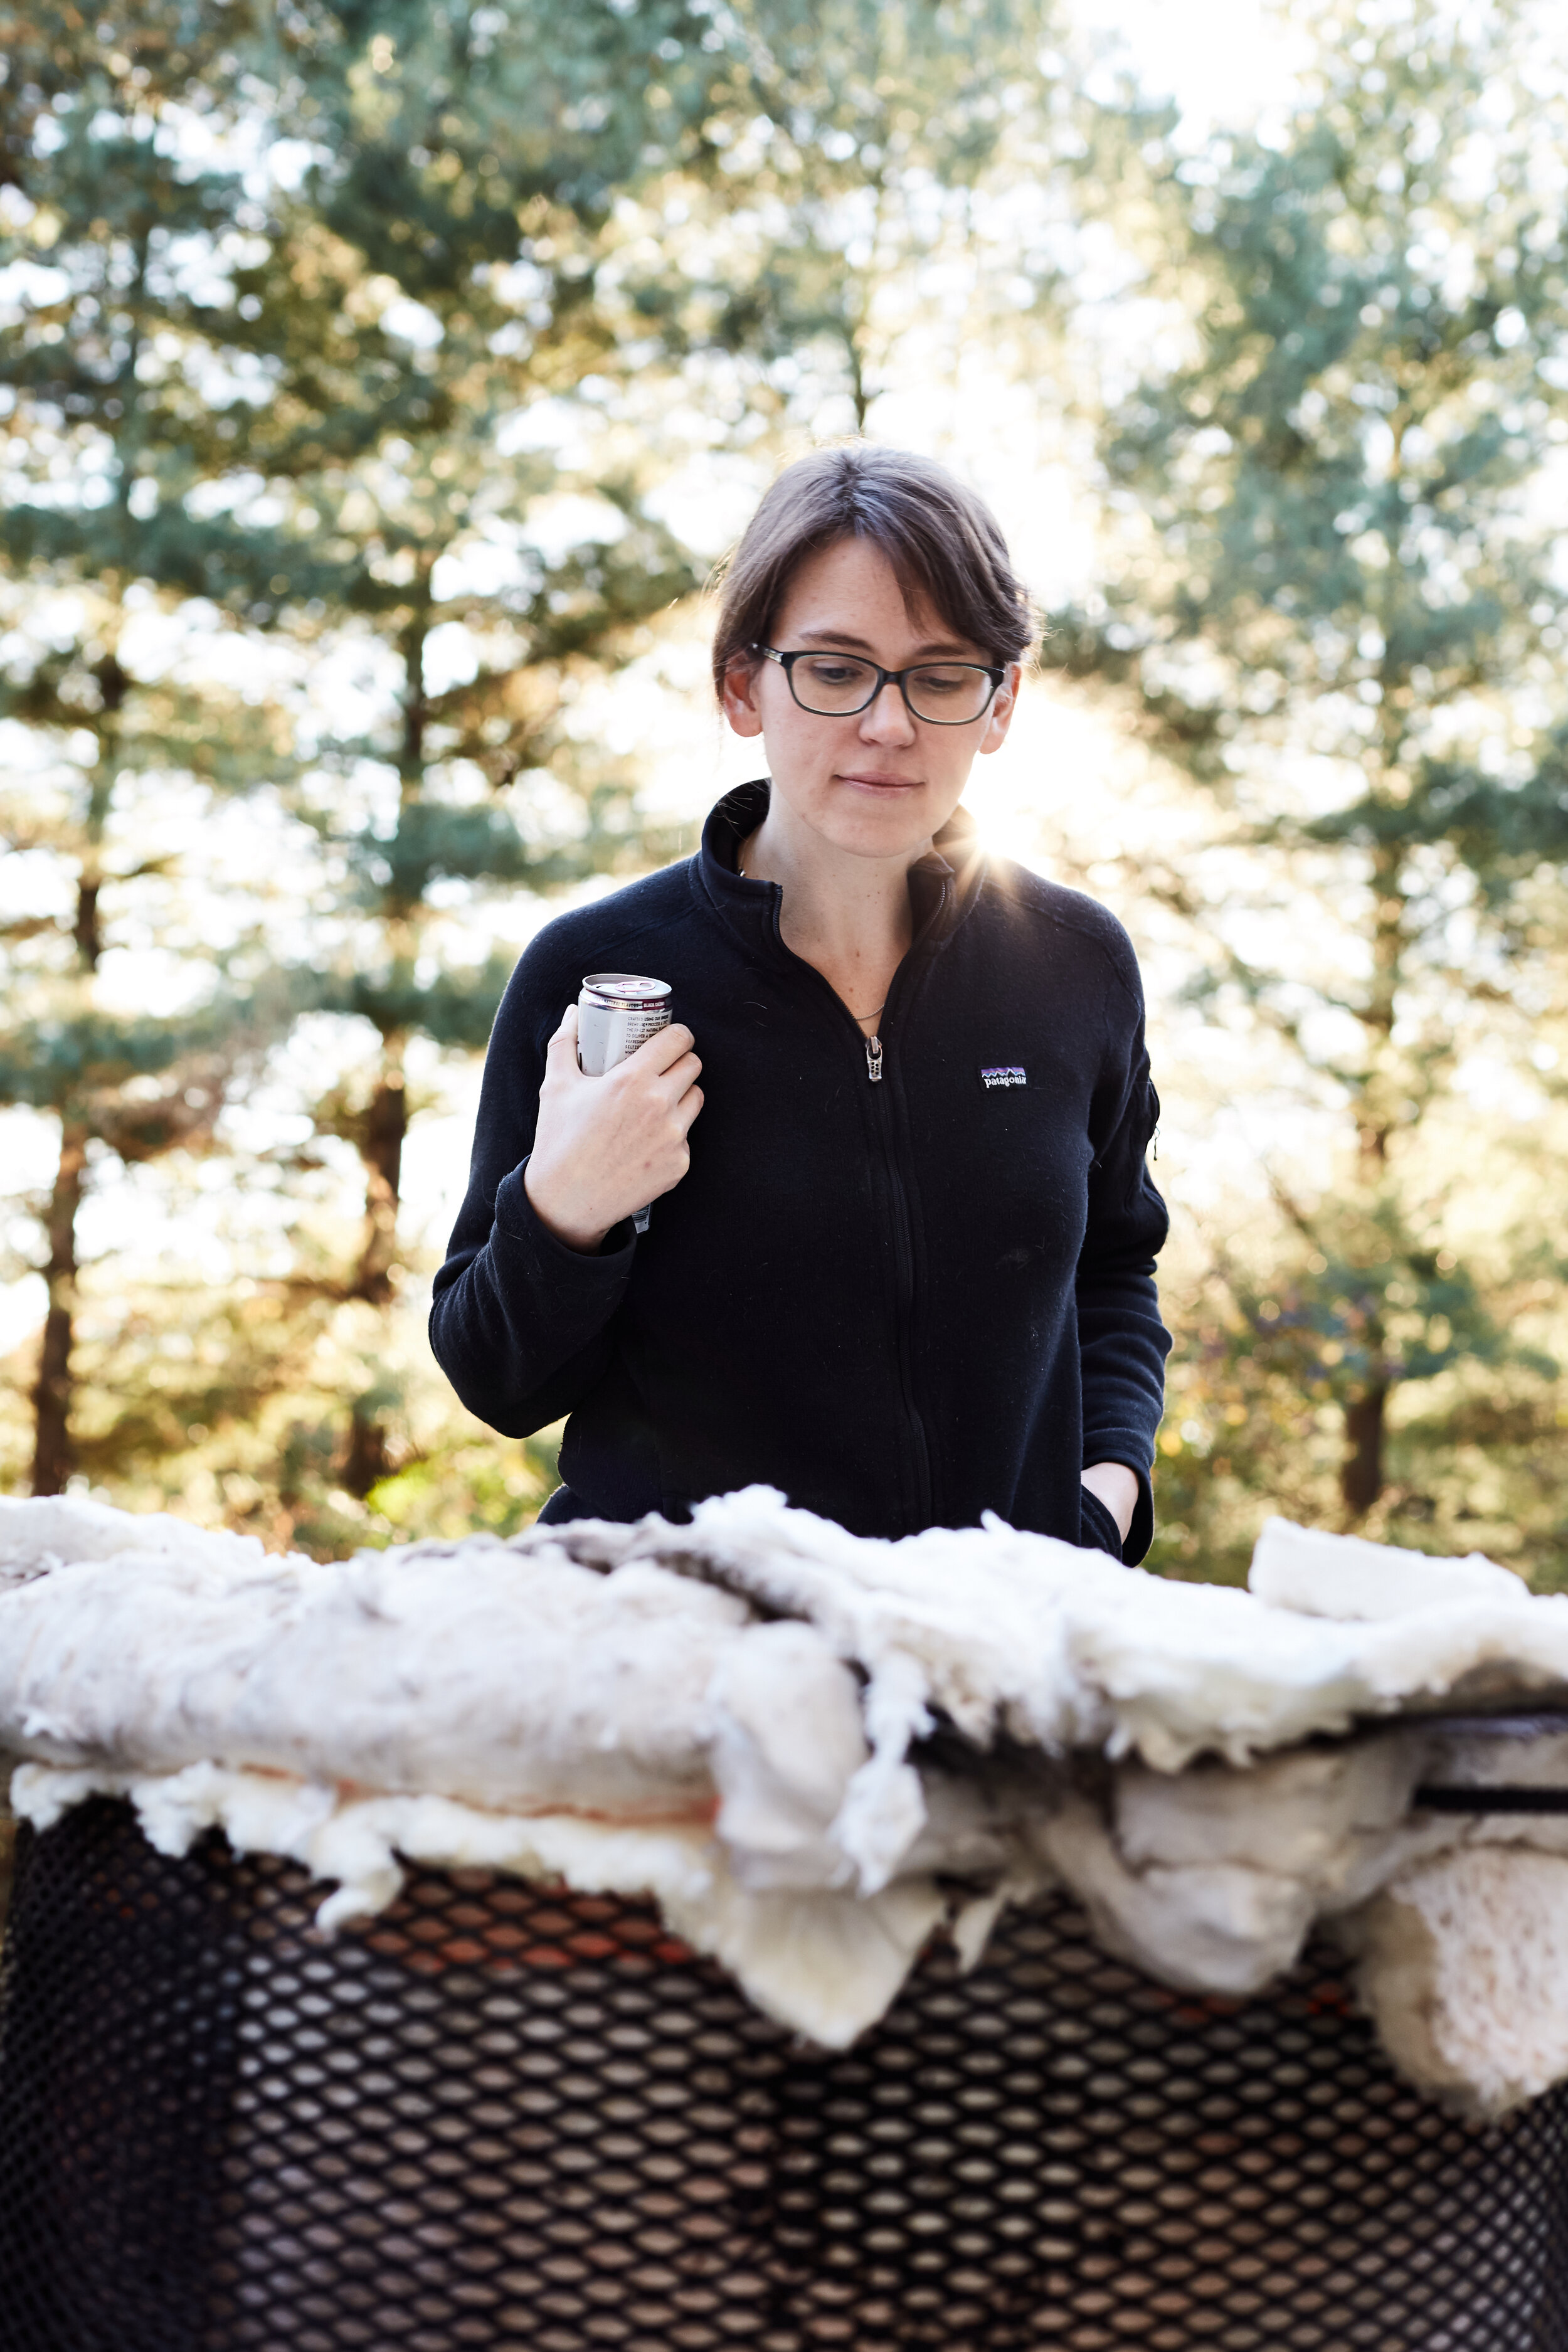
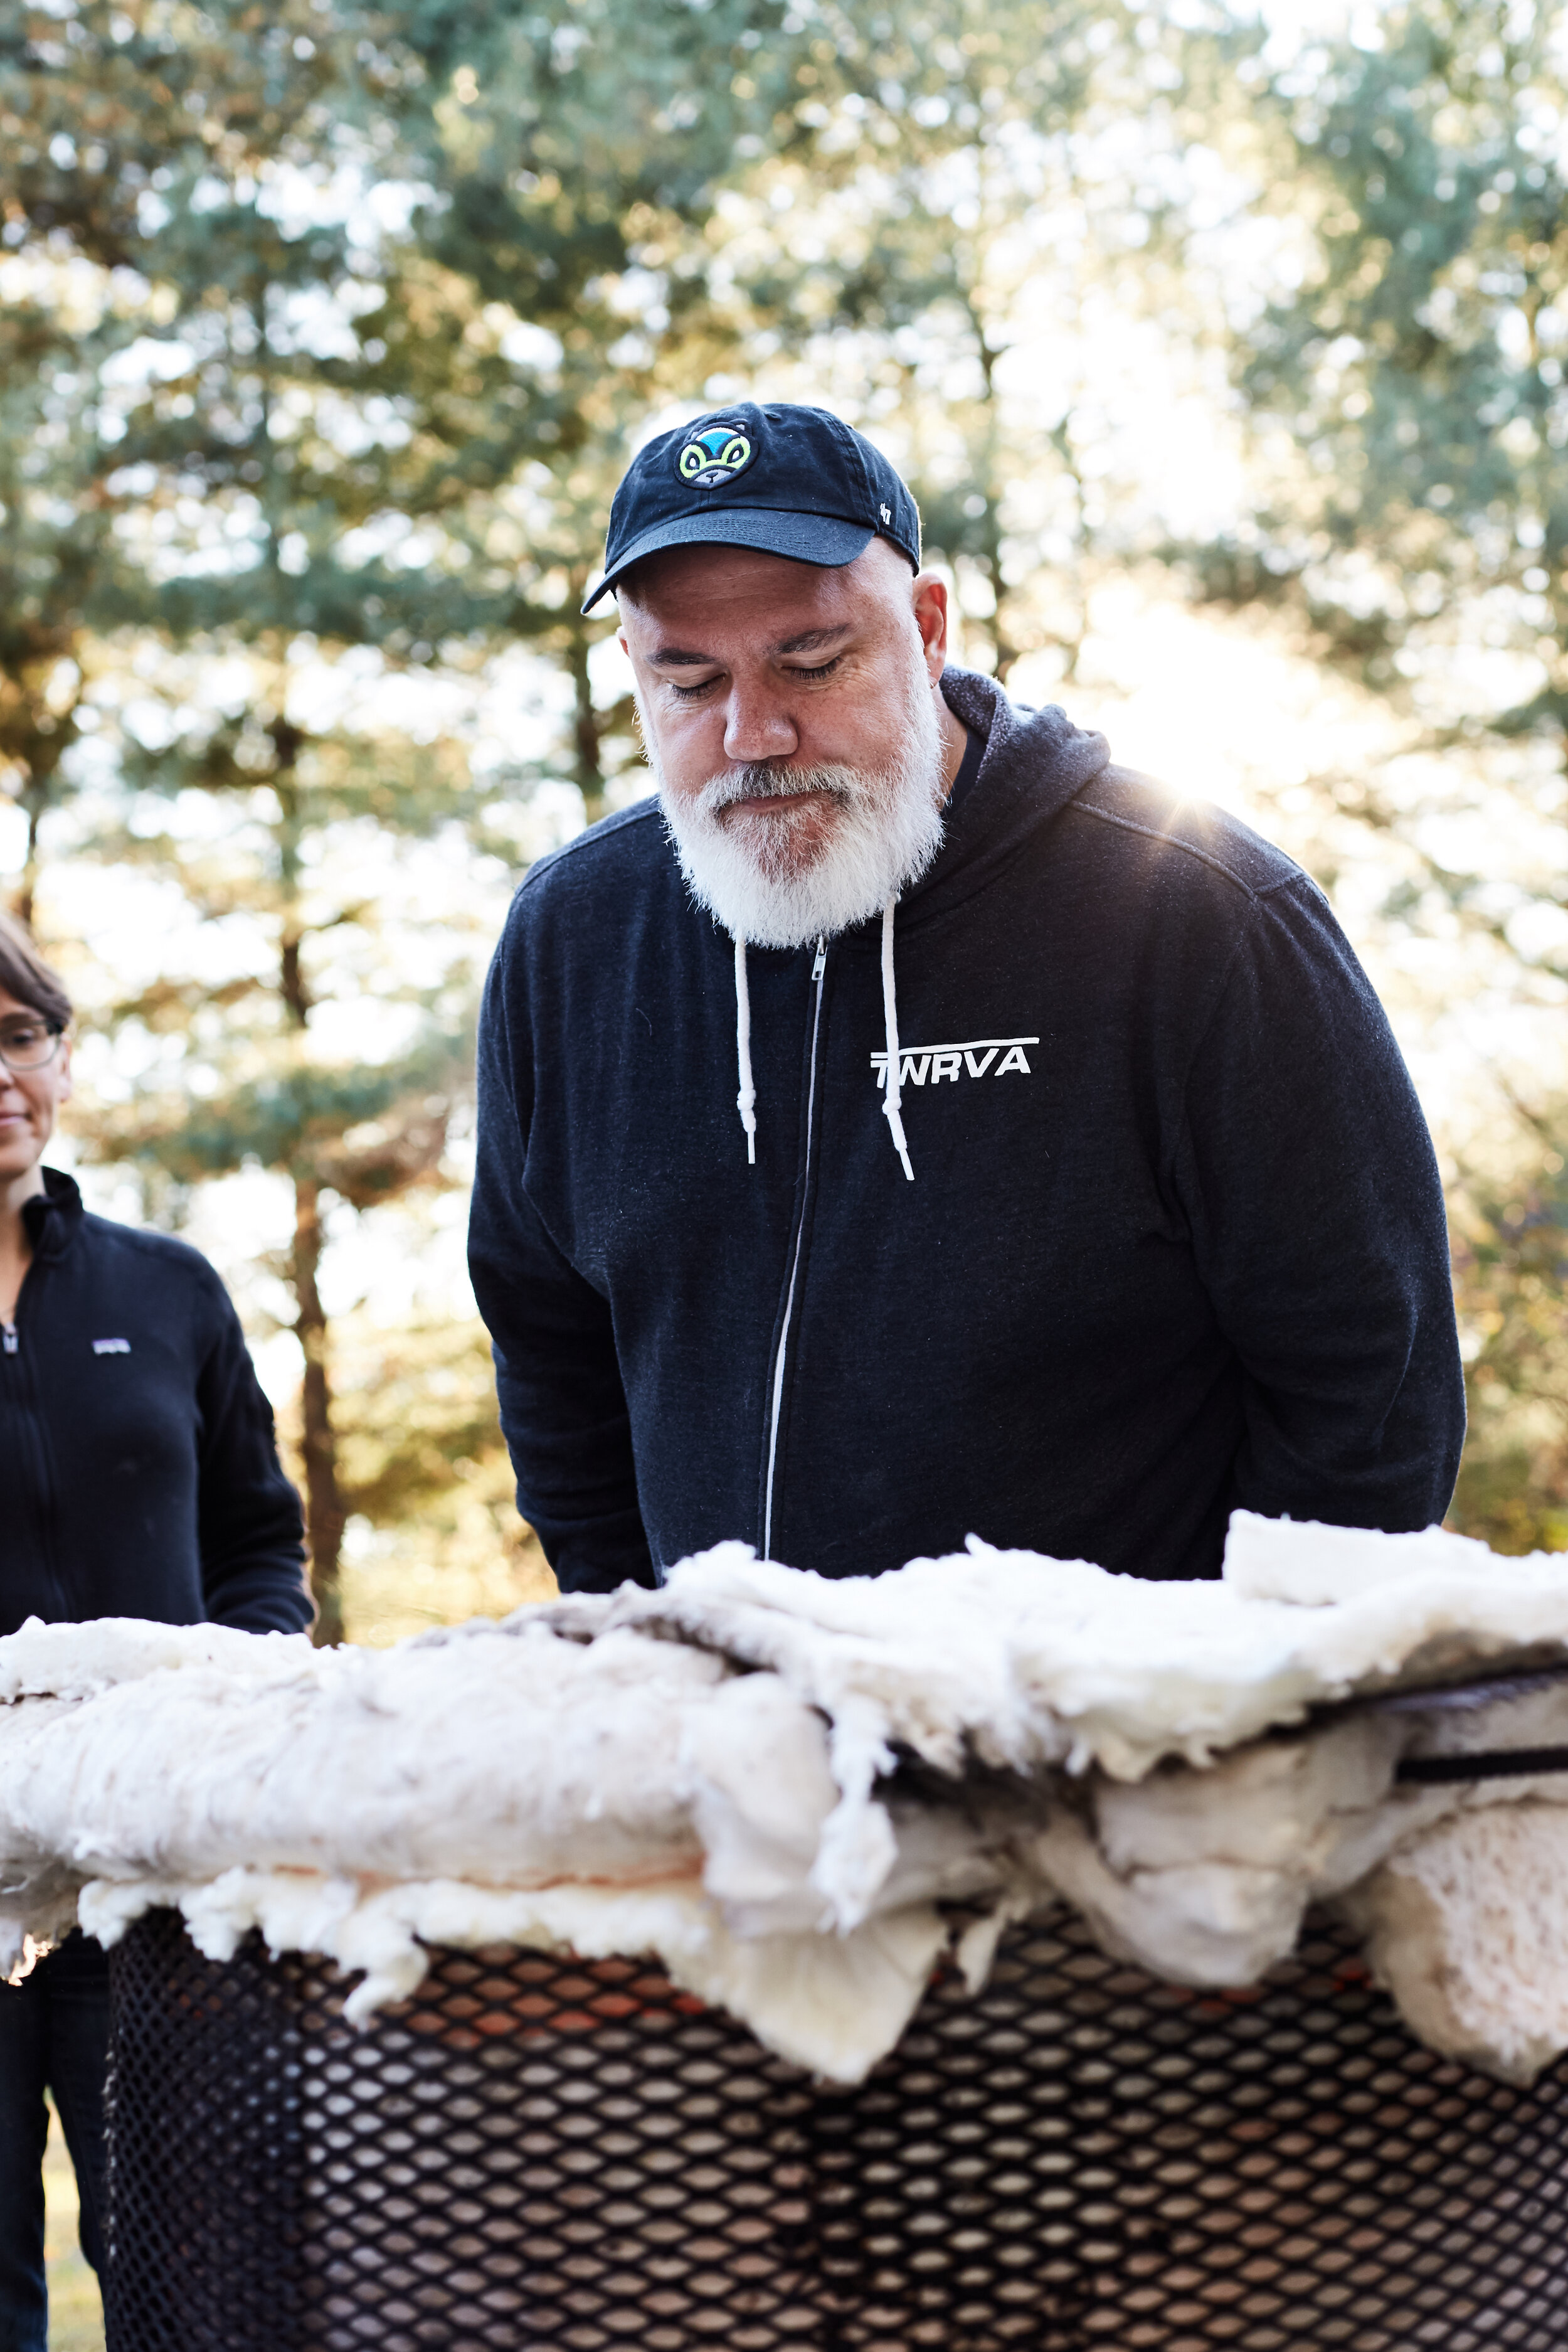
Studio member Jocelyn Sandberg and Mike peak inside the kiln to get a glimpse of their wares. Below, you can see the red hot glaze beginning to melt through the spy hole on top of the kiln.


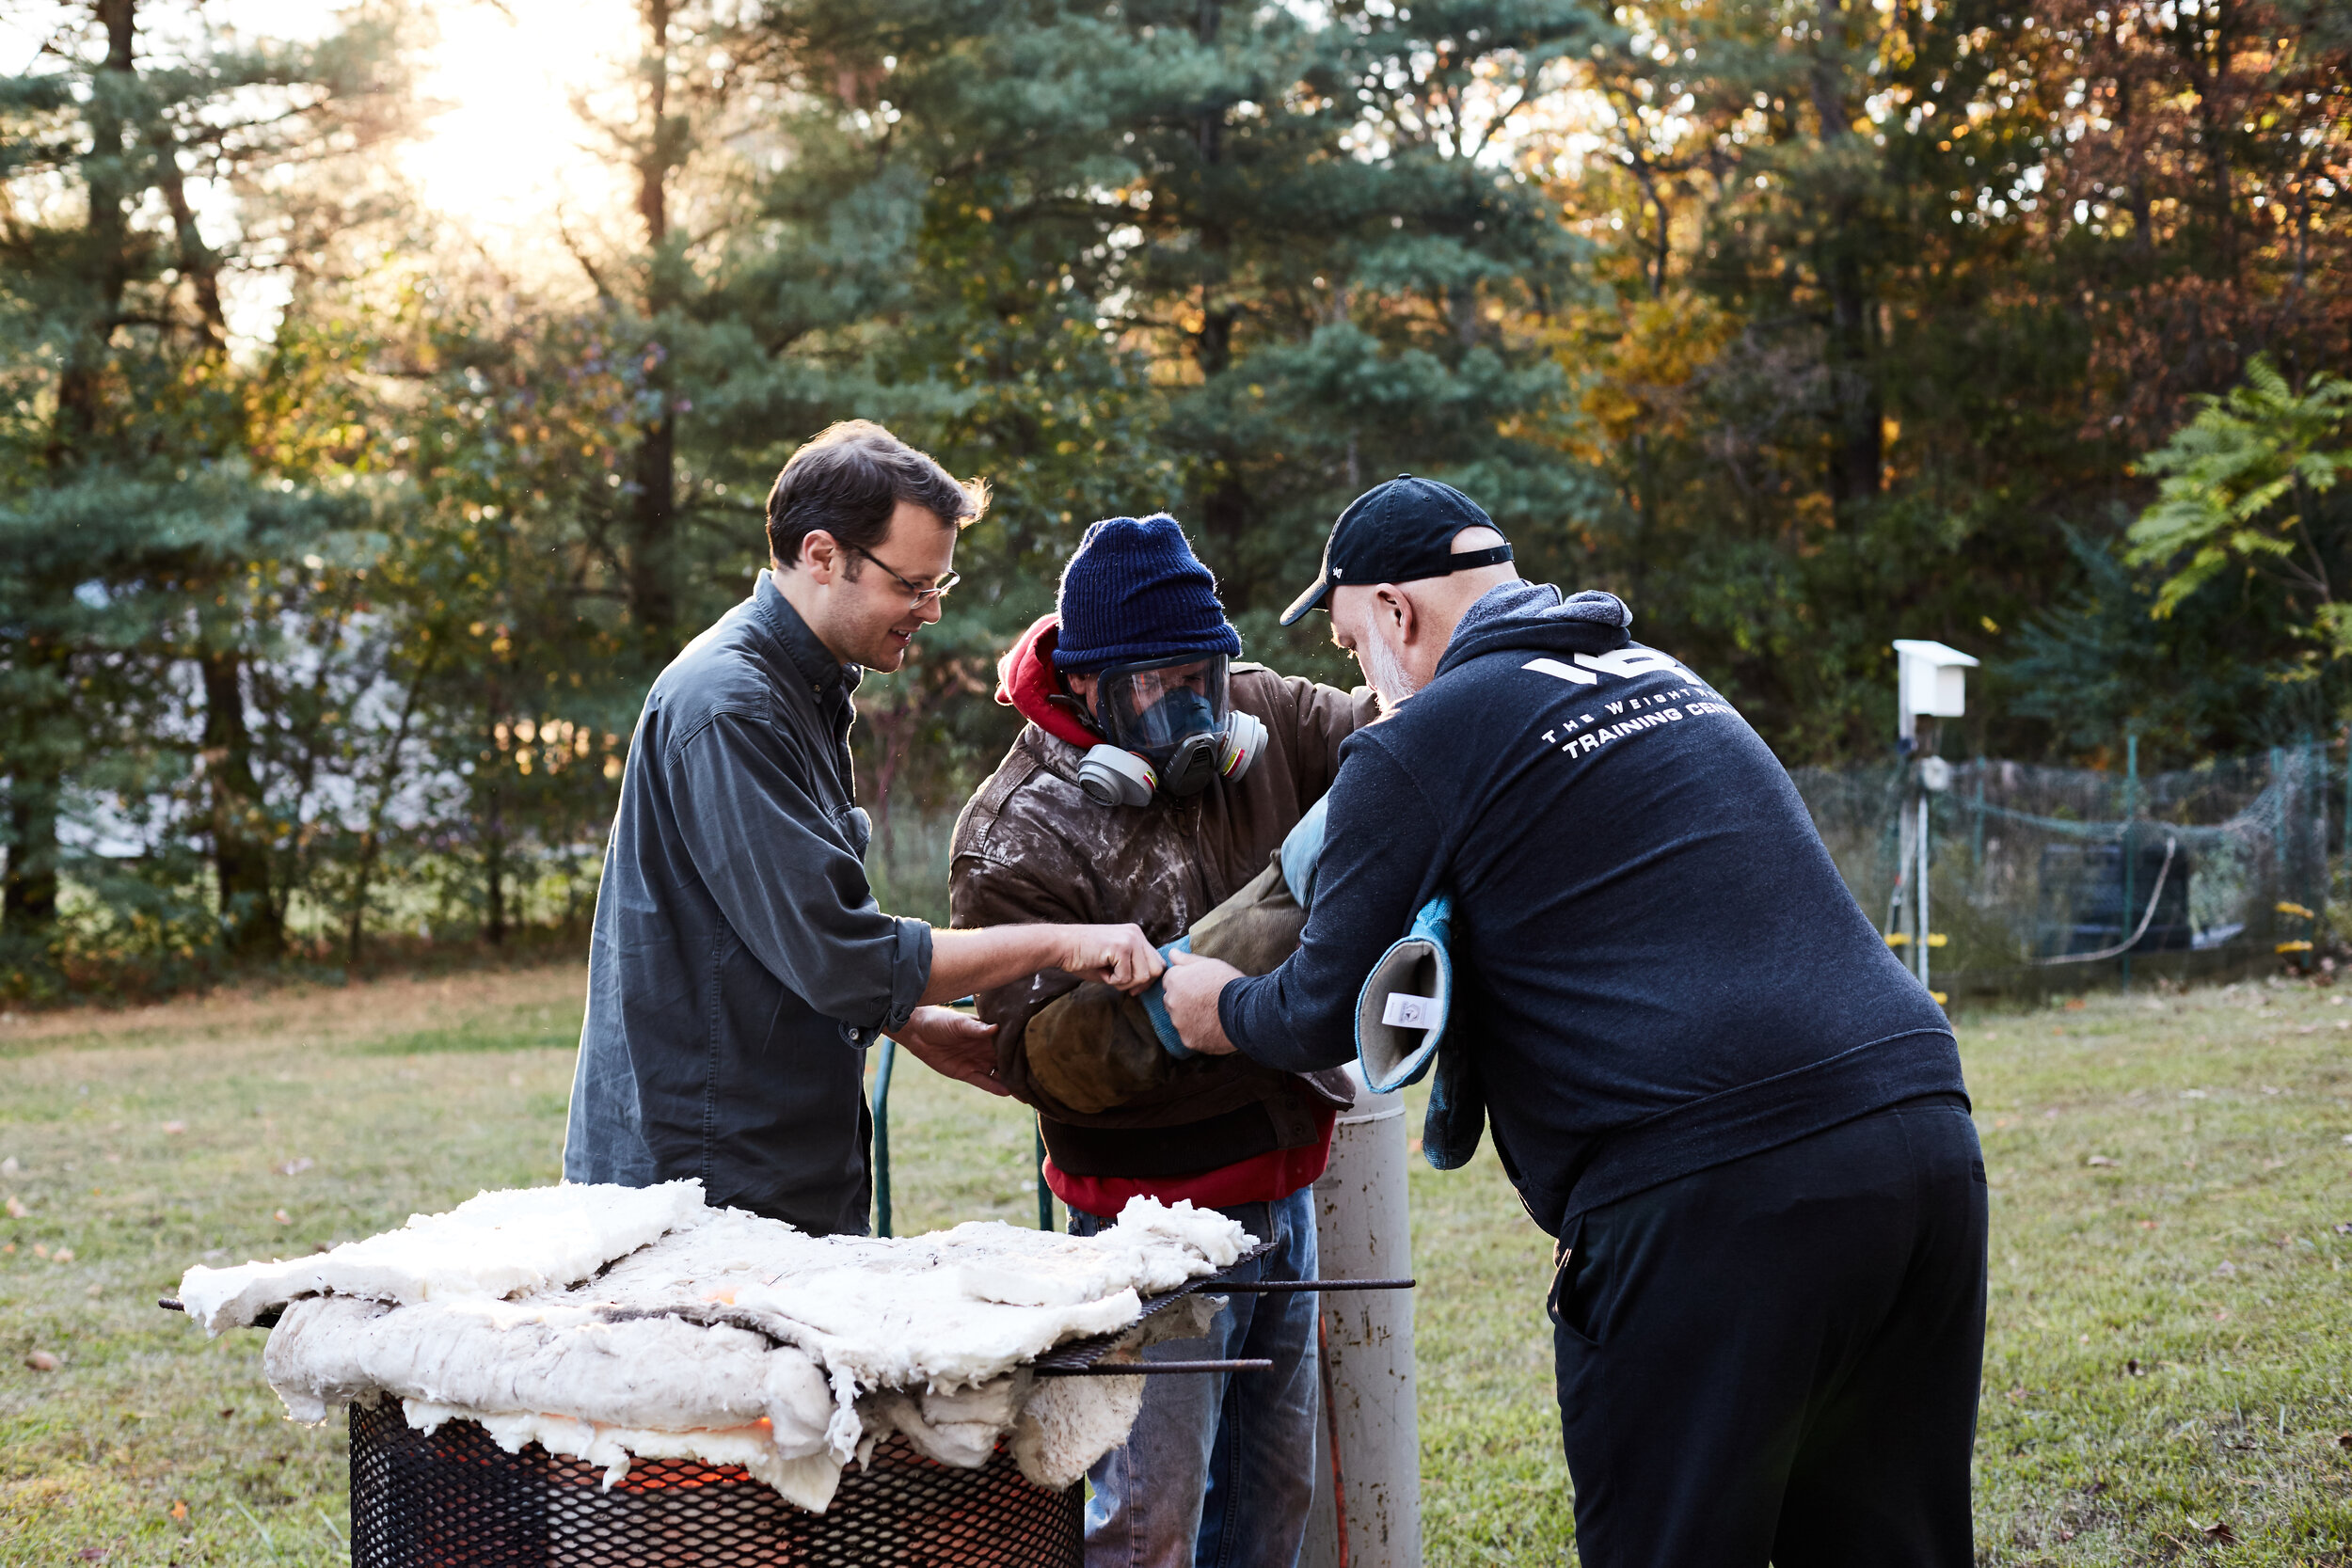
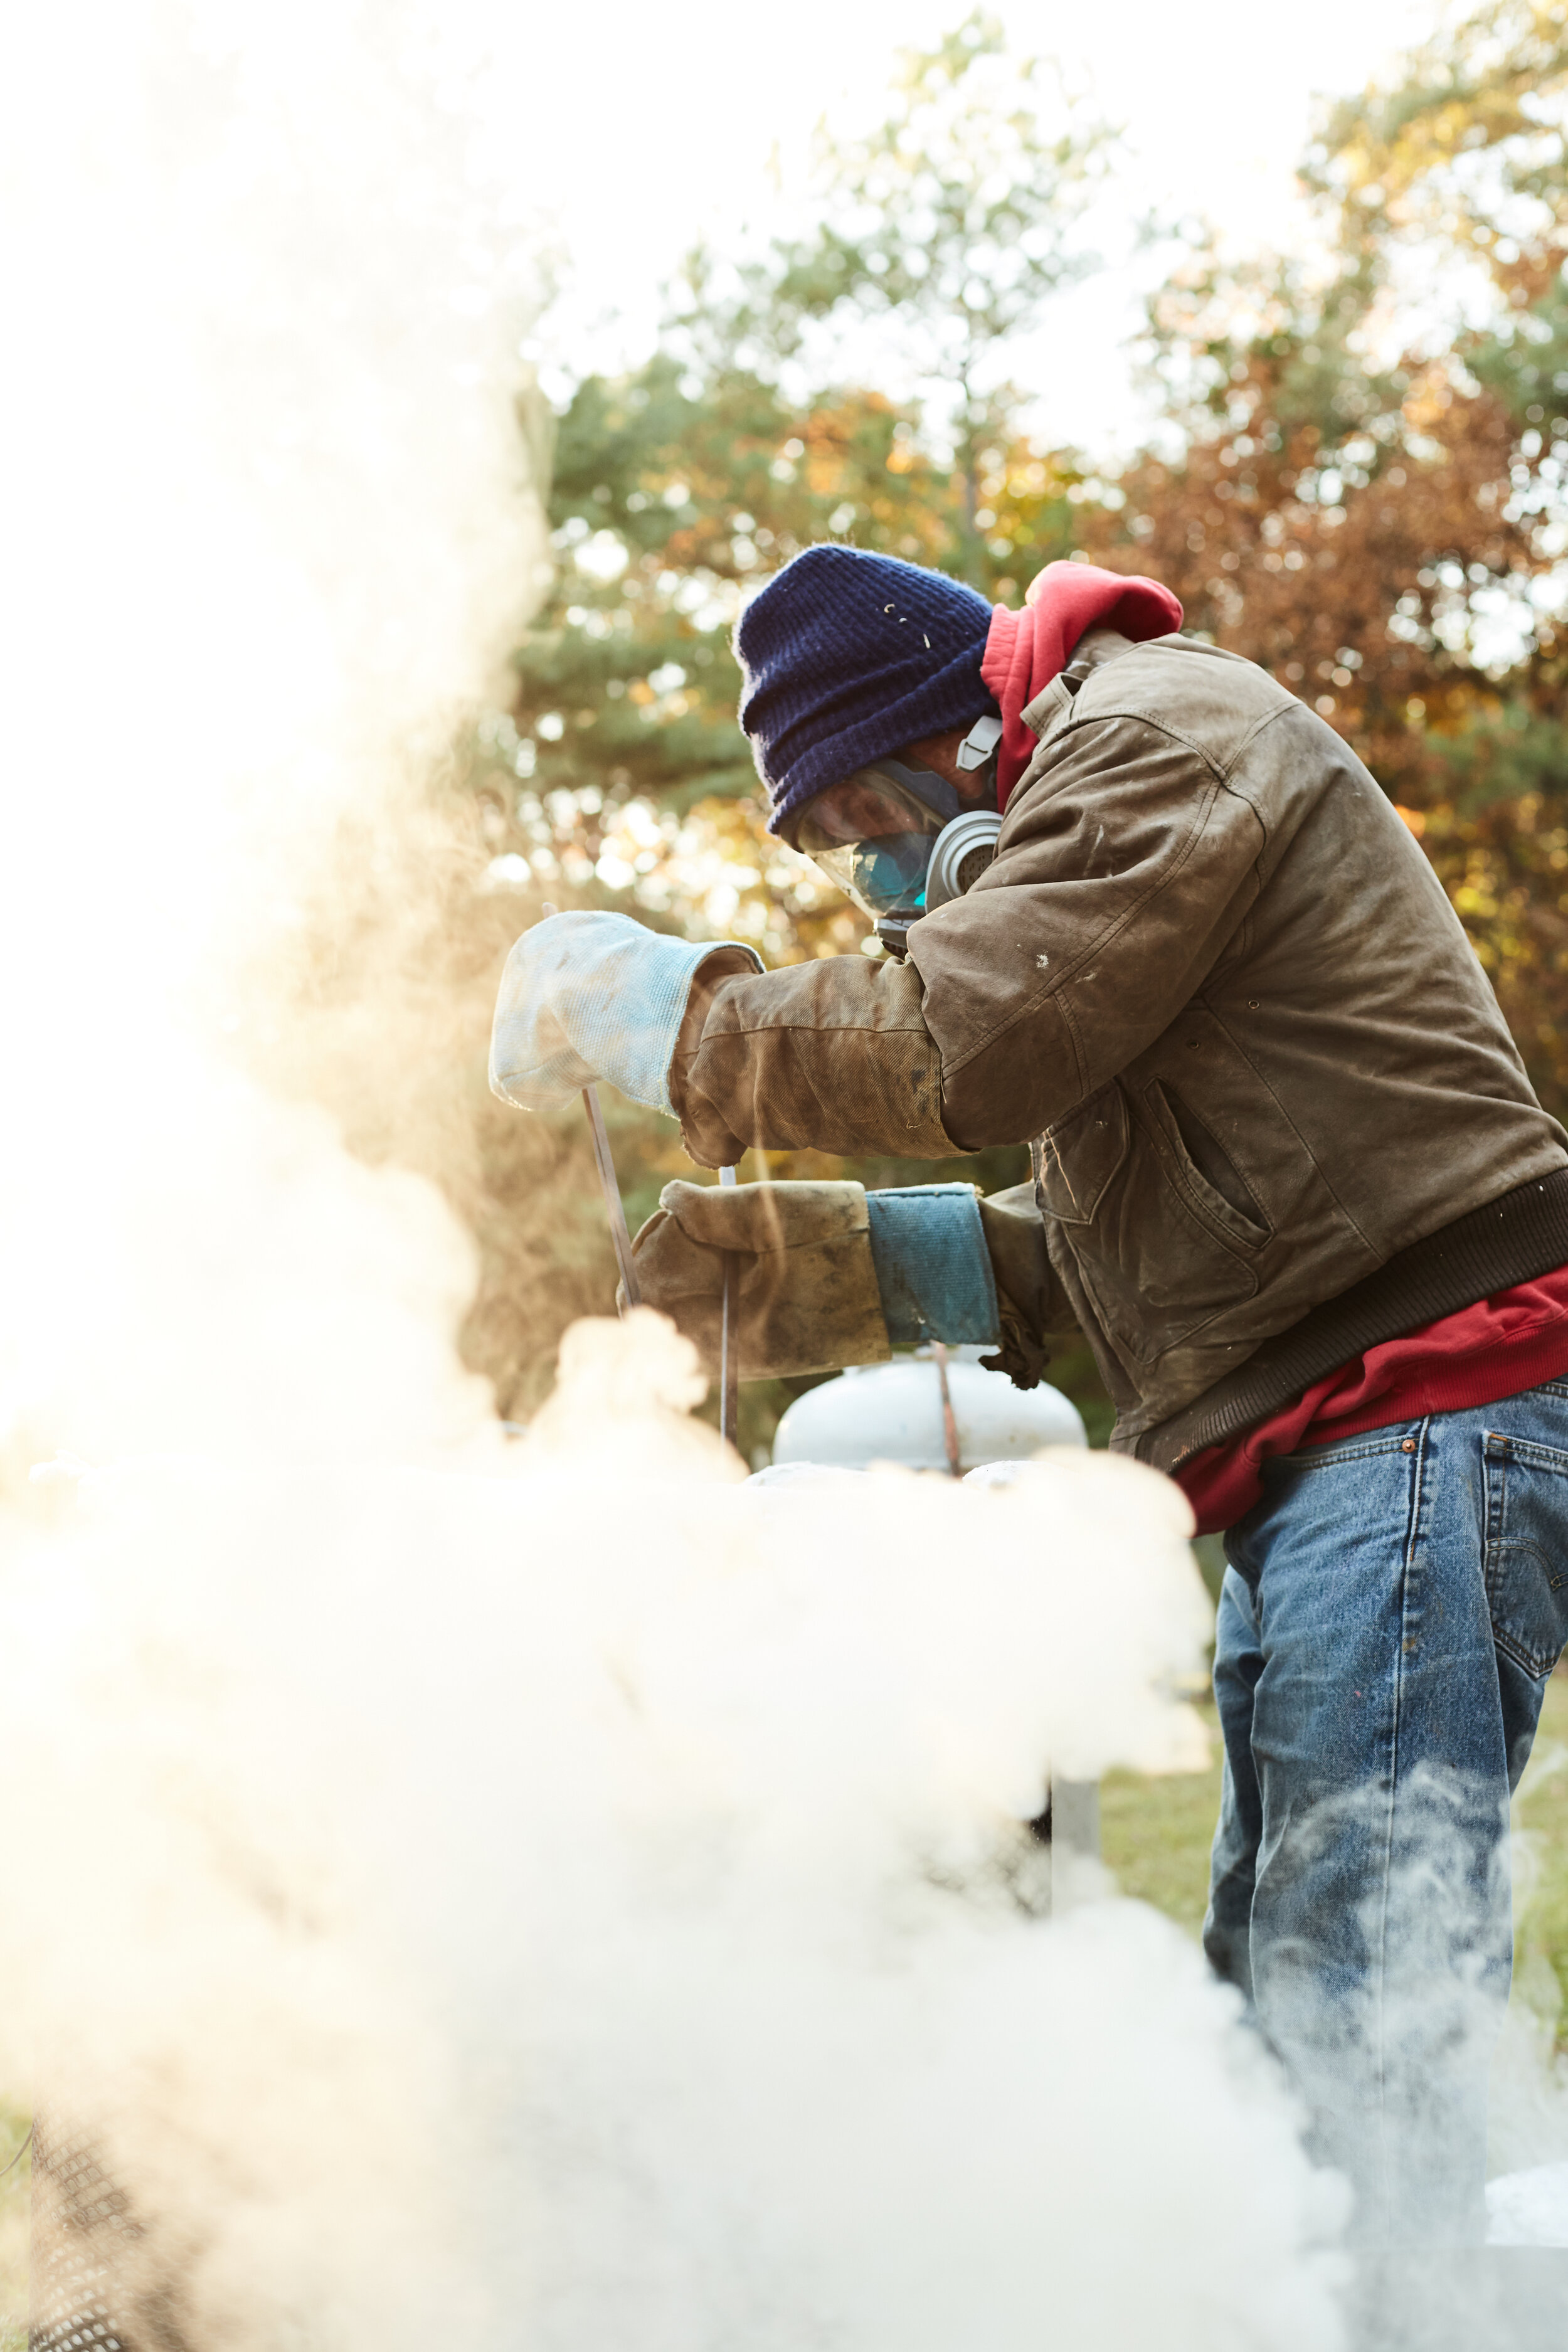
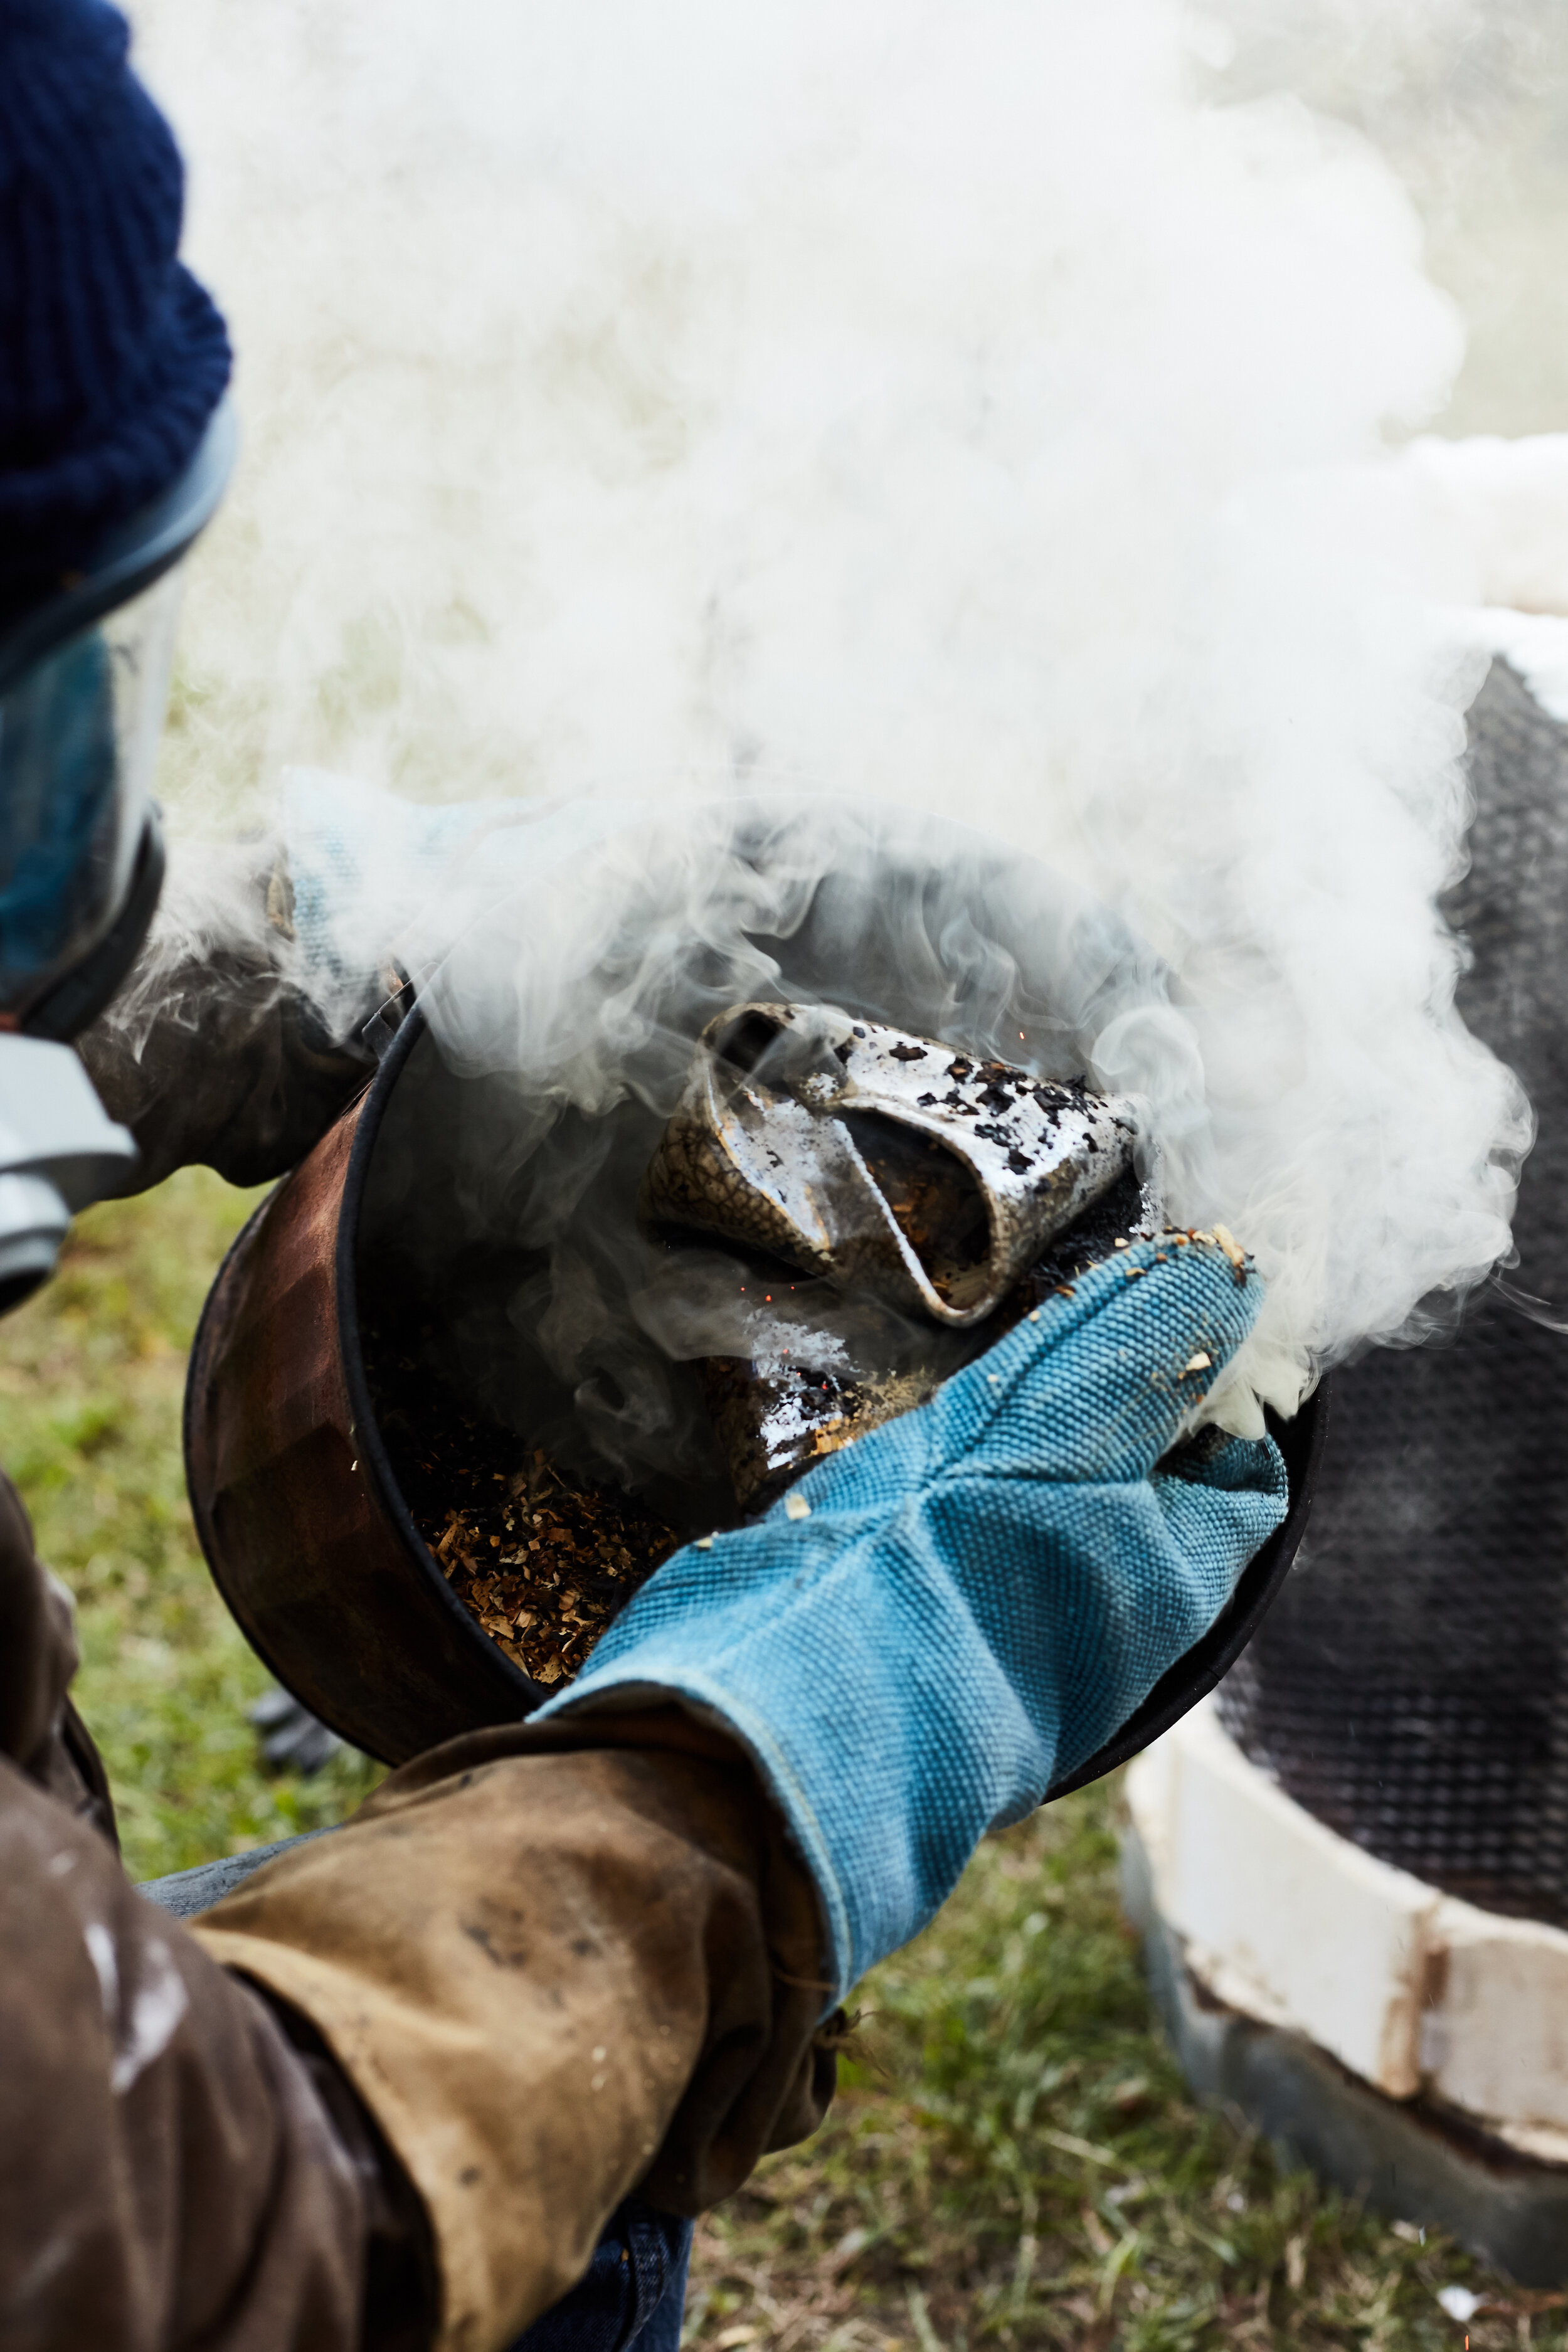
Safety first! Sevren and Mike help David get ready for some heat! David used large metal tongs to pull the pieces out of the kiln once they reached temperature and placed each piece in a bin full of saw dust. There were lots of flames, and lots of smoke whirling around while David navigated the scene.
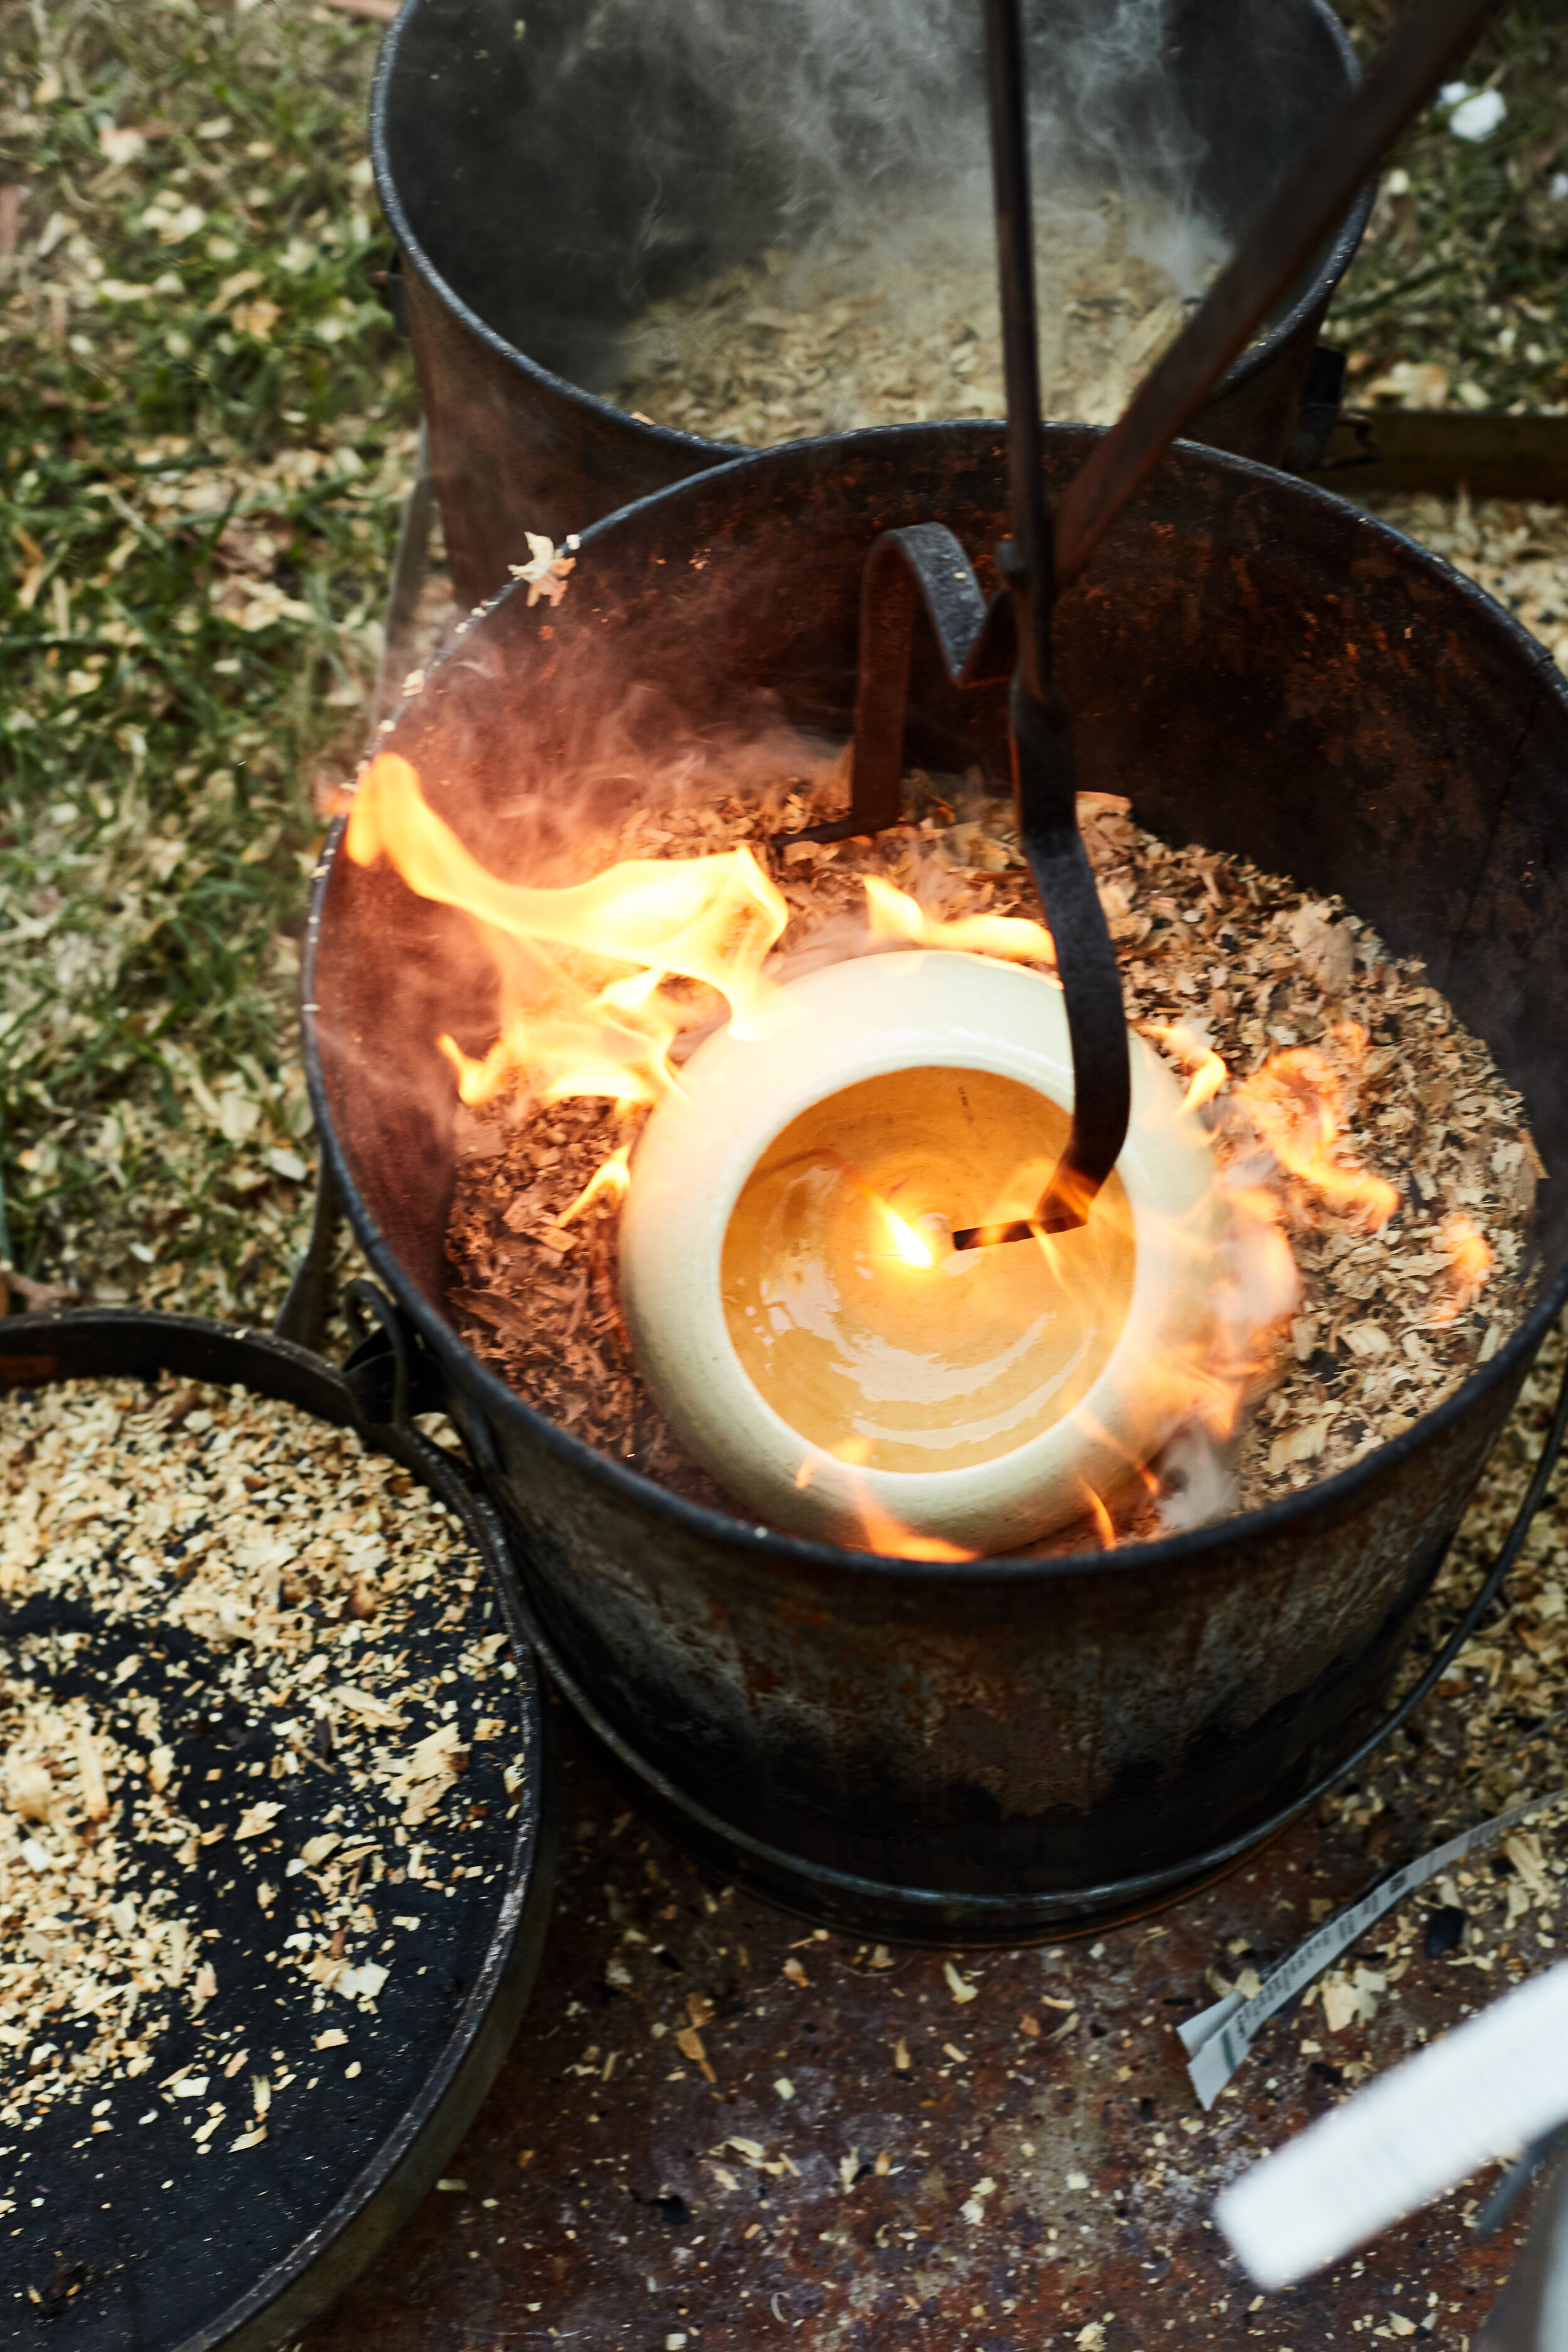
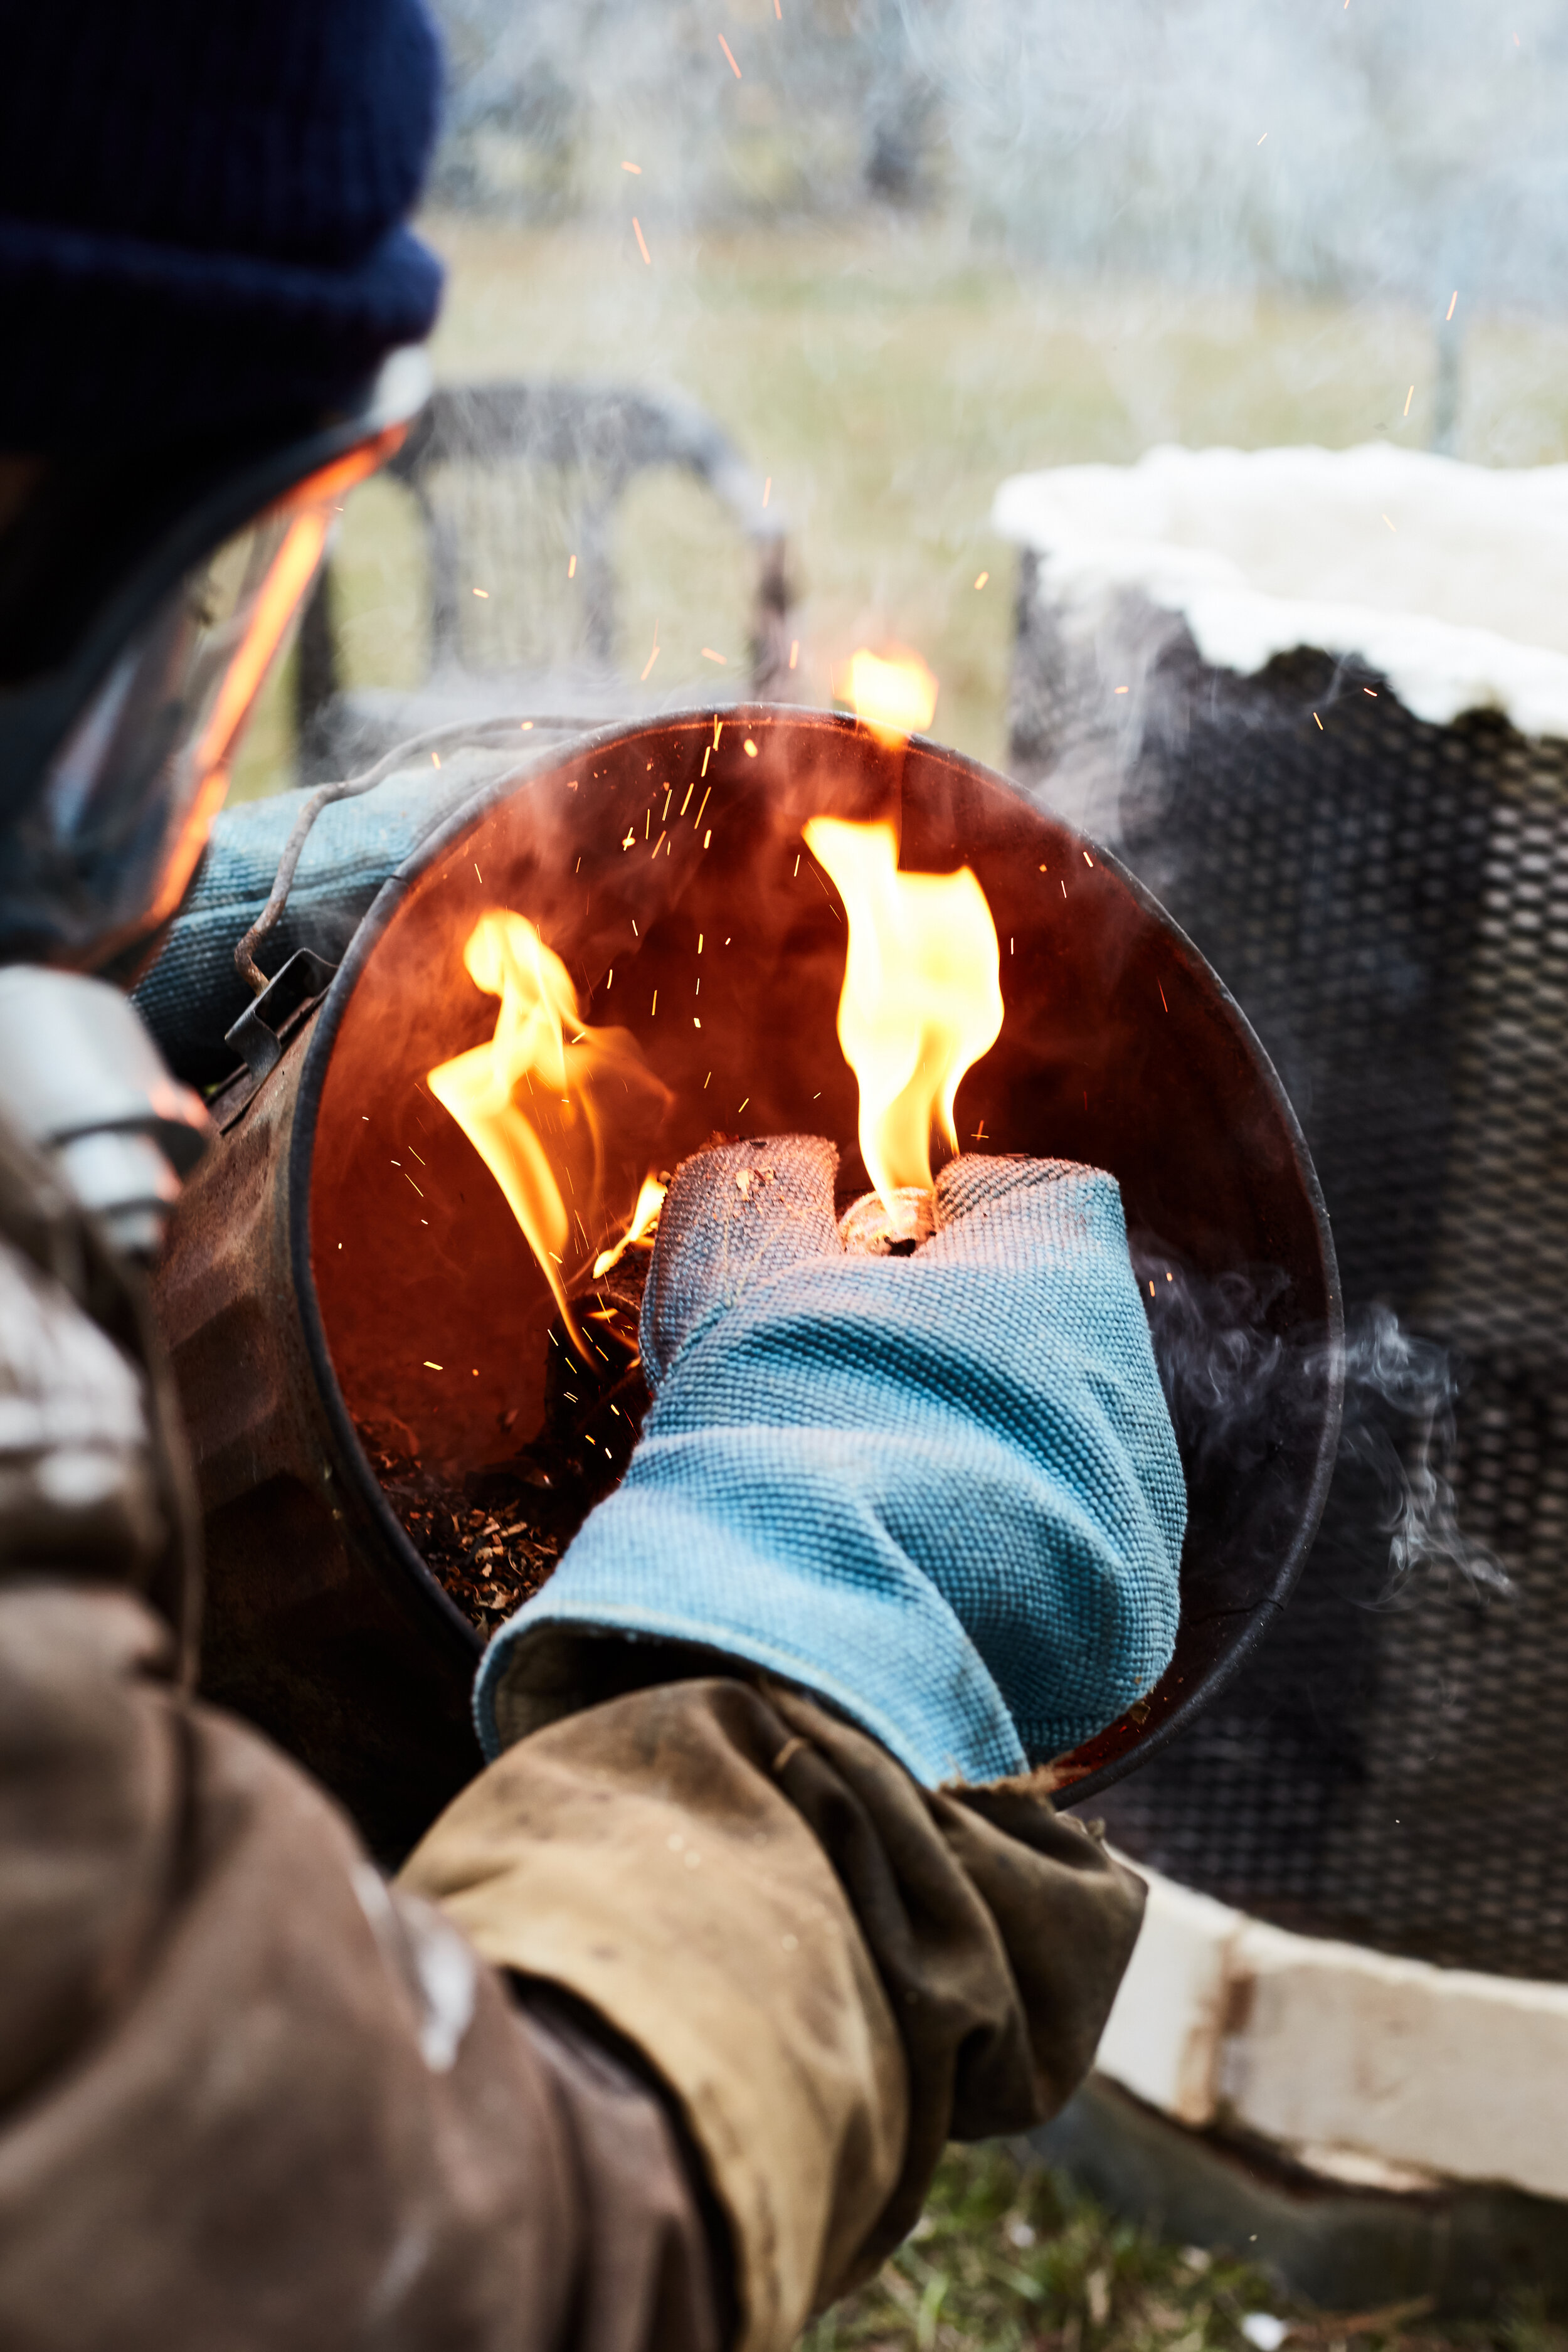
Below, you can see David burping a bin and pulling a (still very hot) piece out of the sawdust to catch some air. It reignites and gets covered one last time. This step creates a second, smaller crackle on the surface of the glaze.
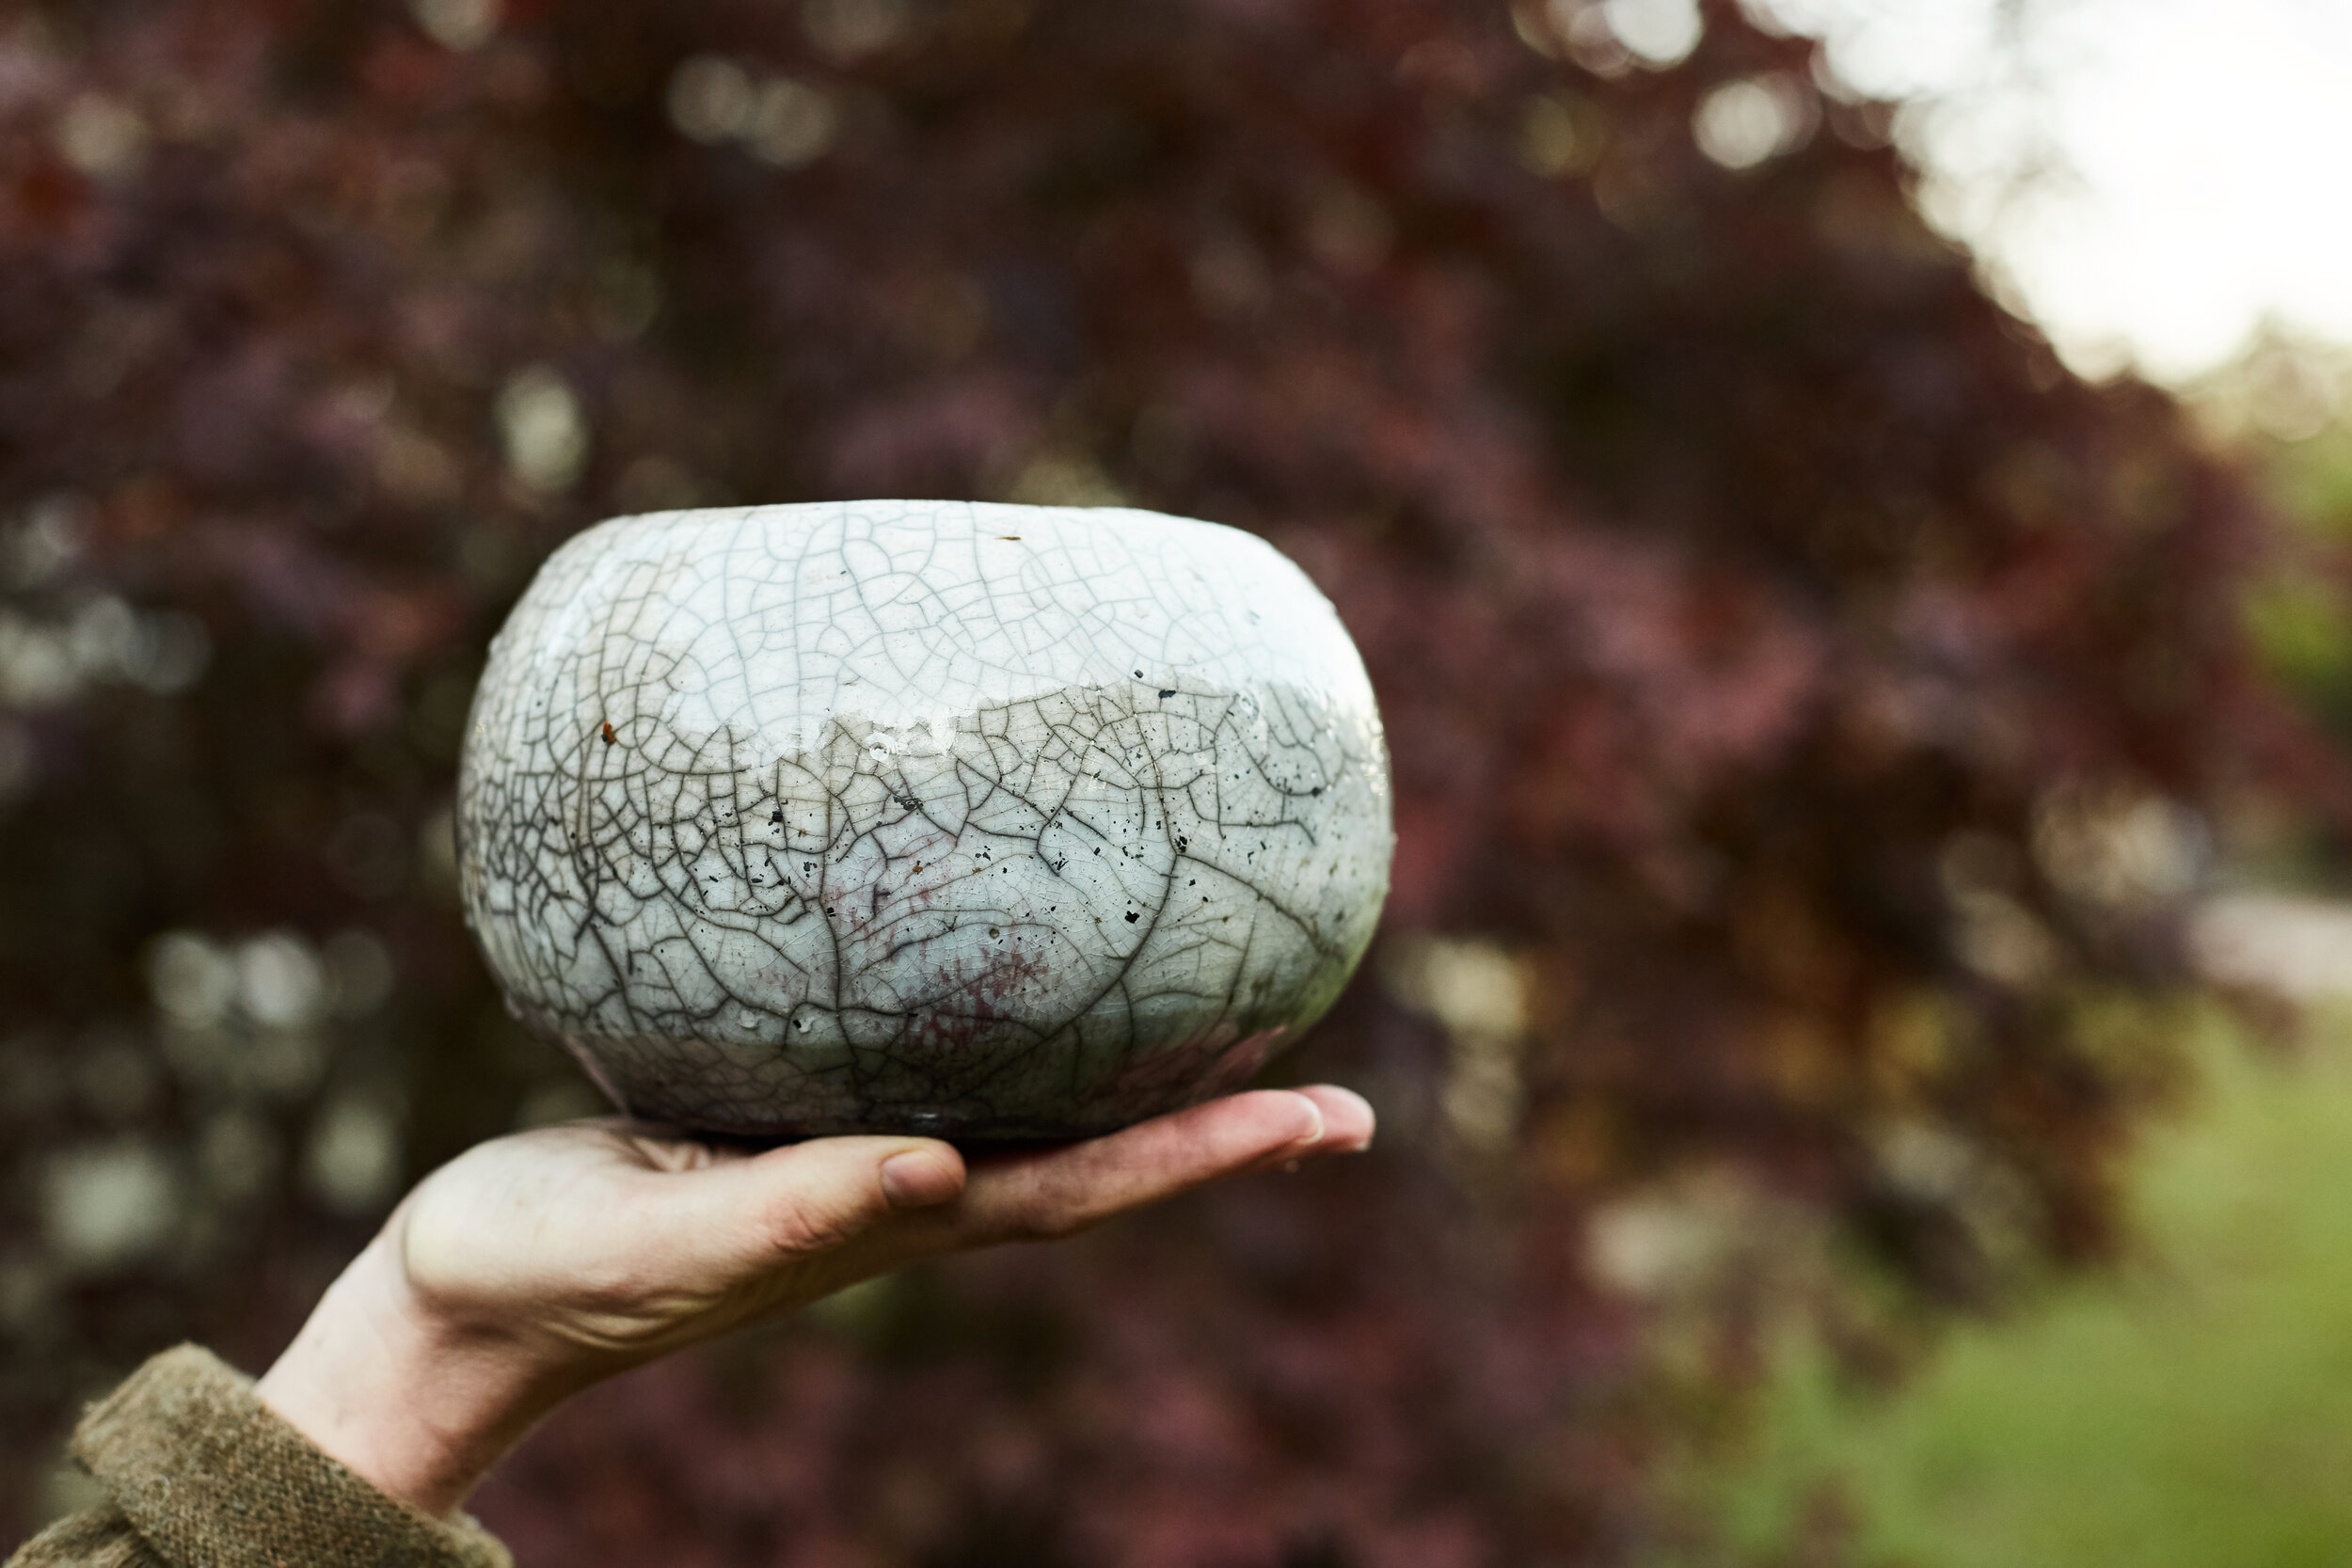
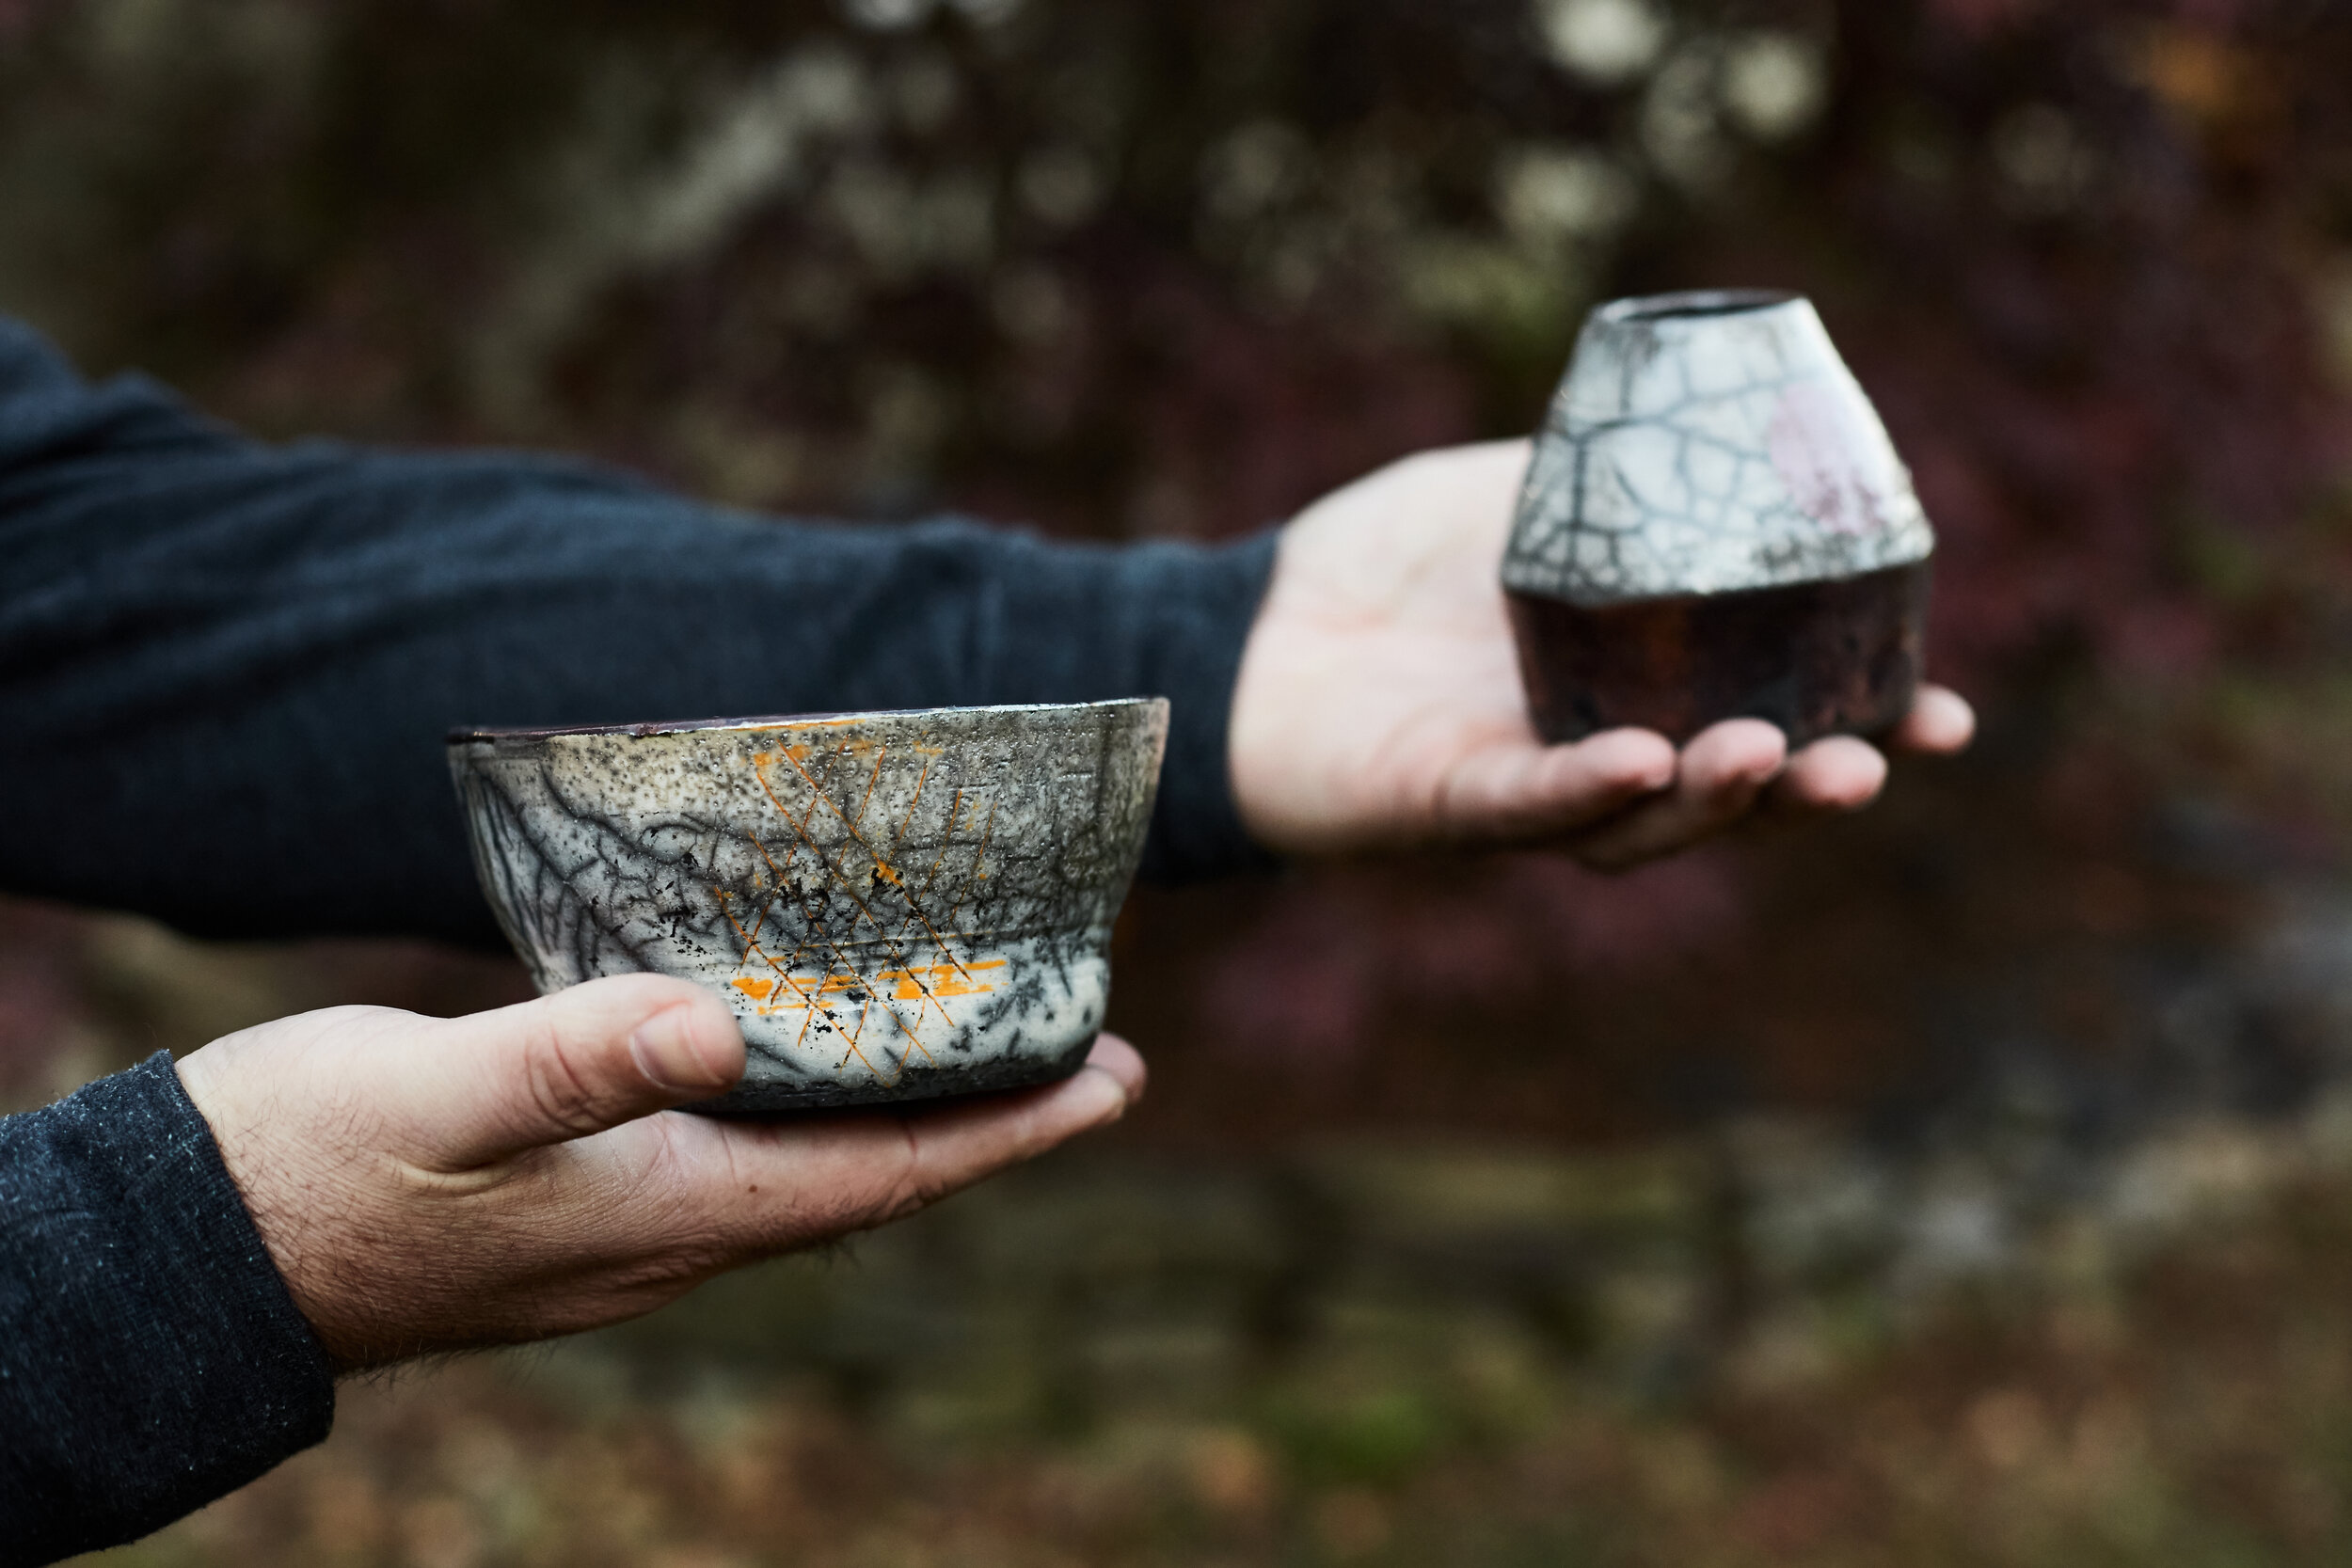
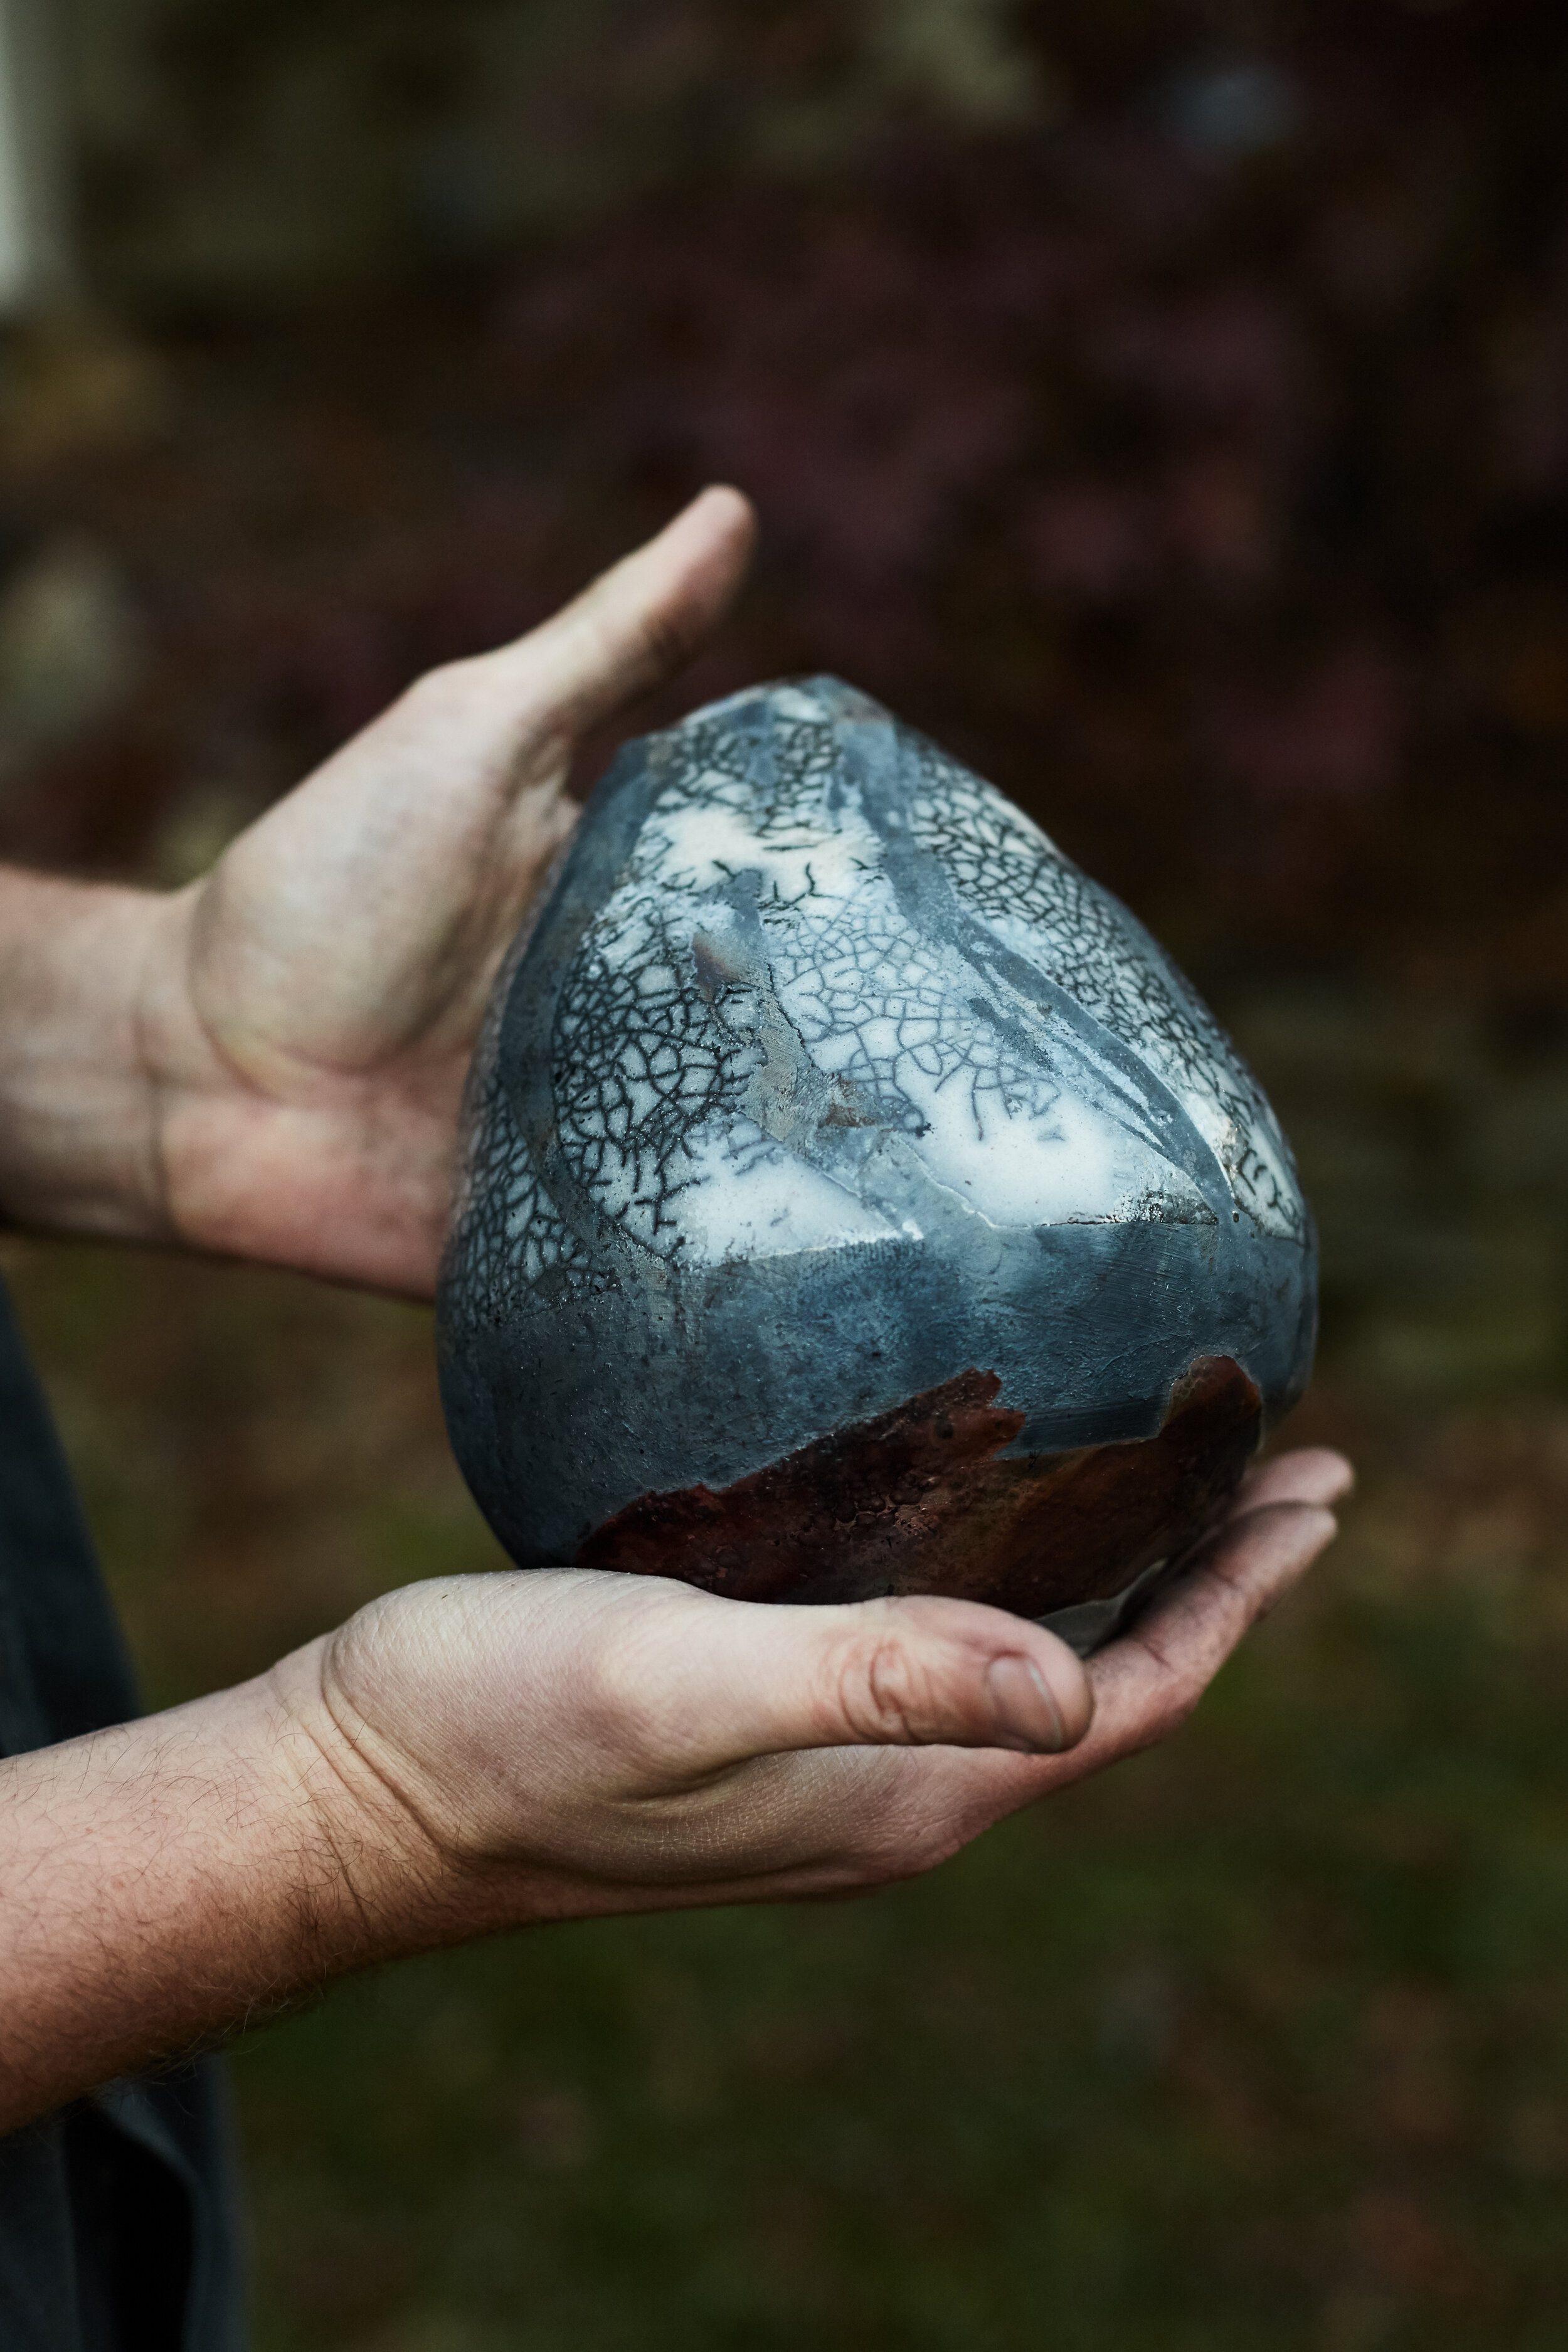
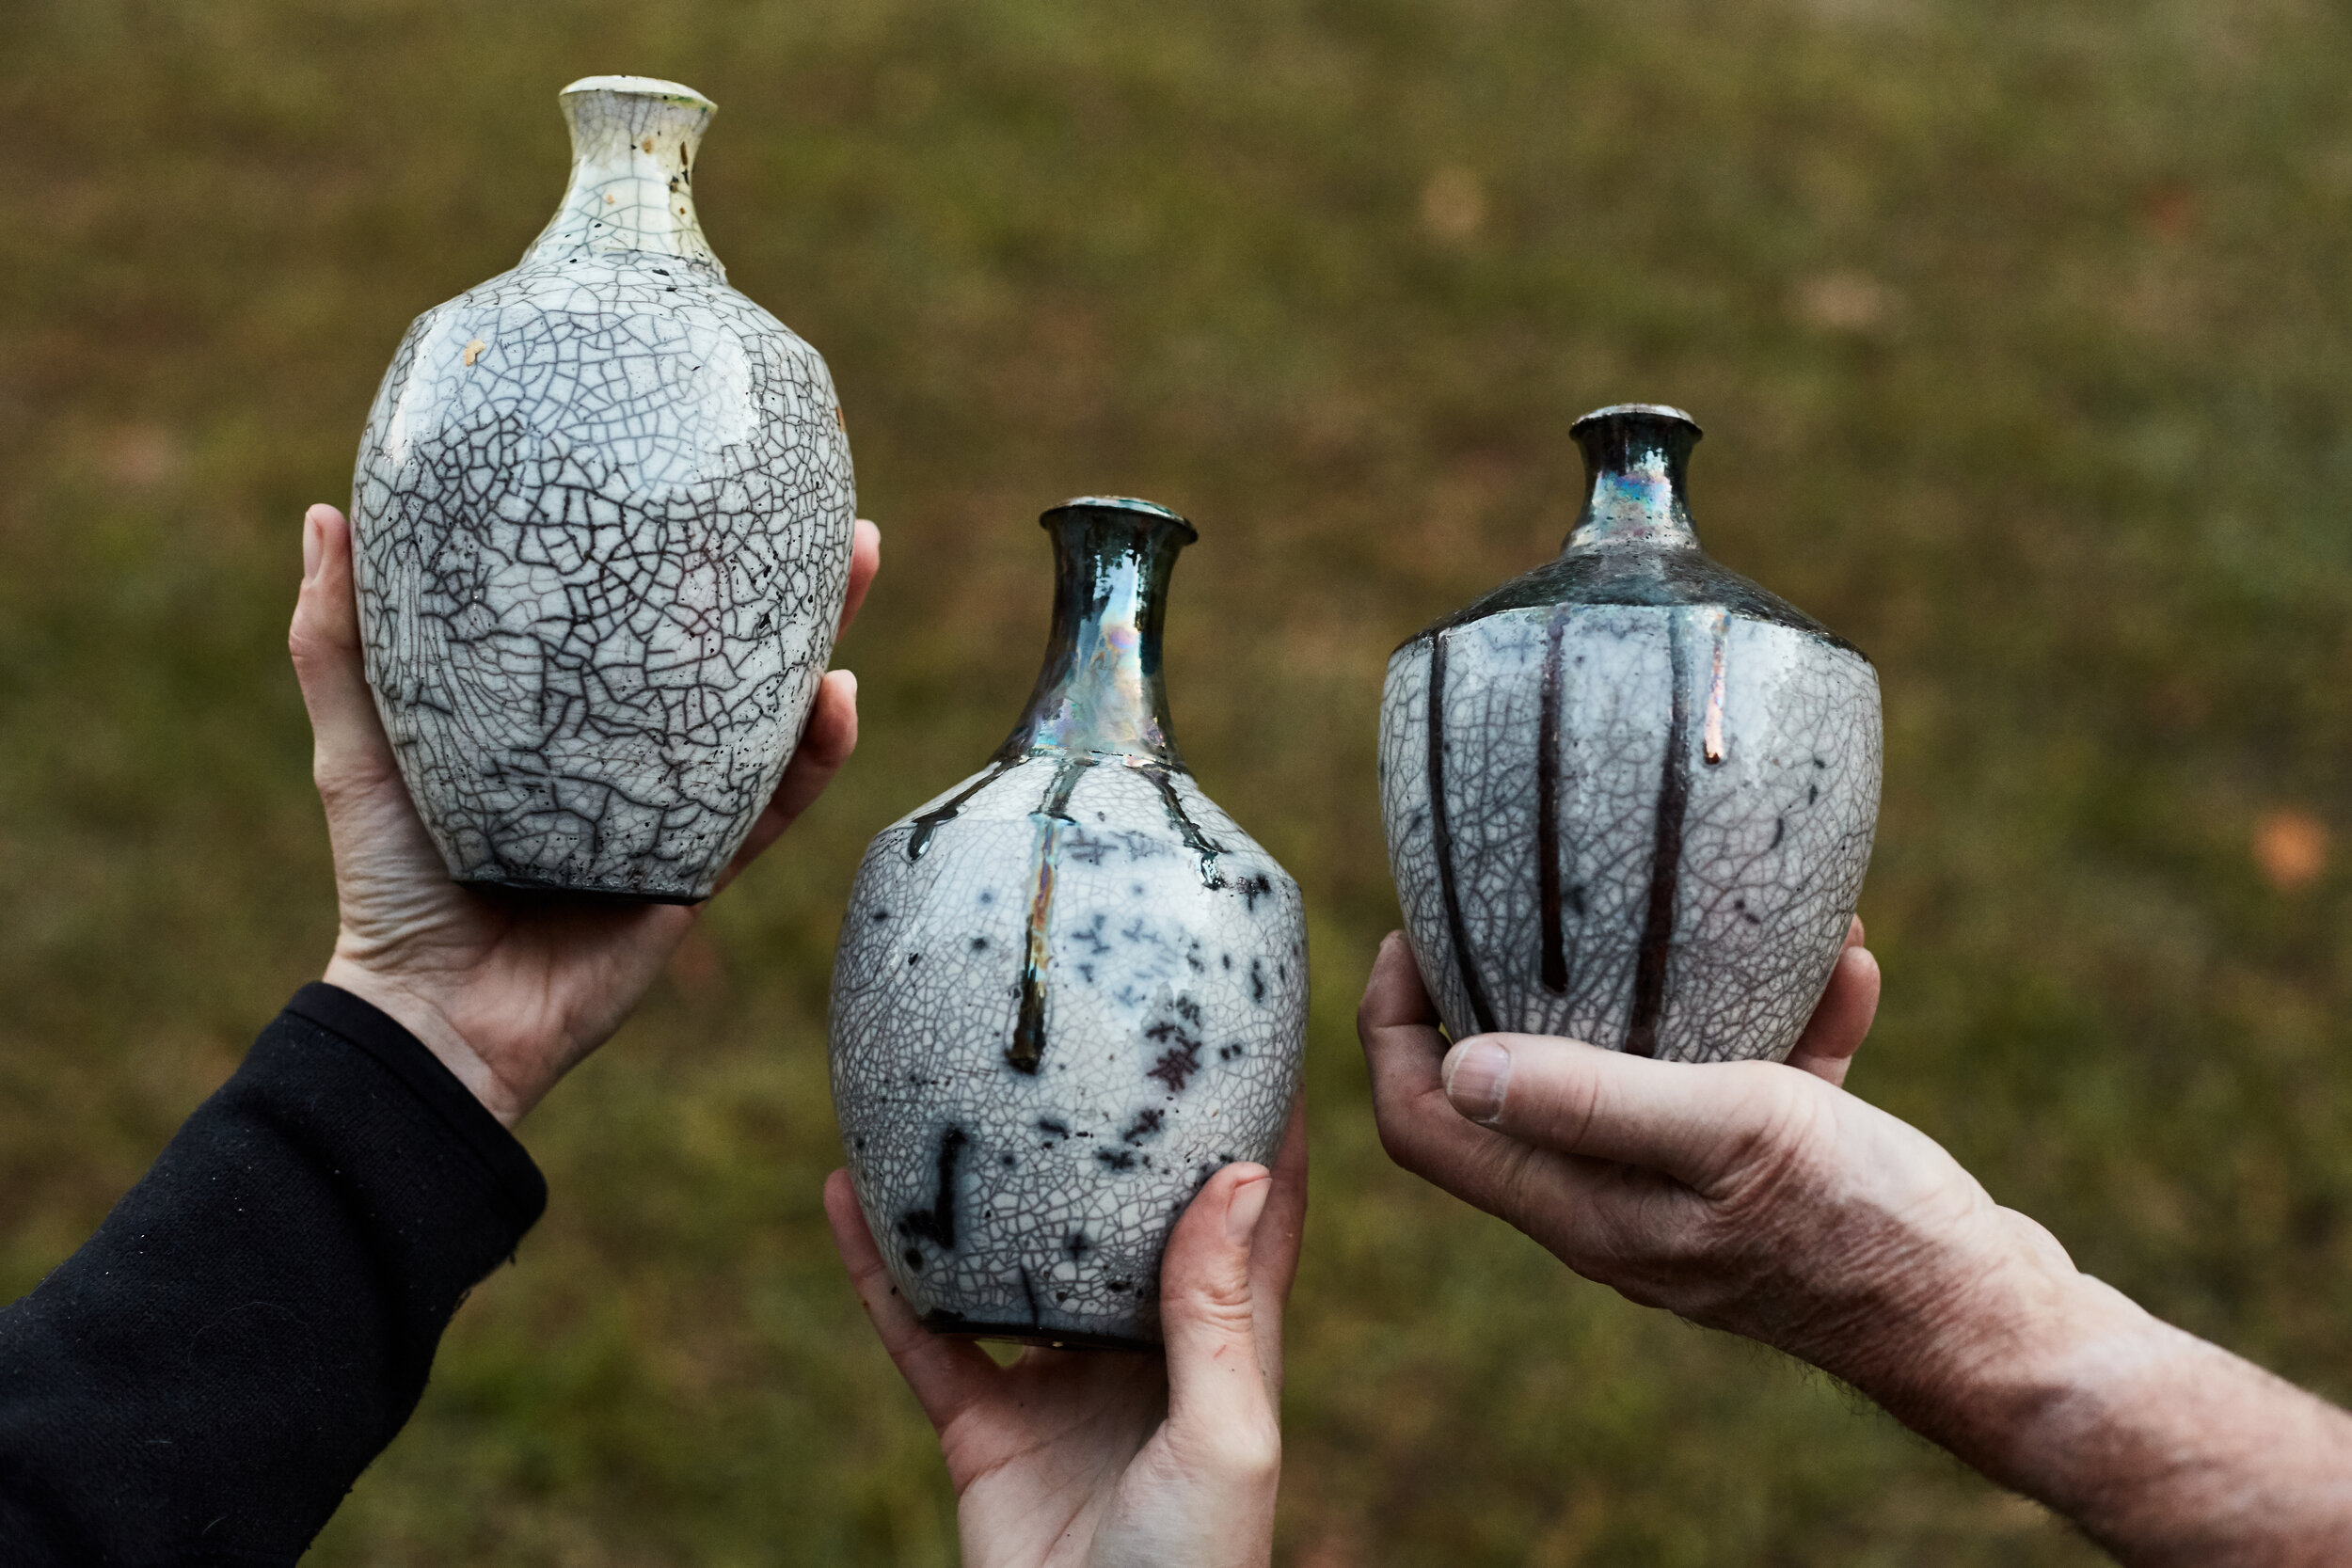
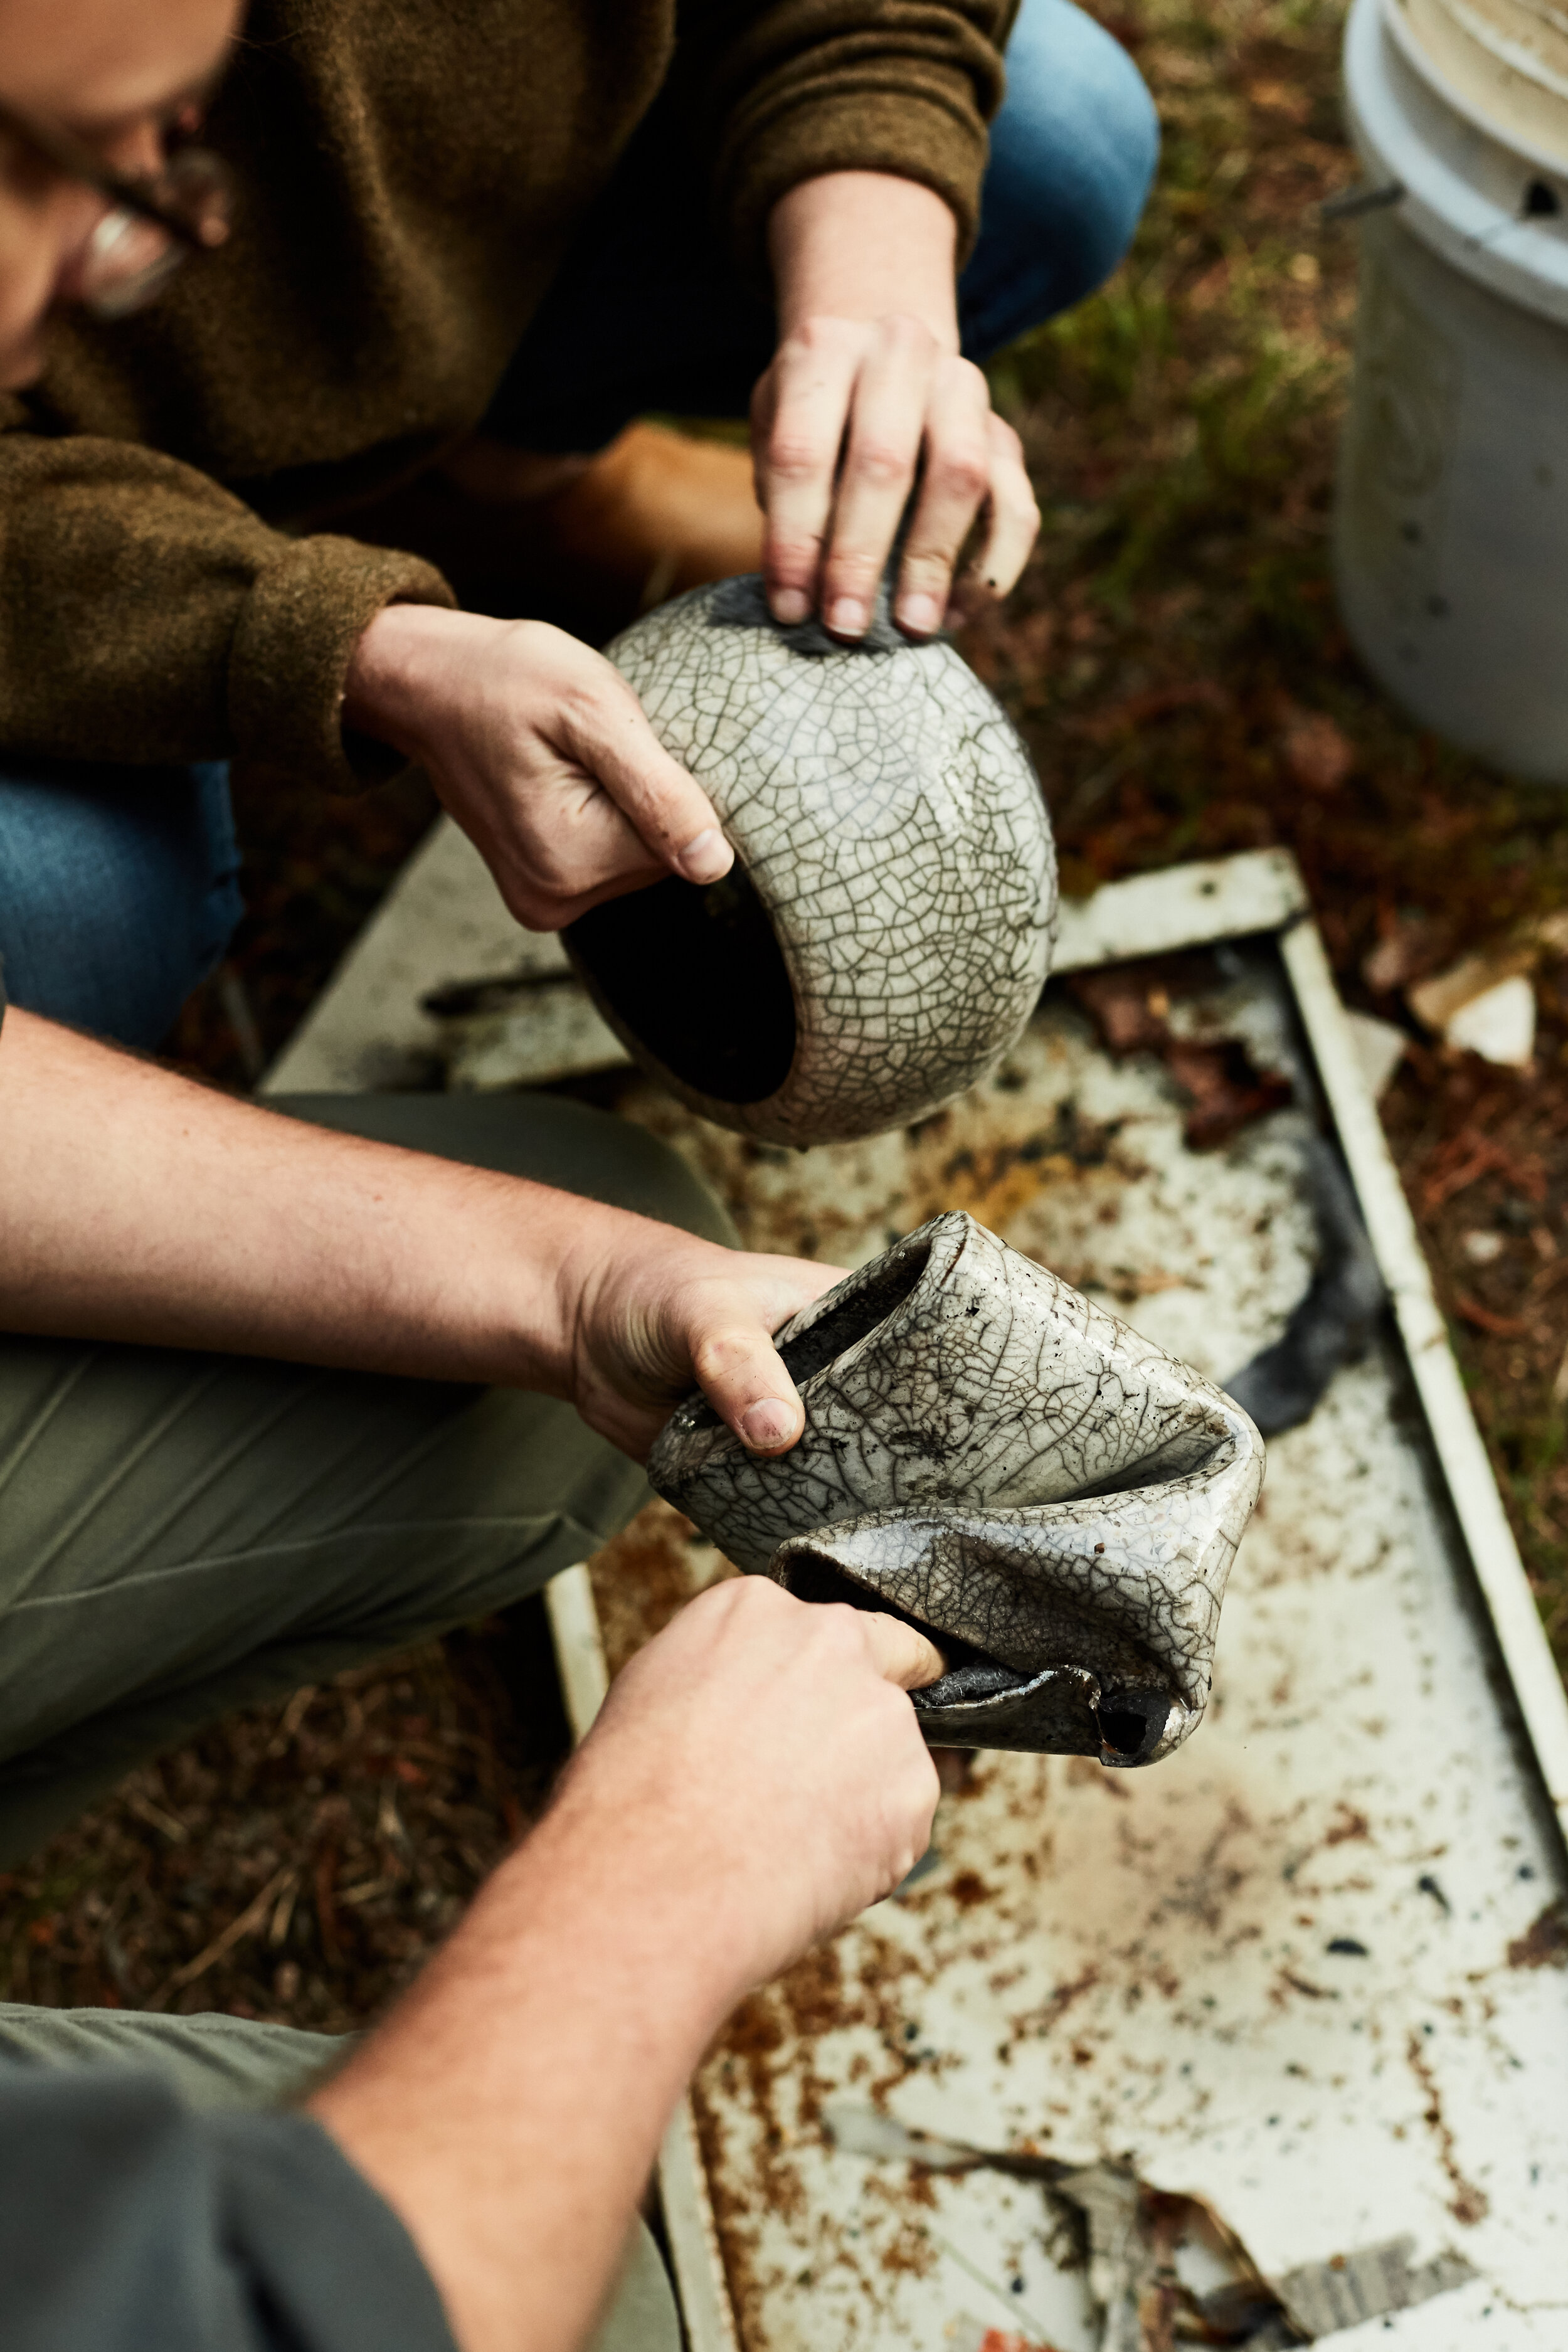
From fire bath to water bath. Once the wares cooled enough to touch, we pulled them from the water buckets and proceeded to “oooo” and “ahhh” at the transformation.

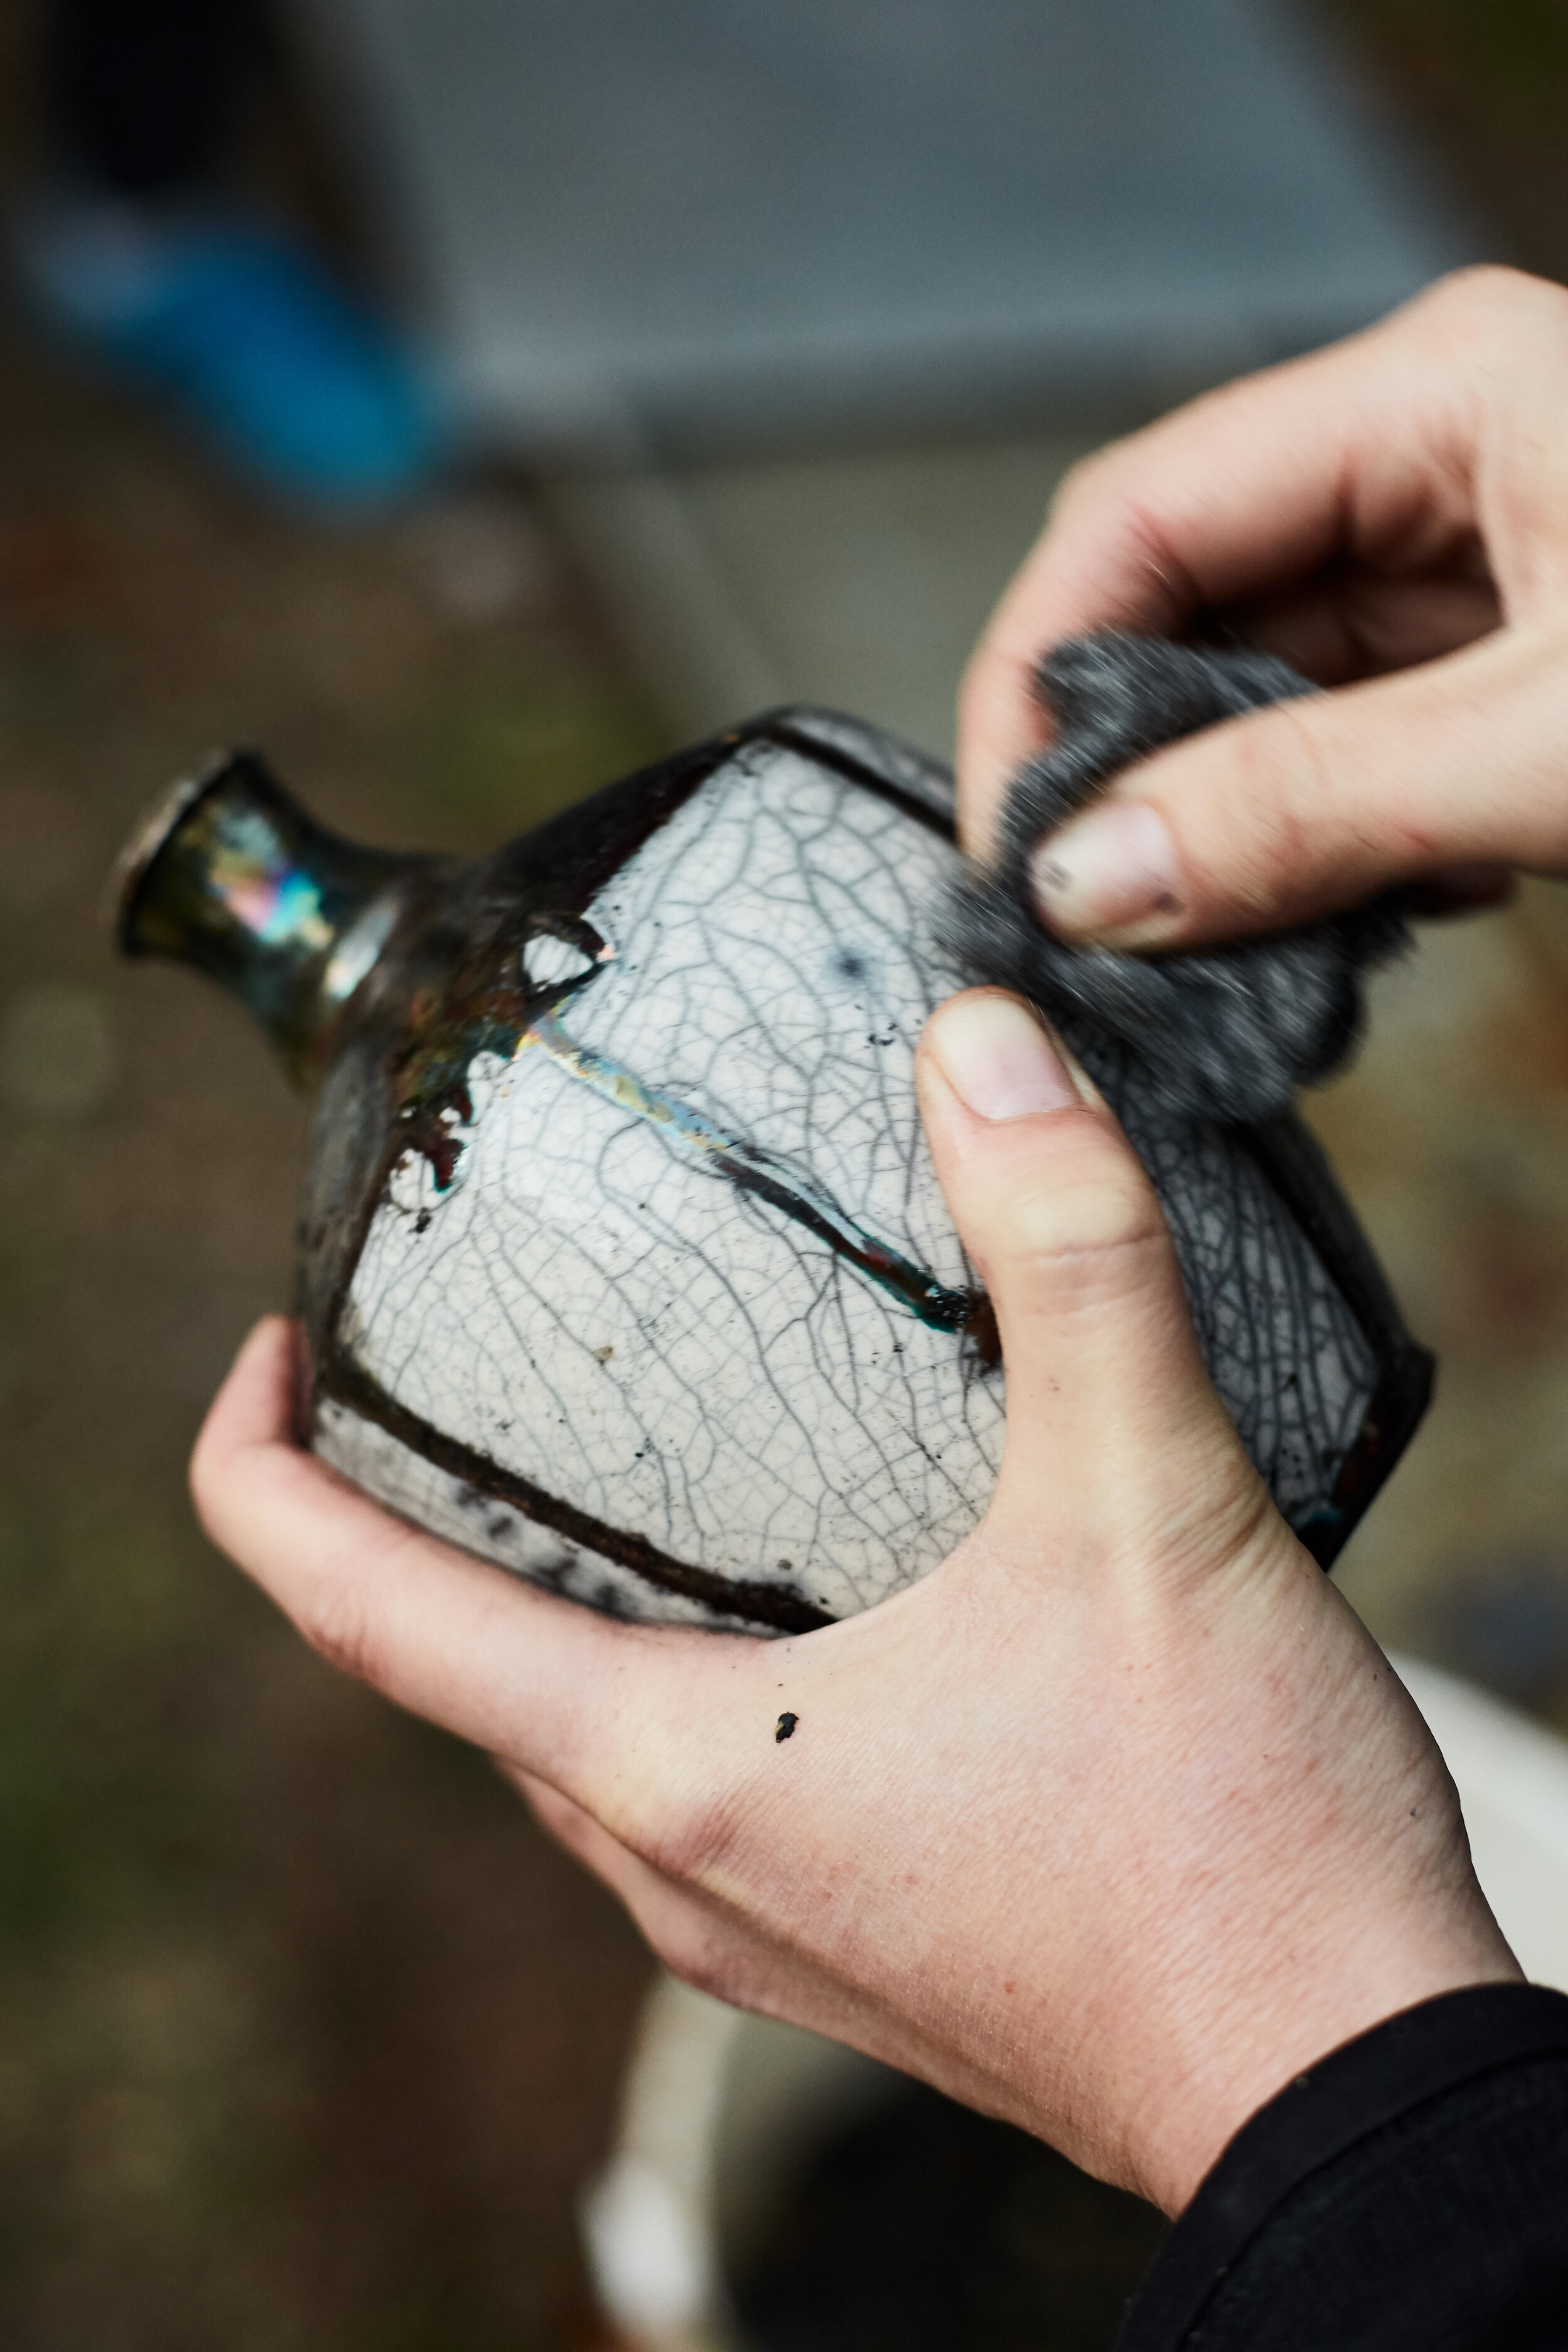
The final step is to scrub each piece down with steal wool, revealing the crackle, copper, and carbon soaked clay beneath the ash. As the pieces dry out, the whites will become more vibrant enhancing the crackle effect.
We were all a bit smitten with the process and can’t thank David enough for opening up his studio to us and our students! We can’t wait to do it all again at Camp Camden.